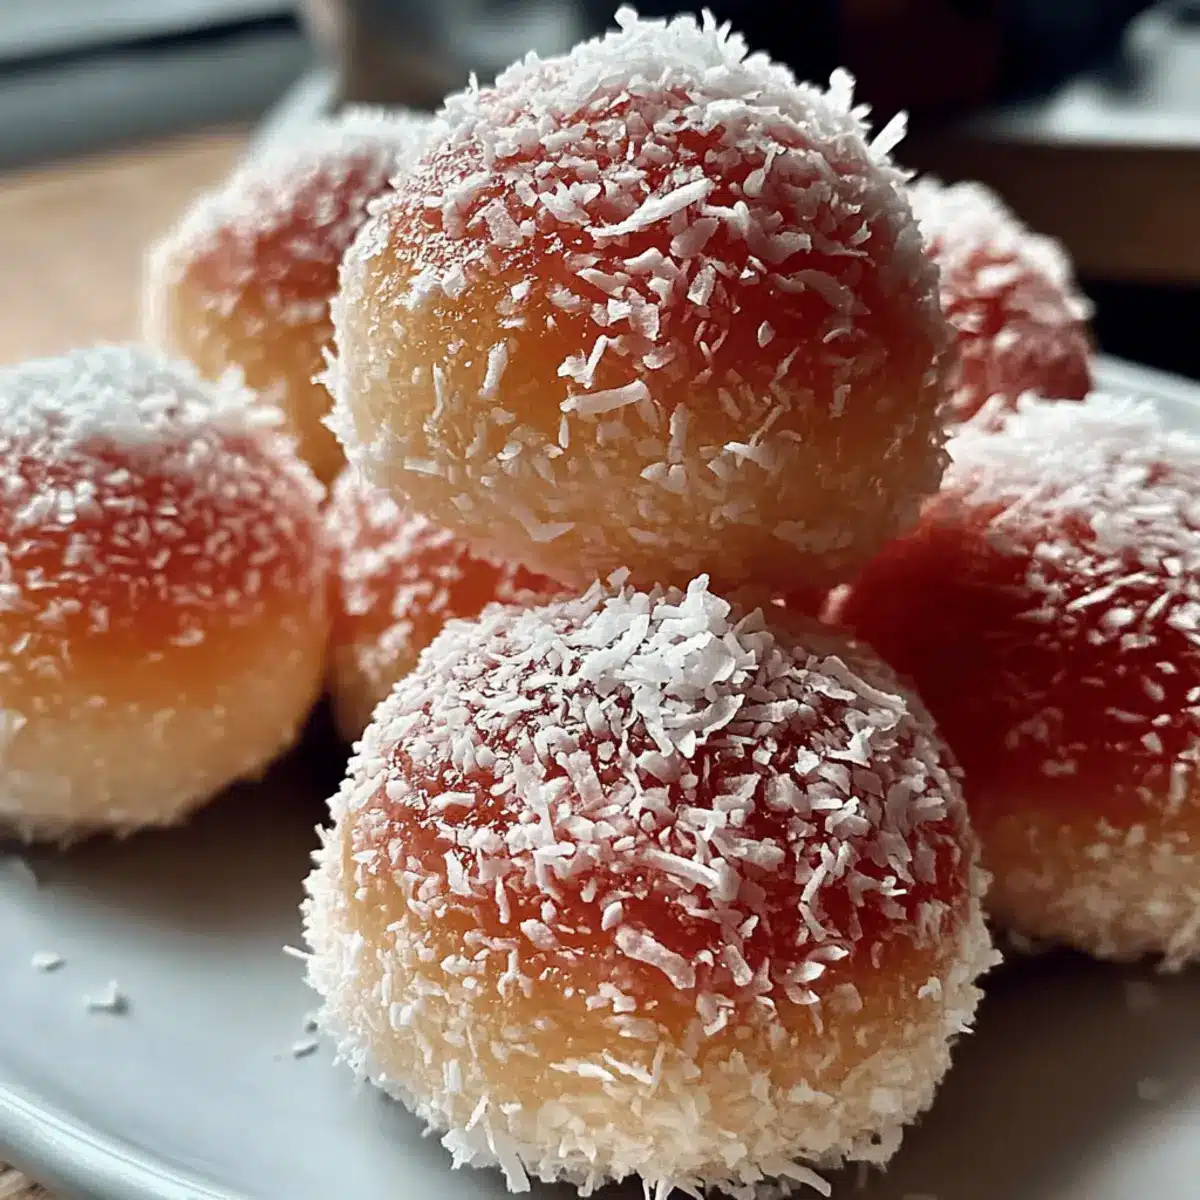
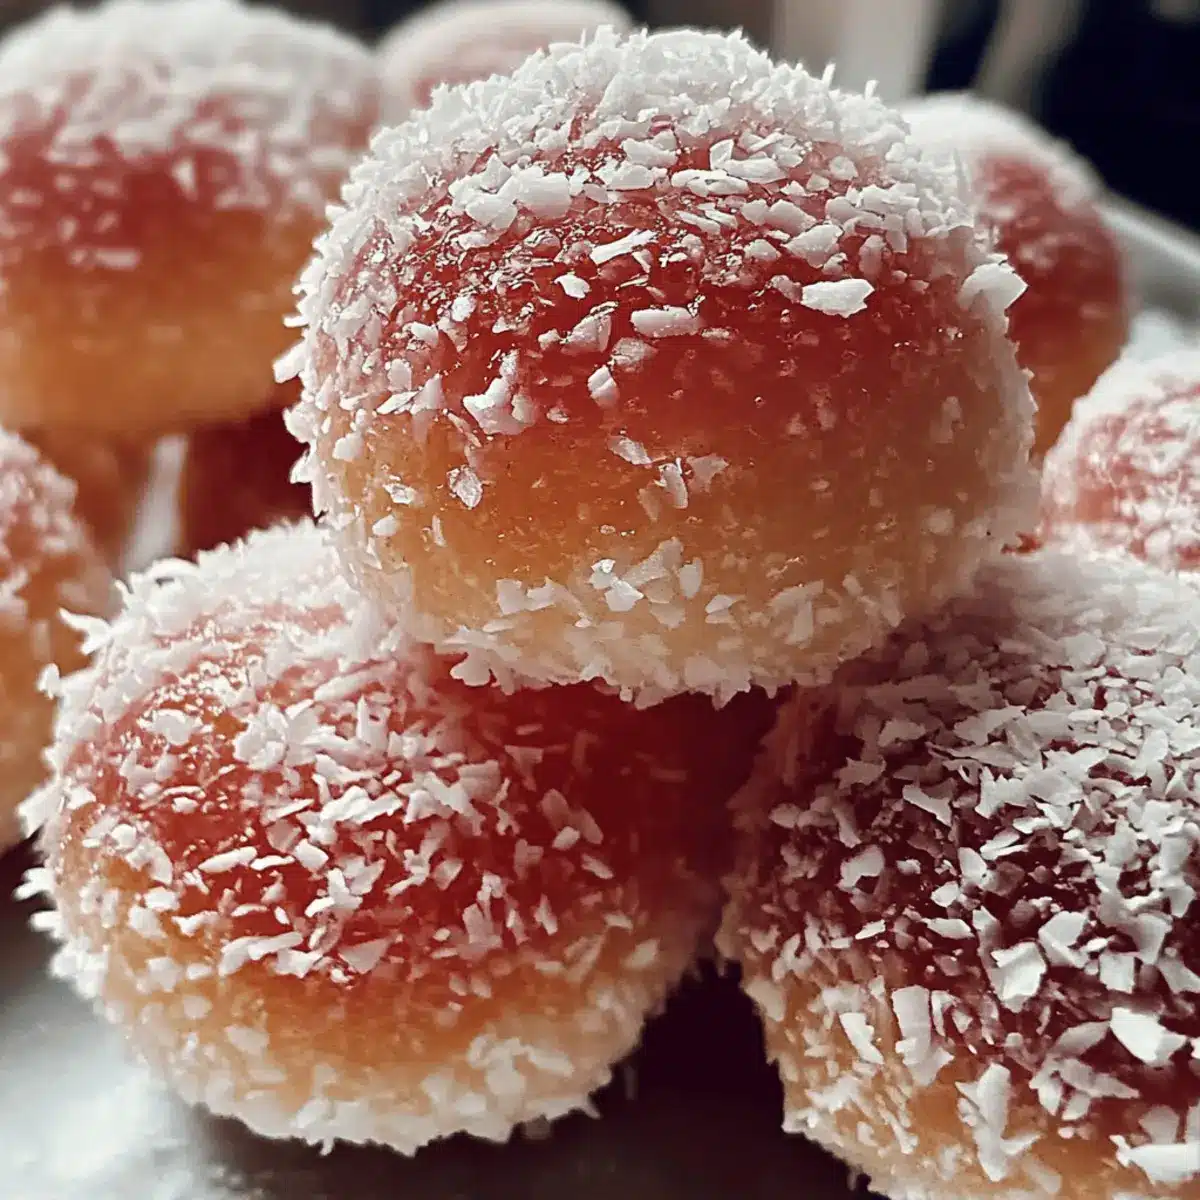
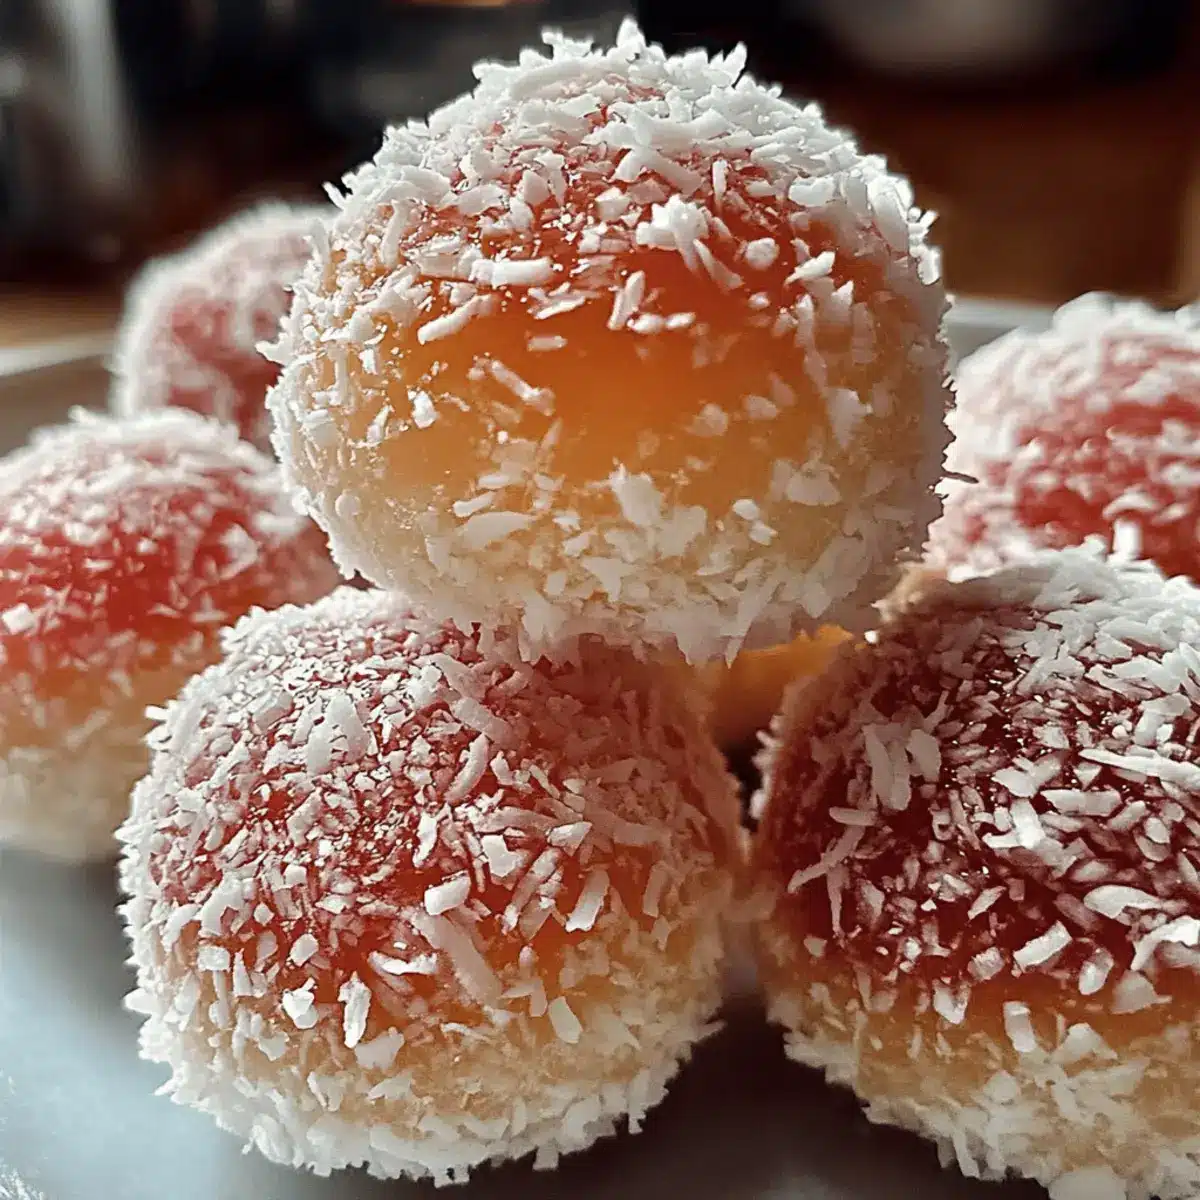
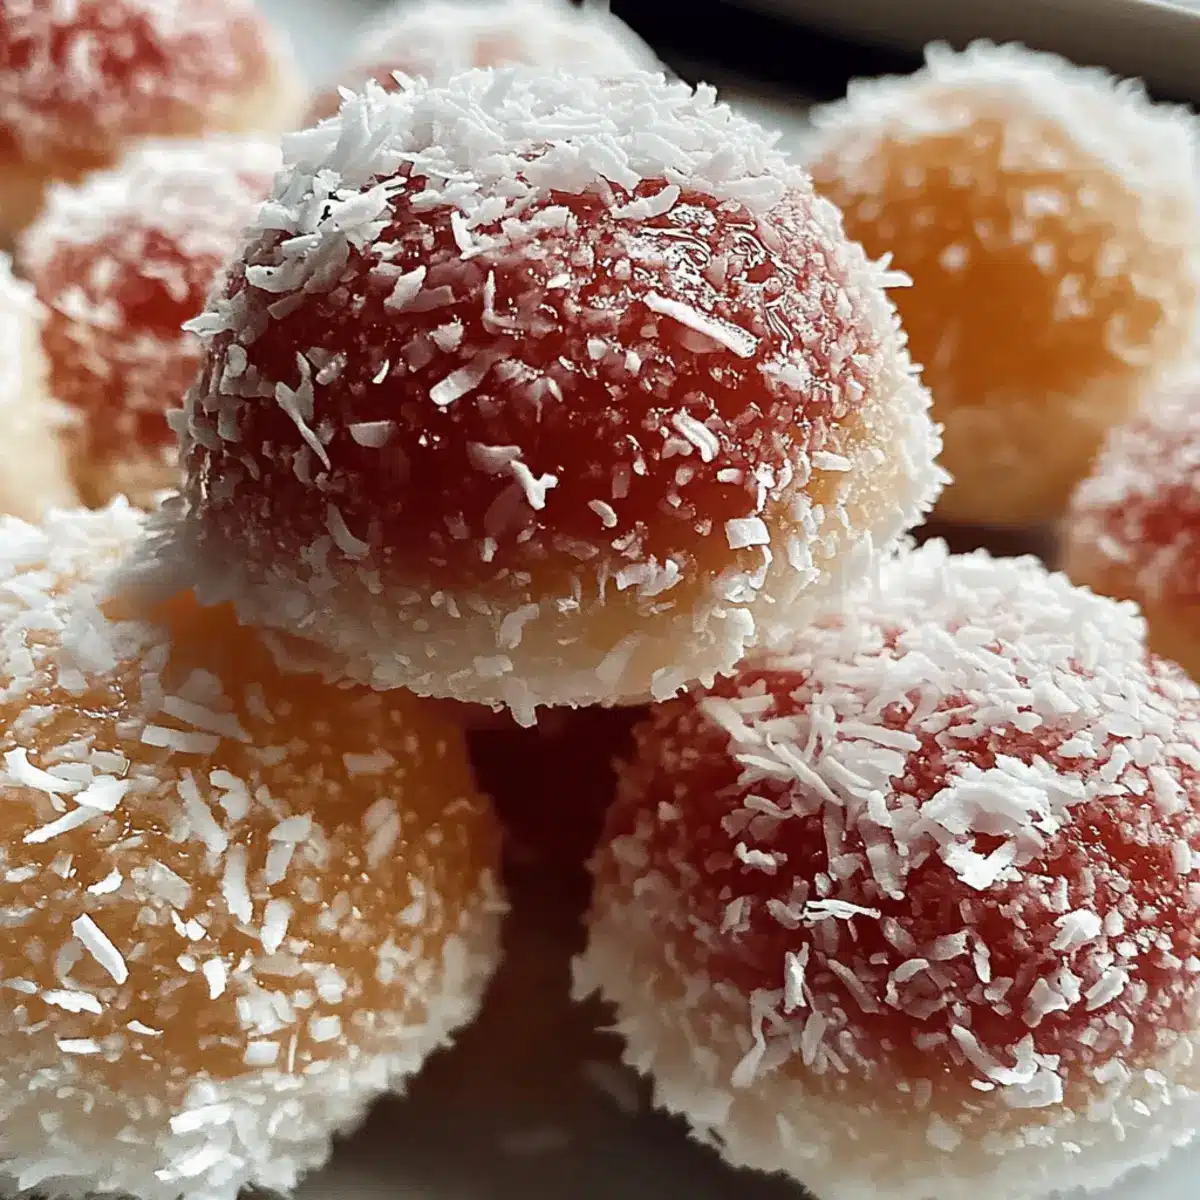
The sweet scent of vanilla wafts through the air, wrapping me in a warm hug of nostalgia as I prepare to make Easy Snowballs. These delightful coconut-covered treats don’t just look inviting; they provide a comforting, cloud-like texture that’s ideal for anyone craving a homemade dessert without the fuss. Whether you’re organizing a cozy get-together or simply want to indulge in a guilt-free treat, these snowballs are the answer. They come together in no time and are surprisingly versatile, allowing for fun twists with flavor and presentation. Plus, they’re perfect for sharing—who wouldn’t love a little sweet surprise with their afternoon tea? Ready to roll up your sleeves and create these magic little bites? Let’s dive into the recipe!

Why Are Easy Snowballs So Loved?
Nostalgic flavors will transport you back to cherished family gatherings, enveloping your senses with warmth. Quick to make, these lovely bites are perfect for any occasion, requiring minimal ingredients and time. Versatile options mean you can get creative with flavors, whether you choose almond extract or seasonal color themes. Crowd-pleasing, everyone from your kids to party guests will adore them—who can resist that coconut crunch? Don’t forget to serve these with a cup of strong black tea or cold milk, creating a delightful pairing for a cozy night in.
Snowballs Ingredients
• Get ready to create magic with these delightful Snowballs!
For the Batter
- Eggs – Provides structure and moisture. Tip: Use room-temperature eggs for better mixing and texture.
- Sugar – Sweetness and caramelization. Can substitute with coconut sugar for a different flavor profile.
- Vanilla Essence – Enhances flavor. Swap with almond extract for a nutty twist.
- Oil – Moisture and lightness. Butter can be used for a richer taste, but adjust milk quantity.
- Cake Flour – Structure and tenderness. Use all-purpose flour as a substitute but do not overmix in that case.
- Baking Powder – Leavening agent for lightness. Ensure it’s fresh for optimal rise.
- Salt – Balances sweetness and enhances flavor. A pinch of sea salt can enhance taste.
- Milk – Adds moisture. Dairy alternatives like almond milk work well too.
For the Syrup
- Sugar – Sweetness and syrup base. Reduce for a less sweet option.
- Water – Dissolves sugar for syrup.
- Red Food Color – Visual appeal. Use natural colorants like beet juice for dye-free snowballs.
- Desiccated Coconut – Coating that provides texture. Unsweetened versions can be provided for a less sweet treat.
For the Icing
- Icing Sugar – Essential for joining pieces to form layered snowballs.
- Hot Water – To achieve the right consistency for icing.
Step‑by‑Step Instructions for Easy Snowballs
Step 1: Preheat the Oven
Begin by preheating your oven to 180°C (350°F), ensuring it reaches the right temperature for optimal baking. While the oven warms up, lightly grease a 9×13-inch baking pan with a bit of oil or butter to prevent the cake from sticking. This will prepare a perfect base for your Easy Snowballs.
Step 2: Beat the Eggs and Sugar
In a large mixing bowl, combine the room-temperature eggs and sugar. Using an electric mixer, beat them together on high speed for about 3 to 4 minutes until the mixture is light, fluffy, and slightly pale. This step is crucial as it adds air and volume, paving the way for soft, airy snowballs.
Step 3: Add Flavor and Moisture
Once your egg and sugar mixture is fluffy, mix in the vanilla essence and oil. Use a spatula or the mixer on low speed, blending until the ingredients are well combined. This will infuse your Easy Snowballs with a lovely vanilla flavor while incorporating moisture for a tender texture.
Step 4: Combine Dry Ingredients
In a separate bowl, sift together the cake flour, baking powder, and salt. This aerates the flour and helps eliminate lumps, ensuring your snowballs rise evenly. Gradually incorporate this dry mixture into the wet ingredients, alternating with the milk, mixing gently until just combined to avoid overmixing.
Step 5: Bake the Batter
Pour the batter into the prepared baking pan, spreading it evenly with a spatula. Place it in the preheated oven and bake for 25 to 30 minutes. Check for doneness by inserting a toothpick in the center; it should come out clean. Once baked, remove it from the oven and let it cool completely.
Step 6: Prepare the Syrup
While the cake cools, in a saucepan over medium heat, combine sugar, water, and red food coloring. Stir the mixture until the sugar is dissolved, bringing it to a simmer. Allow it to cook for about 5 minutes until it thickens slightly; this syrup will beautifully coat your Easy Snowballs while adding a sweet touch.
Step 7: Shape the Snowballs
Once your cake has cooled, cut it into squares or use a cookie scoop to form balls. Dip each piece into the warm syrup, ensuring they are fully coated; this step will give your Easy Snowballs that delicious sticky sweetness. Allow any excess syrup to drip off before proceeding to the next step.
Step 8: Roll in Coconut
After dipping in syrup, roll each piece in desiccated coconut until fully covered. This not only adds great texture but also enhances the visual appeal of your Easy Snowballs. For an extra layer of decadence, feel free to use unsweetened coconut for a less sugary treat.
Step 9: Assemble Layered Snowballs
If you want to create layered snowballs, prepare icing by mixing icing sugar with hot water until it reaches a thick but spreadable consistency. Use this icing to join two pieces together, forming delightful layered bites. This adds a fun twist to your Easy Snowballs!
Step 10: Serve or Store
Once assembled, arrange your Easy Snowballs on a serving platter. These treats can be enjoyed right away, but for the best flavor, allow them to sit for a few hours to let the sweetness meld. Store any leftovers in an airtight container at room temperature or in the fridge for several days.

Expert Tips for Easy Snowballs
-
Syrup Consistency: Ensure the syrup is slightly thick like runny honey. This helps achieve a good coating for your snowballs.
-
Avoid Sinking: Resist the urge to open the oven door too early; this prevents the cake from sinking while it bakes, ensuring fluffy snowballs.
-
Hands Separation: Use one hand for dipping in syrup and the other for rolling in coconut to keep fingers from becoming too sticky during the process.
-
Flavor Infusion: Let your Easy Snowballs sit for a couple of hours after preparation. This allows the flavors to meld for a more delightful taste experience.
-
Cooling: Make sure the cake cools completely before cutting; this prevents the snowballs from being too crumbly when dipped in syrup.
-
Storage Advice: Store your snowballs in an airtight container to maintain their freshness and delightful texture!
Snowballs: Fun Variations Await!
Feel free to unleash your creativity and give these fluffy treats a personal twist that will delight your taste buds!
-
Almond Extract: Replace vanilla essence with almond extract for a wonderfully nutty flavor that adds a layer of indulgence.
This substitution transforms the snowballs into a dreamy delight, perfect for those who love rich, nutty undertones. -
Color Pop: Experiment with different natural food colorings like beet juice or spirulina to create vibrant seasonal themes.
This fun approach not only makes the snowballs visually appealing but also adds a playful touch to your dessert table for any occasion! -
Gluten-Free Bliss: Use gluten-free flour blends to cater to dietary needs while still achieving delicious texture.
Just be sure not to overmix, as it can lead to dense snowballs—nobody wants that! -
Lower Sugar: For a less sweet treat, gently brush the syrup onto your snowballs rather than dipping them.
This method yields a delightful coconut treat that’s perfectly balanced for those watching their sugar intake. -
Choco-Coconut Combo: Stir cocoa powder into the batter for a chocolatey take on the classic snowball.
These delightful cocoa-infused bites offer a unique chocolate twist, paired beautifully with coconut. -
Nutty Crunch: Add finely chopped nuts like almonds or hazelnuts into the snowball batter for added texture and a delightful crunch.
With every bite, you’ll discover hidden layers of flavor and surprise that keep things exciting! -
Fruit Fusion: Incorporate finely grated citrus zest—like lemon or orange—for a refreshing brightness that balances the sweetness.
This twist gives a zesty kick, enhancing the nostalgic flavors of these delightful treats! -
Spicy Coconut: Introduce a pinch of cinnamon or nutmeg to the batter for a warm, aromatic spice that uplifts the entire flavor profile.
These cozy notes evoke warmth and nostalgia, turning each snowball into a comforting hug for your taste buds!
Feel free to mix and match these variations to create your perfect version of Easy Snowballs. Whether hosting a gathering or simply indulging yourself, these delightful tweaks will make each batch distinctively yours!
Make Ahead Options
These Easy Snowballs are perfect for busy home cooks looking to save time! You can prepare the cake batter up to 24 hours in advance; simply mix all the ingredients and store it in an airtight container in the refrigerator. The syrup can also be made ahead of time and kept in the fridge for up to three days. When you’re ready to serve, bake the batter straight from the fridge and coat the snowballs in syrup and coconut once cooled. To maintain their delightful texture, remember to refrigerate the final treats in an airtight container and enjoy them within a week! This easy prep ensures you have delicious treats ready when cravings strike—making your homemade dessert experience a breeze.
What to Serve with Easy Snowballs
The sweet aroma of coconut lingers in the air, creating the perfect backdrop for a delightful dessert spread.
-
Strong Black Tea: The robust flavor of black tea balances the sweetness of the snowballs, making it an ideal pairing.
-
Cold Milk: A glass of refreshing milk complements the chewy texture and enhances the flavors, especially for kids.
-
Coconut Flavored Ice Cream: Indulge your senses with a scoop of coconut ice cream that mirrors the snowballs’ flavor, creating a creamy contrast.
-
Fresh Berries: Juicy strawberries or raspberries add a tartness that beautifully cuts through the sweetness of the snowballs, refreshing your palate.
-
Chocolate Dipping Sauce: For an extra layer of indulgence, a warm chocolate sauce creates a decadent pairing and satisfies chocolate lovers.
-
Mini Fruit Tarts: Light and fruity, these tarts provide a delightful contrast to the soft, fluffy texture of the snowballs while adding a pop of color.
-
Sparkling Water: A chilled glass of sparkling water can clear your palate, making every bite enjoyable and refreshing.
-
Coffee or Espresso: For adults, a strong cup of coffee or espresso enhances the sweet flavors, perfect for a cozy evening treat.
-
Lemon Sorbet: Bright and zesty, lychee or lemon sorbet provides a refreshing palate cleanser and balances the sweetness nicely, making it a light pairing option.
Storage Tips for Snowballs
- Room Temperature: Store uncoated Snowballs in an airtight container for up to 2 days to maintain softness and flavor, ideal for short-term enjoyment.
- Fridge: Keep coated Snowballs in the refrigerator for up to a week; this helps maintain their freshness while the flavors continue to blend beautifully.
- Freezer: For longer storage, freeze uncoated Snowballs for up to 3 months. Simply thaw at room temperature and then coat them before serving for a delightful treat.
- Reheating: If they lose their softness, gently warm Snowballs in the microwave for a few seconds just before serving, reviving their tender texture.

Easy Snowballs Recipe FAQs
How do I know if my ingredients are ripe or in good condition?
Absolutely! For eggs, use fresh ones—cracks or an off smell indicate they’re bad. For desiccated coconut, look for a whiter color and ensure it’s free from dark spots or clumping. Check cake flour by making sure it’s stored in a sealed container to prevent moisture and spoilage.
What is the best way to store Snowballs?
For optimal freshness, store your coated Easy Snowballs in an airtight container at room temperature for up to 2 days, or refrigerate them for up to a week. If you have uncoated Snowballs, they can last for up to 2 days at room temperature as well—but for longer storage, freeze them for up to 3 months. Just remember to thaw and coat after freezing!
Can I freeze Snowballs, and if so, how?
Very! To freeze uncoated Easy Snowballs, place them in a single layer on a baking sheet to freeze individually for about an hour. Once frozen, transfer them to a labeled freezer-safe bag or container. They’ll stay fresh up to 3 months! When you’re ready to enjoy, simply thaw them at room temperature before coating in syrup and coconut.
What should I do if my batter is too thick or too runny?
No worries! If your batter is too thick, try adding a tablespoon of milk at a time until you reach the desired consistency. If it’s too runny, you may need to gradually add more flour, but do this with caution to avoid overmixing. Aim for a batter that flows smoothly but isn’t watery; it should be pourable but have some thickness to it.
Are there any allergy considerations I should be aware of when making Snowballs?
Yes, indeed! Easy Snowballs are generally vegetarian, but those with egg allergies can try an egg substitute like flaxseed meal or applesauce. For dairy allergies, substitute milk with almond or oat milk. Additionally, be cautious of any added flavorings like extracts, as some may contain allergens. Always check ingredient labels!
Can pets eat Snowballs?
Not recommended! While the ingredients might seem harmless, sugar and certain food colorings can be harmful to pets. It’s best to keep these delicious Easy Snowballs as a treat for you and your guests only, and find pet-safe alternatives for your furry friends!

Snowballs: Irresistibly Soft Coconut Treats to Delight You
Ingredients
Equipment
Method
- Preheat your oven to 180°C (350°F) and grease a 9x13-inch baking pan.
- Beat the eggs and sugar together in a large mixing bowl for about 3 to 4 minutes until fluffy.
- Mix in vanilla essence and oil until well combined.
- Sift together cake flour, baking powder, and salt, then incorporate this into the wet mixture alternately with the milk.
- Pour the batter into the prepared pan and bake for 25 to 30 minutes, checking for doneness.
- Prepare the syrup by combining sugar, water, and red food coloring in a saucepan and simmering until thick.
- Once cooled, cut the cake into squares or use a cookie scoop to form balls, dipping each into the warm syrup.
- Roll each piece in desiccated coconut until fully covered.
- To create layered snowballs, mix icing sugar with hot water and use it to join two pieces together.
- Arrange the assembled snowballs on a platter and allow to sit before serving.

Leave a Reply