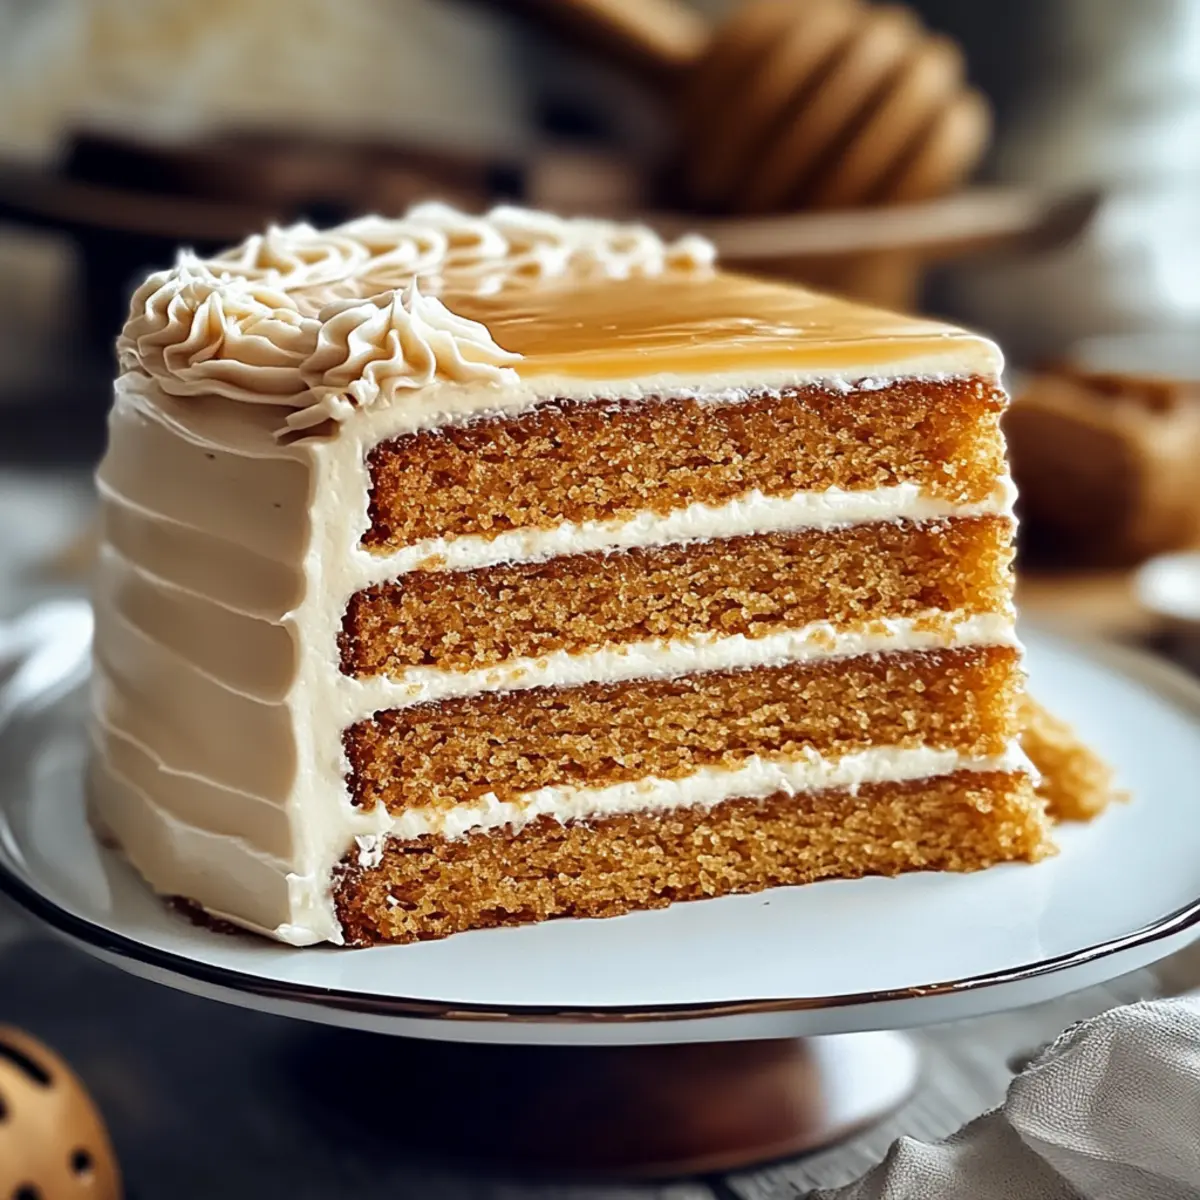
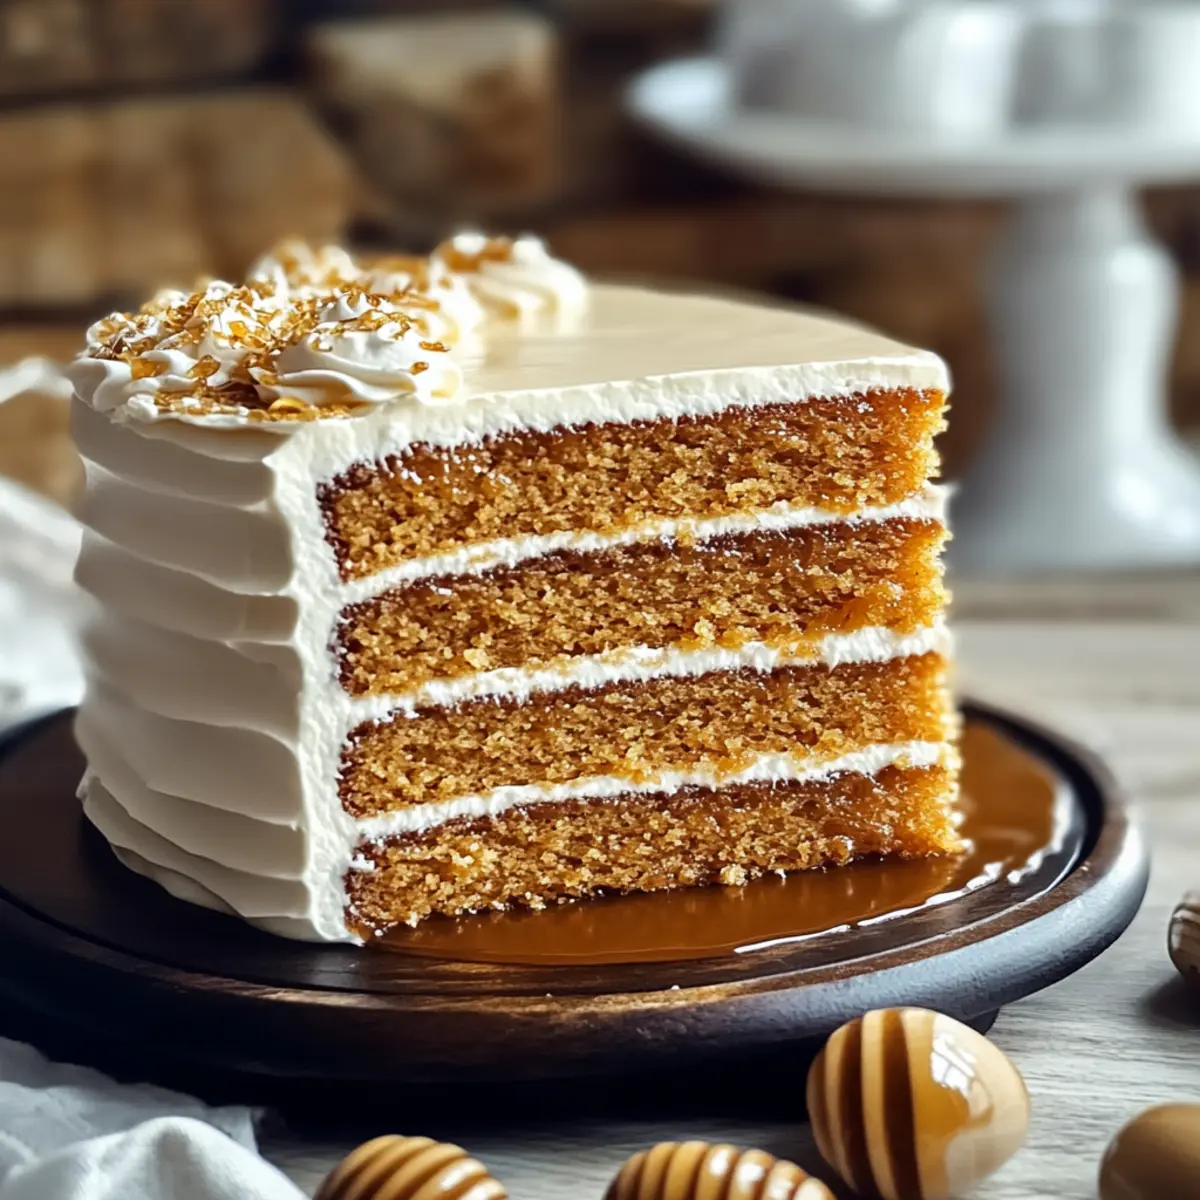
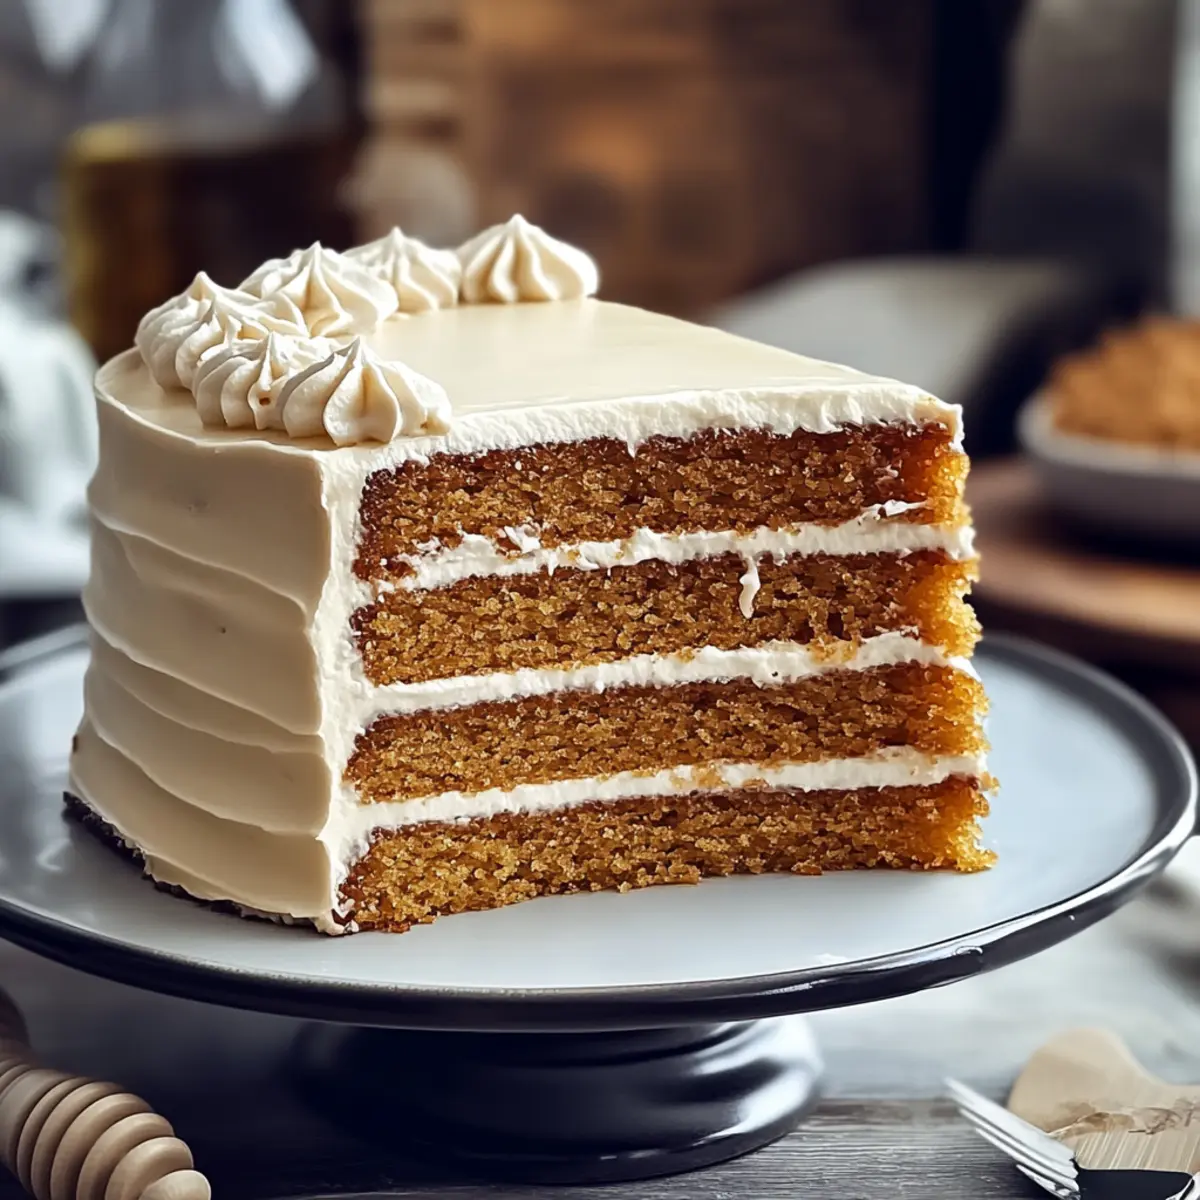
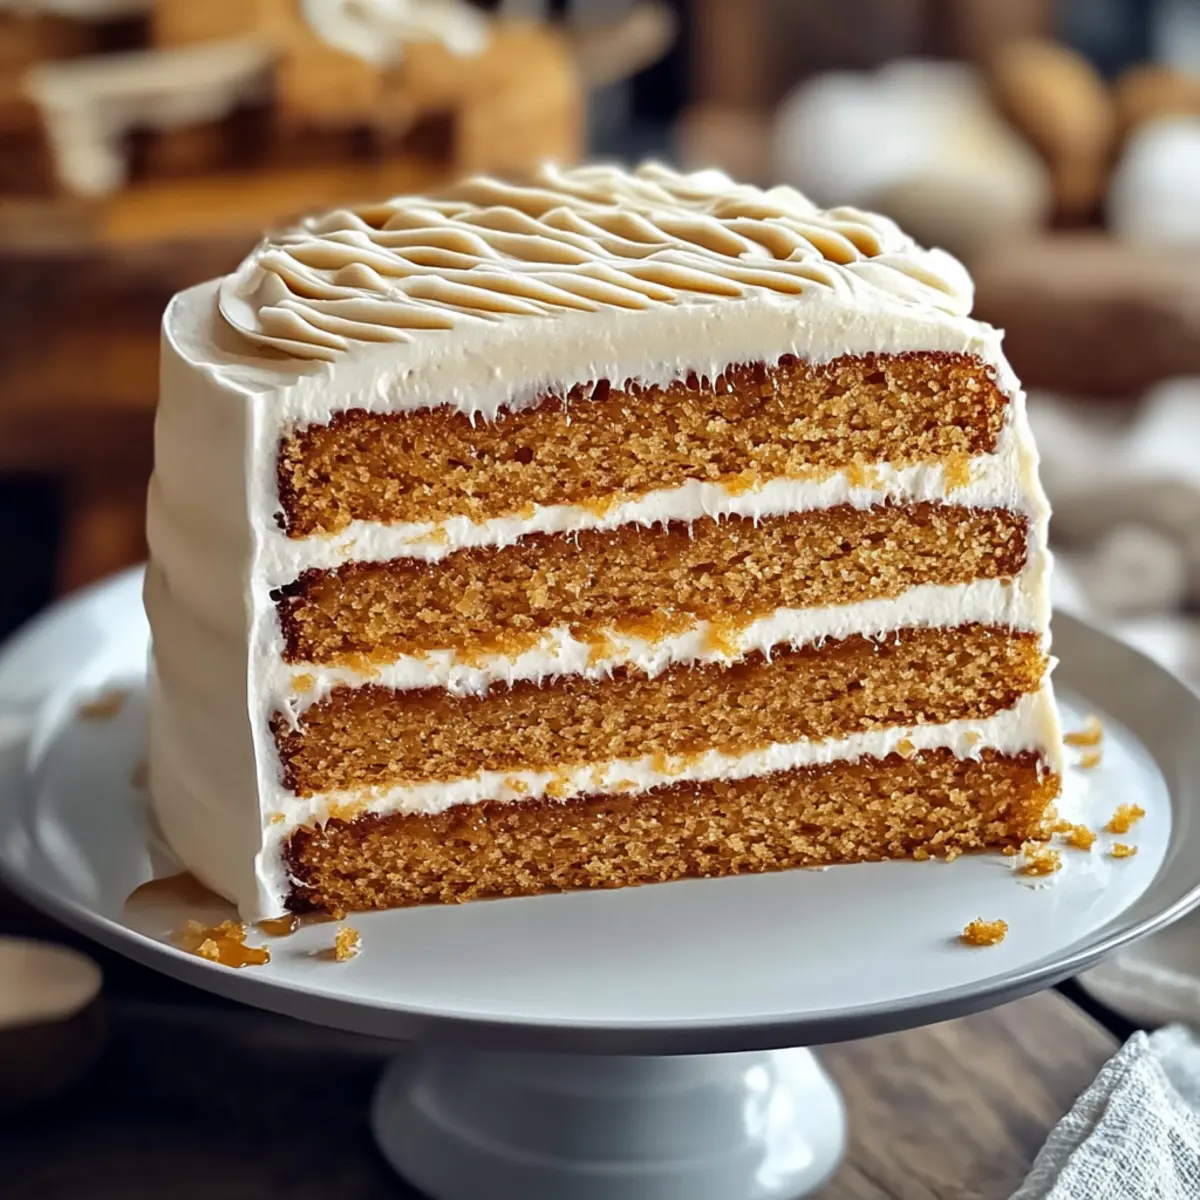
As the aroma of warm honey fills the kitchen, I can’t help but feel transported to a cozy Russian café, where each slice of the Traditional Russian Honey Cake, or Medovik, is a decadent invitation to savor life’s sweetest moments. This layered dessert is truly a masterpiece, featuring complex textures and a luscious dulce de leche frosting that transforms any occasion into a celebratory feast. Whether you’re treating yourself after a long day or impressing guests with your culinary skills, this cake is a stunning centerpiece that guarantees awe and delight. Plus, its make-ahead nature lets you craft a deliciously memorable dessert without the last-minute chaos. Are you ready to dive into the world of Medovik and create your own edible work of art?

Why is Russian Honey Cake a Must-Try?
Layers of Delight: This cake features multiple thin layers that create a stunning visual and textural experience.
Rich, Decadent Flavor: The sweet notes of honey pair beautifully with the creamy dulce de leche frosting for a luxurious bite.
Perfect for Celebrations: Medovik is a beloved dessert often enjoyed during special occasions, making it a crowd-pleaser.
Versatile Variations: Feel free to get creative with the frosting flavors; adding spices or fruit preserves can add a unique twist! Try serving it alongside a cup of coffee or tea for a perfect afternoon treat. And if you’re keen on trying similar flavors, don’t miss out on our Sweet Potatoes Honey recipe for a delightful pairing!
Russian Honey Cake Ingredients
For the Cake Layers
- Wildflower Honey (1 1/2 cups) – Adds natural sweetness and moisture; substitute clover honey for a milder flavor.
- Water (1/4 cup) – Used to thin the honey during preparation.
- Granulated Sugar (1 cup + 2 tablespoons) – Provides sweetness and structure; brown sugar can add extra moisture if desired.
- Unsalted Butter (14 tablespoons) – Contributes richness and moisture to the batter; margarine can serve as a dairy-free substitute.
- Large Eggs (6) – Acts as a binder and leavening agent; flax eggs are a good vegan alternative.
- Baking Soda (2 1/2 teaspoons) – This helps the layers rise beautifully.
- Kosher Salt (2 1/2 teaspoons, divided) – Enhances flavor; fine sea salt can be used for a different texture.
- Ground Cinnamon (1 teaspoon) – Adds warm spice notes; optional spices like cardamom or nutmeg can enhance flavor diversity.
- All-purpose Flour (3 3/4 cups) – Forms the cake structure; gluten-free flour blends can work, but results may vary.
For the Frosting
- Dulce de Leche (1 1/4 cups) – Provides creaminess and a caramel-like sweetness; caramel sauce is a suitable substitute in a pinch.
- Heavy Cream (4 3/4 cups, chilled) – Essential for making the whipped frosting; coconut cream can replace it for a vegan option.
Step‑by‑Step Instructions for Russian Honey Cake
Step 1: Prepare Parchment
Preheat your oven to 375°F (190°C) and line your baking sheets with parchment paper. Using a 9-inch cake pan, trace circles on the parchment to guide your batter placement. This preparation ensures that each of the layers for the Russian Honey Cake bakes evenly, creating a perfect foundation for your delicious dessert.
Step 2: Heat Honey
In a medium saucepan over low heat, warm 3/4 cup of wildflower honey until it simmers gently. Once it reaches a simmer, carefully add 1/4 cup of water, stirring to create a honey syrup. This step will help dilute the honey, making it easier to whisk into the batter later while infusing that essential floral flavor characteristic of Russian Honey Cake.
Step 3: Honey-Sugar Mixture
Next, set up a double boiler by simmering water in a pot and placing a heatproof bowl above it, ensuring it doesn’t touch the water. In the bowl, combine the warm honey syrup with the remaining honey, 1 cup + 2 tablespoons of granulated sugar, and 14 tablespoons of unsalted butter. Stir consistently until everything melts into a smooth and creamy mixture—this aromatic blend will be the heart of your cake batter.
Step 4: Add Eggs and Cinnamon
Once the honey-sugar mixture is slightly cooler but still warm, introduce 6 beaten eggs and 1 teaspoon of ground cinnamon. Stir vigorously to combine until the eggs are fully incorporated, creating a light and airy mixture. This infusion of eggs not only binds the ingredients but also helps achieve the desired texture of your glorious Russian Honey Cake.
Step 5: Incorporate Flour
Gradually sift in 3 3/4 cups of all-purpose flour into the egg mixture in three batches. Gently fold the flour in until just combined; be careful not to overmix, as this could result in a dense cake. Once smooth, divide the batter in half and wrap one half in plastic wrap, allowing the other to rest while you prepare to bake—this step is vital for layering perfection.
Step 6: Bake Layers
Spoon portions of batter onto the parchment circles, spreading each to create 11–12 thin layers. Place in the preheated oven and bake for 6–7 minutes or until the edges are golden brown and slightly firm to the touch. Keep an eye on them, as the thin layers bake quickly, forming the beautiful structure of your Russian Honey Cake.
Step 7: Cool and Trim
Once baked, carefully remove the layers from the oven and allow them to cool on a wire rack. After they are cool to the touch, trim the edges with a sharp knife if necessary to ensure uniform shapes. This detail is important for that polished, professional finish when assembling your stunning layered cake.
Step 8: Toast Layers
If any layers are less than perfect, don’t worry! To add a crispy texture making them extra delicious, bake these layers again at 250°F (120°C) for about 15 minutes. Keep an eye out for a deep reddish-brown color, which indicates a delightful crunch—perfect for enhancing the overall texture of your Russian Honey Cake!
Step 9: Make Frosting
In a mixing bowl, whip together the cooled burnt honey from the earlier steps, 1 1/4 cups of dulce de leche, and 4 3/4 cups of chilled heavy cream. Beat until you reach medium-stiff peaks, which will create a luxurious frosting that pairs beautifully with the honey layers. This decadent frosting elevates your Russian Honey Cake to the next level with its smooth and creamy finish.
Step 10: Assemble Cake
Begin assembling your Russian Honey Cake by placing one layer of cake on a serving plate. Spread a generous layer of frosting over the top before adding the next cake layer. Repeat this process, frosting between each layer and covering the top and sides. For a decorative touch, sprinkle any reserved cake crumbs on the top for extra flavor and a rustic look.
Step 11: Chill
Finally, cover your beautifully assembled Russian Honey Cake with plastic wrap and refrigerate it overnight. This chilling period allows the flavors to deepen and meld beautifully, resulting in a deliciously harmonious dessert. The next day, you’ll be ready to slice into this sweet layered delight and treat your family and friends to an unforgettable experience!

What to Serve with Traditional Russian Honey Cake?
Indulging in a slice of this luscious dessert opens the door to a delightful pairing experience that complements its rich flavors.
-
Brewed Black Tea: The tannins in black tea enhance the cake’s honey sweetness and provide a soothing warmth for your palate.
-
Fresh Berries: Juicy raspberries or strawberries add a burst of fresh acidity that cuts through the cake’s richness, balancing its velvety texture.
-
Vanilla Ice Cream: This cooling, creamy treat melts into the warm cake, creating a luxurious and comforting dessert combination that’s simply irresistible.
-
Coffee: A well-brewed cup of coffee perfectly complements the cake’s honey notes, elevating the overall taste experience during an afternoon gathering.
-
Whipped Cream: Lightly sweetened whipped cream adds a dollop of airy sweetness that envelops each slice, making every bite feel indulgent and refreshing.
-
Fruit Compote: Drizzling a homemade fruit compote over the cake infuses it with bright, tangy flavors, providing a delightful contrast that enhances each layer of sweetness.
-
Chocolate Ganache: A rich drizzle of chocolate ganache adds a decadent touch that melds beautifully with the honey notes, appealing to chocolate lovers everywhere.
-
Lemonade: The zesty freshness of lemonade brings a bright counterpoint to the cake’s sweetness, cleansing your palate for another delightful bite.
-
Chai Latte: The aromatic spices from a chai latte can enhance the warm cinnamon notes within the cake, creating a cozy and inviting dessert pairing perfect for gatherings.
How to Store and Freeze Russian Honey Cake
Refrigerator: Keep your Russian Honey Cake tightly covered in the fridge for up to 3 days. This not only preserves its freshness but allows the flavors to deepen as they meld together.
Freezer: For longer storage, wrap individual layers or the whole cake in plastic wrap followed by aluminum foil, and store in the freezer for up to 3 months. Thaw in the refrigerator overnight before serving.
Reheating: If you prefer a warm slice, gently microwave a piece for 10-15 seconds. This will enhance the cake’s tenderness without compromising the frosting.
Serving Tip: Allow the cake to come to room temperature after thawing for the best taste and texture before enjoying each delicious layer!
Russian Honey Cake Variations
Feel free to give your Russian Honey Cake a personal touch with these delightful variations that amplify its charm!
-
Spiced Frosting: Add a pinch of cardamom or nutmeg to the frosting for a warm, aromatic twist that heightens the cake’s flavor profile.
-
Citrus Zest: Mix in lemon or orange zest into the frosting to brighten the cake’s taste with a fresh, vibrant lift. A fruity note makes each bite feel refreshing.
-
Nutty Crunch: Fold chopped toasted walnuts or hazelnuts into the frosting for added texture and a delightful crunch that contrasts with the cake’s softness.
-
Chocolate Delight: Incorporate cocoa powder into half of the batter for a rich dark layer or drizzle melted chocolate over the assembled cake for an indulgent finish.
-
Berry Layer: Add a layer of mixed berry preserves in between the cake layers to introduce a burst of fruity sweetness that complements the honey beautifully.
-
Vegan Surprise: Use coconut cream in place of heavy cream and flax eggs for a delightful vegan adaptation that retains the cake’s irreplaceable charm. The creamy texture will still shine through!
-
Salted Caramel Twist: Drizzle homemade or store-bought salted caramel sauce between layers for a sweet and salty contrast that elevates this traditional cake to new heights.
For more sweet inspiration, pair your slice of honey cake with a cup of tea or coffee, and consider exploring our delicious Strawberry Cheesecake Dump Cake or delightful Honey Garlic Sausage recipes for an extraordinary meal!
Make Ahead Options
These Russian Honey Cake layers are perfect for meal prep enthusiasts! You can prepare the individual cake layers up to 24 hours in advance. Simply bake and cool the layers, then wrap them tightly in plastic wrap and refrigerate to maintain their freshness and prevent drying out. Additionally, the frosting can also be made ahead of time and stored in an airtight container in the fridge for up to 3 days. When you’re ready to assemble your luscious Russian Honey Cake, simply layer the chilled frosting between the cake layers as you usually would, and allow the cake to chill overnight so that the flavors meld beautifully—saving you time and hassle while guaranteeing a delightful dessert!
Expert Tips for Russian Honey Cake
-
Warm Ingredients: Ensure your butter mixture is warm but not hot; this prevents the eggs from cooking when added to create a smooth batter.
-
Mixing Technique: Be careful not to overmix the batter; it should be gently combined to maintain a light and airy texture in your Russian Honey Cake.
-
Layer Uniformity: For even baking, make sure to spoon the batter equally onto your traced circles; this ensures uniformly sized layers that stack beautifully.
-
Perfectly Toasted Layers: Aim for a deep reddish-brown color when toasting layers to achieve that ideal crispy texture, enhancing overall flavor.
-
Chill for Best Taste: Be patient and chill the assembled cake overnight; this allows the flavors to meld beautifully, making each slice even more delightful.

Russian Honey Cake (Medovik) Recipe FAQs
What type of honey is best for Russian Honey Cake?
Absolutely! Using wildflower honey gives the cake a unique, rich flavor and natural sweetness that’s hard to beat. However, if you prefer a milder taste, clover honey can serve as a wonderful substitute. Just remember, the quality of your honey will significantly influence the overall flavor of the cake!
How should I store my Russian Honey Cake?
Keep your Russian Honey Cake tightly covered in the refrigerator for up to 3 days. This not only retains its freshness but encourages the flavors to deepen and meld together, making each bite just a bit more delightful.
Can I freeze Russian Honey Cake, and what’s the best way?
Yes, you can! To freeze, wrap the whole cake (or individual layers) tightly in plastic wrap, followed by aluminum foil. This will prevent freezer burn and keep your cake fresh for up to 3 months. When you’re ready to enjoy it, simply thaw it in the fridge overnight; this keeps the texture and flavor intact.
What if my cake layers are uneven?
No worries! If your layers are a bit uneven, you can simply toast them at 250°F for about 15 minutes until they achieve a deep reddish-brown color. This step adds a delightful crunch in addition to remedying any appearance issues. Just ensure not to toast them too long, or they’ll become too crispy!
Are there any dietary considerations for Russian Honey Cake?
Yes, indeed! If you’re vegan, you can substitute large eggs with flax eggs (1 tablespoon of ground flaxseed mixed with 2.5 tablespoons of water for each egg) and use coconut cream in place of heavy cream to make the frosting. For those with gluten sensitivities, a gluten-free flour blend can work, but keep in mind that texture and flavor may vary slightly.
How can I make the frosting taste different?
Very! Feel free to experiment with the frosting by incorporating flavors like vanilla extract, cardamom, or almond extract. Adding these can bring a delightful twist while still complementing the honey layers perfectly. You might even consider adding a layer of fruit preserves between the cake layers for added freshness!

Indulge in Russian Honey Cake: A Sweet Layered Delight
Ingredients
Equipment
Method
- Preheat your oven to 375°F (190°C) and line your baking sheets with parchment paper. Trace circles on the parchment for batter placement.
- Warm 3/4 cup of wildflower honey in a saucepan over low heat, then add 1/4 cup of water to create a honey syrup.
- Set up a double boiler with the honey syrup, remaining honey, 1 cup + 2 tablespoons of granulated sugar, and 14 tablespoons of unsalted butter. Stir until melted into a smooth mixture.
- Once slightly cool, add 6 beaten eggs and 1 teaspoon of ground cinnamon, stirring until fully combined.
- Gradually sift in 3 3/4 cups of all-purpose flour in three batches, folding in until just combined.
- Divide the batter in half; wrap one half and set aside while baking the other half.
- Spoon portions of batter onto the parchment circles, creating 11-12 thin layers. Bake for 6-7 minutes until edges are golden brown.
- Allow layers to cool on a wire rack, trimming edges for uniform shapes if necessary.
- To enhance texture, toast any imperfect layers at 250°F (120°C) for about 15 minutes, aiming for a deep reddish-brown color.
- In a mixing bowl, whip together cooled burnt honey, 1 1/4 cups of dulce de leche, and 4 3/4 cups of chilled heavy cream until medium-stiff peaks form.
- Assemble the cake by placing one layer on a serving plate, spreading frosting between layers and on top.
- Cover the assembled cake with plastic wrap and refrigerate overnight to allow flavors to meld.

Leave a Reply