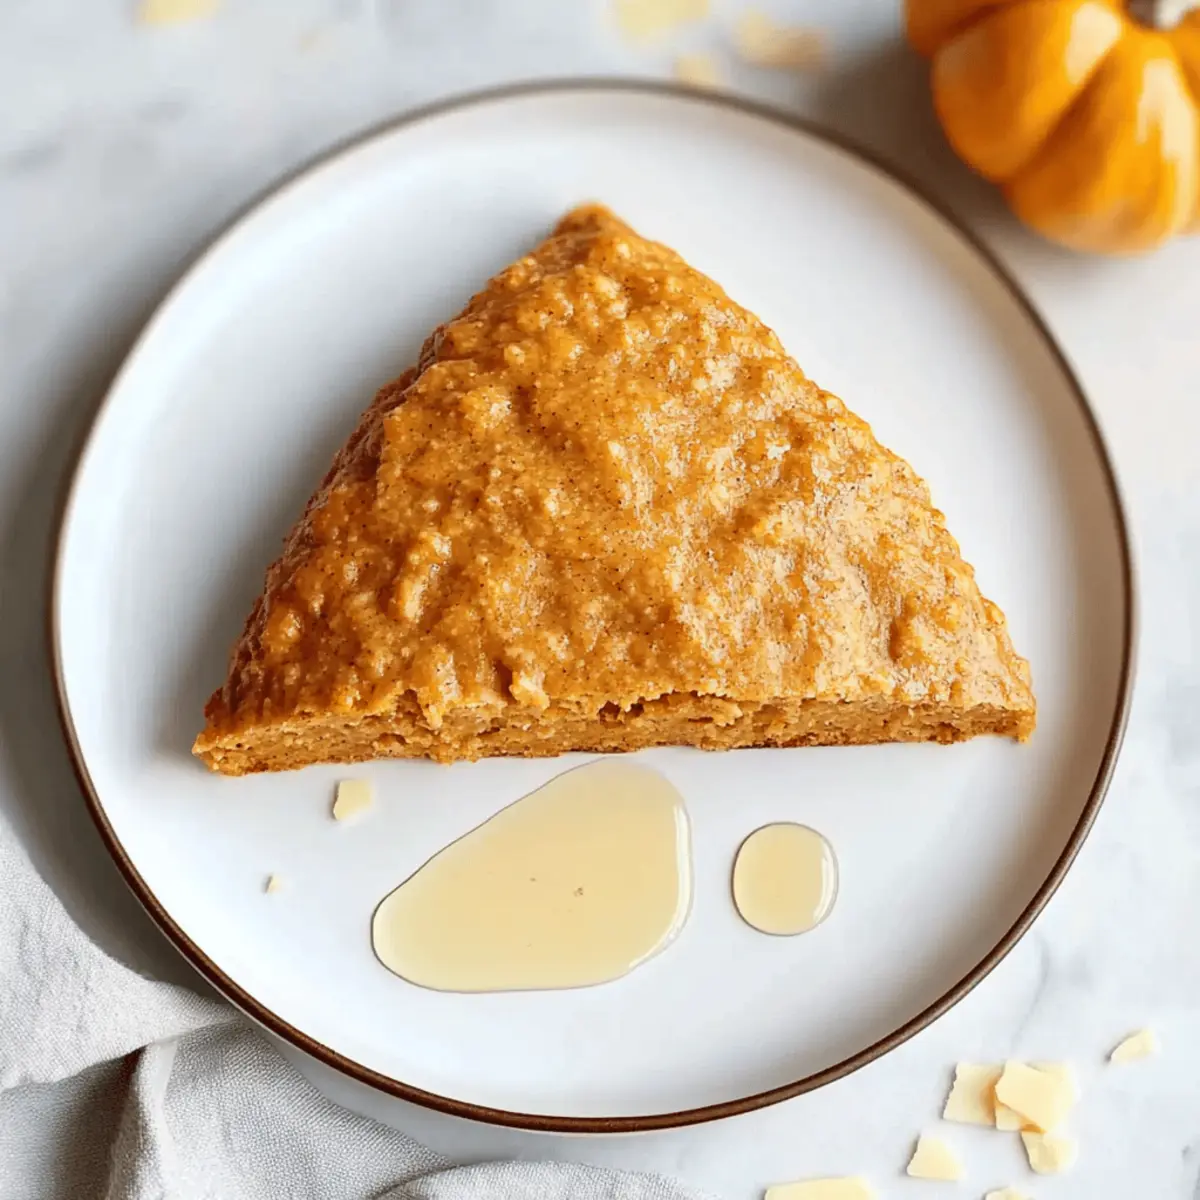
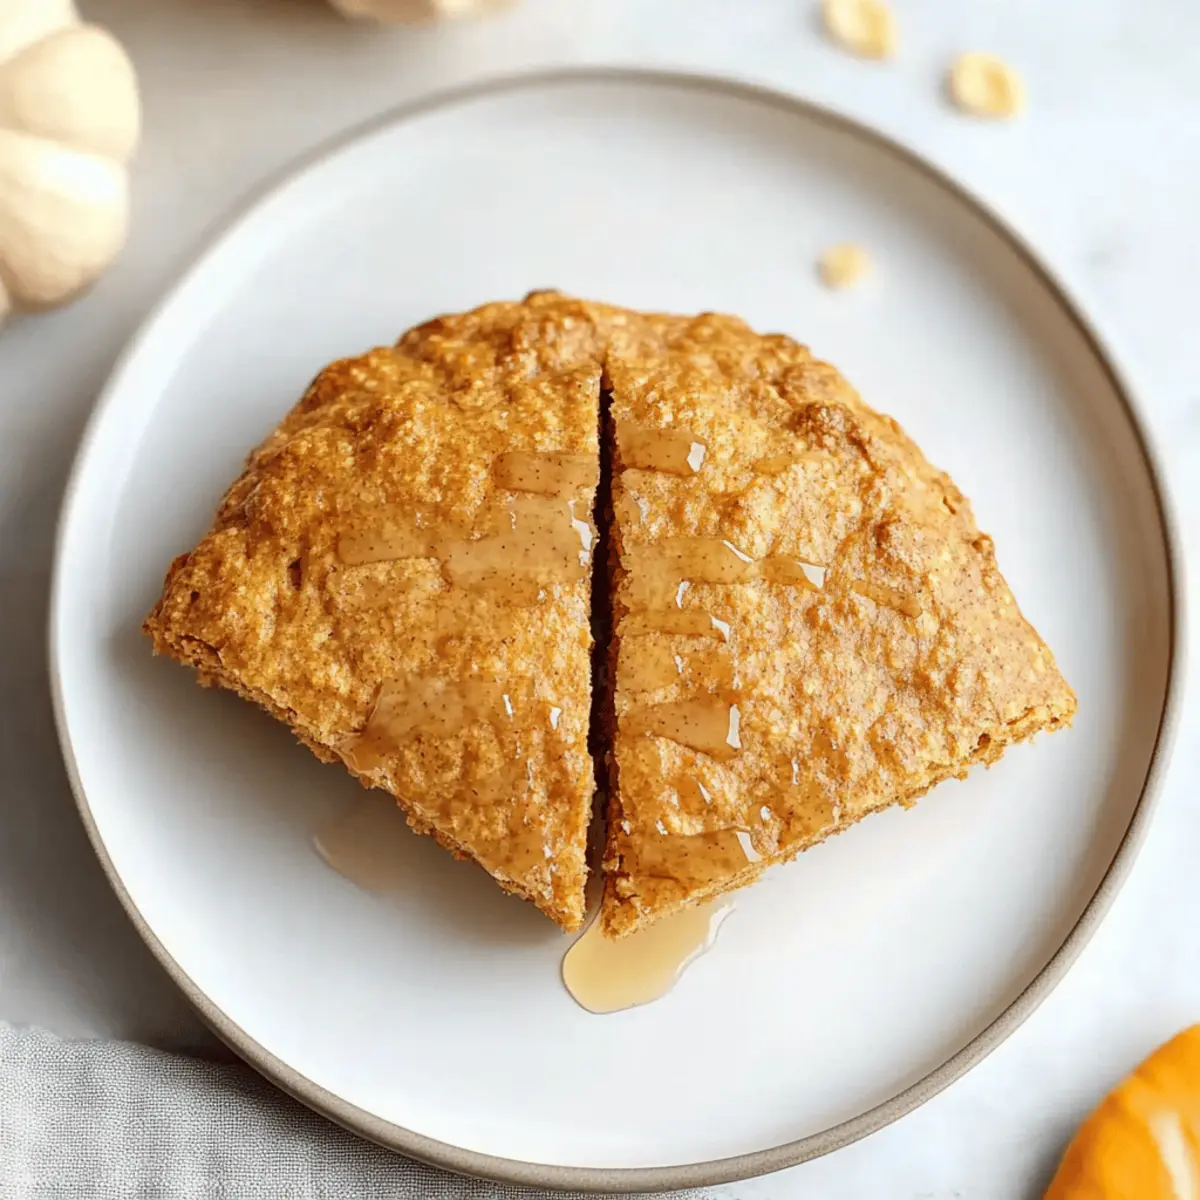
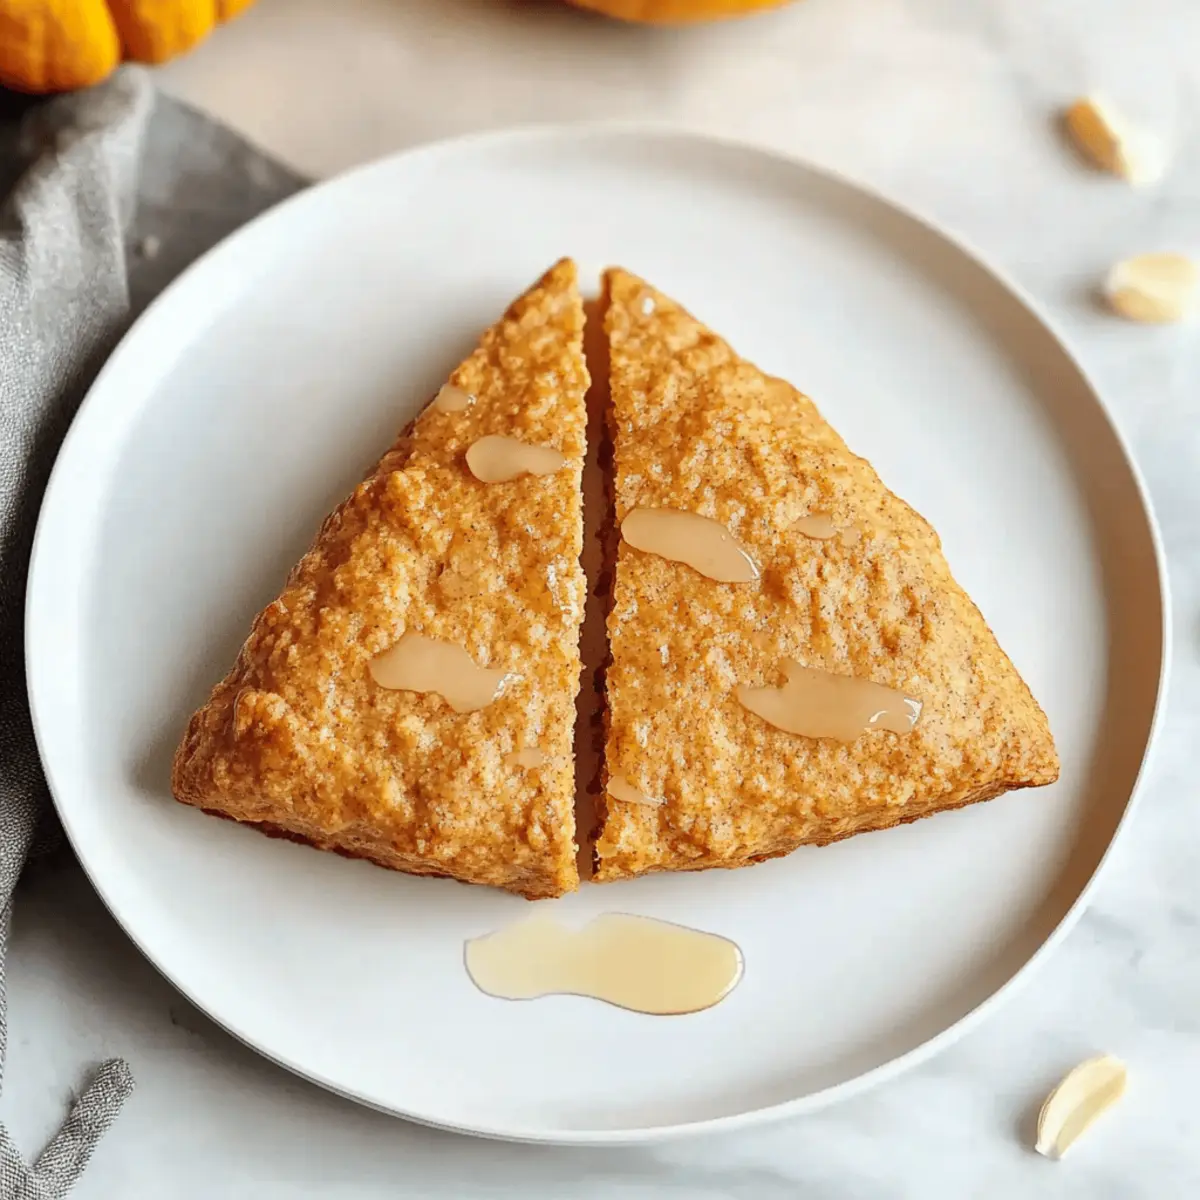
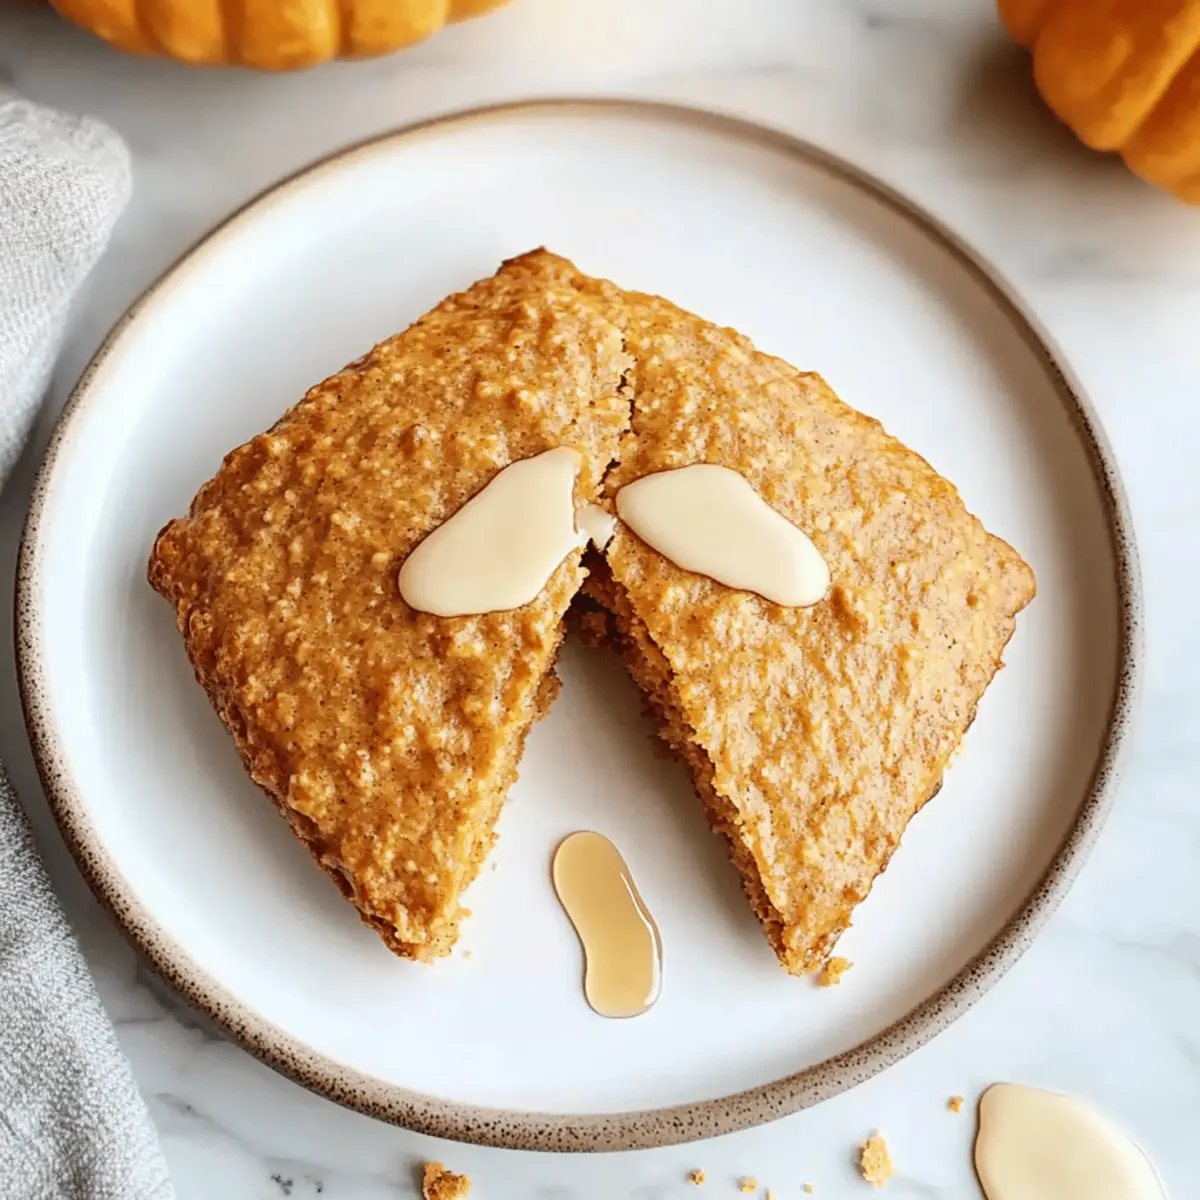
As I nestled into my favorite corner of the kitchen, that familiar autumn scent began to weave its way through the air, inviting me to bake something special. These Healthy Pumpkin Scones are my go-to for capturing the cozy essence of fall while keeping my health goals in check. Packed with wholesome ingredients like whole grain flour and earthy pumpkin, they’re not just a delightful breakfast option; they freeze beautifully for those busy mornings when you need a little comfort without the guilt. Imagine treating yourself to a tender, flaky scone that warms the soul and makes your day a bit brighter. So, are you ready to indulge in a guilt-free treat that combines health and flavor? Let’s dive into this heartwarming recipe!

Why Choose Healthy Pumpkin Scones?
Healthy indulgence never tasted so good! These pumpkin scones are crafted to elevate your breakfast experience, featuring wholesome ingredients that won’t derail your wellness goals. Flaky and tender, they melt in your mouth, providing that cozy fall vibe with every bite. Versatile enough to pair with everything from yogurt to a warm cup of tea, they’re sure to please both family and guests. Plus, time-saving freezing options mean you can enjoy them any day of the week. Looking for more fall flavors? Check out these delightful Pumpkin Scones Sweet or perhaps the comforting Chocolate Chip Pumpkin for a delightful twist!
Pumpkin Scones Ingredients
For the Scones
• Instant Oats – Adds texture and moisture; substitute with rolled oats for a chewier bite.
• Canned Pumpkin Purée – Provides flavor and moisture without added sugars; make sure it’s 100% pumpkin, not pie filling.
• Pure Maple Syrup – A natural sweetener that enhances flavor; honey or agave syrup can be used as alternatives.
• Vanilla Extract – Adds depth of flavor; can be omitted if unavailable.
• White Whole Wheat Flour or Gluten-Free Flour – Gives structure; use all-purpose flour as a straightforward substitute.
• Pumpkin Pie Spice Blend – Provides that iconic fall flavor; freshly ground spices can enhance taste.
• Baking Powder – Leavening agent for rise; ensure it’s fresh for best results.
• Salt – Enhances overall flavor; use sea salt or kosher salt for a milder taste.
• Cold Unsalted Butter – Adds richness and flakiness; essential for texture; can replace with coconut oil for a dairy-free option.
• Nonfat Milk – Adds moisture; substitute with any non-dairy milk if desired.
Optional Toppings
• Butter – Perfect for spreading on warm scones; enhances richness.
• Cream Cheese – Adds creamy texture and tangy flavor; a delightful pairing with pumpkin scones.
• Honey or Greek Yogurt – Offers moisture and sweetness; great for a nutritious accompaniment.
These Pumpkin Scones are a delicious, healthy option for cozy mornings and will keep your taste buds happy!
Step‑by‑Step Instructions for Healthy Pumpkin Scones
Step 1: Preheat the Oven
Begin by preheating your oven to 425°F (218°C). While the oven heats up, prepare a baking sheet by lining it with parchment paper. This will prevent the scones from sticking and ensure easy cleanup. The right temperature is essential for baking healthy pumpkin scones to a golden perfection.
Step 2: Combine Wet Ingredients
In a medium mixing bowl, combine the instant oats, canned pumpkin purée, pure maple syrup, and vanilla extract. Use a spatula to mix thoroughly until you achieve a well-combined, smooth mixture. This delightful blend will serve as the flavorful base of your pumpkin scones, harmonizing those cozy autumn tastes.
Step 3: Mix Dry Ingredients
In another bowl, whisk together the white whole wheat flour or your gluten-free flour option, pumpkin pie spice, baking powder, and salt. Ensure these elements are well-blended to help distribute the leavening agent evenly. This creates the perfect dry mix that will add structure and flavor to the healthy pumpkin scones.
Step 4: Incorporate the Butter
Now, take the cold unsalted butter and cut it into small cubes, adding them to the dry mixture. Use a pastry cutter or your fingertips to blend the butter into the flour until it resembles coarse crumbs. This step is crucial for achieving the flaky texture we all love in pumpkin scones.
Step 5: Combine Mixtures
Gently fold the oat mixture into the flour mixture, stirring just until combined. Add three tablespoons of nonfat milk, and mix until a soft dough forms. Be cautious not to over-mix; you want the dough to remain a bit shaggy but cohesive. This careful blending helps maintain the scones’ tender texture.
Step 6: Shape the Dough
Transfer the dough to the prepared baking sheet and shape it into a circle about ¾-inch thick. Once shaped, brush the top with the remaining milk to ensure a golden crust during baking. The scone shape should start to come together, inviting you to continue with the next steps.
Step 7: Slice the Dough
Using a sharp knife, slice the dough into eight equal segments, but do not separate them. This allows the healthy pumpkin scones to rise beautifully as they bake. This pre-slicing is a handy trick to ensure they’re perfectly portioned and adds a lovely presentation.
Step 8: Bake the Scones
Place the baking sheet in the preheated oven and bake the scones for 22 to 26 minutes. Keep an eye on them as they bake; they should turn a lovely golden brown and feel firm to the touch. The heavenly aroma of pumpkin spices will fill your kitchen, signaling they are nearly ready.
Step 9: Cool and Serve
Once baked, remove the pan from the oven and allow the scones to cool for about 10 minutes. This cooling time helps them firm up without losing their softness. Afterward, serve your healthy pumpkin scones warm, perhaps paired with a dollop of cream cheese or a drizzle of honey for a delightful treat!

Make Ahead Options
These Healthy Pumpkin Scones are perfect for meal prep enthusiasts! You can prepare the dough up to 24 hours in advance by mixing the wet and dry ingredients separately, then refrigerating them until you’re ready to bake. Keeping the cold butter in the dough ensures flakiness, so just combine them just before baking. Alternatively, you can shape and slice the scones, refrigerating the tray itself for up to 3 days. When you’re ready to enjoy them, bake straight from the fridge, adding a few extra minutes to the cooking time for optimal results. Enjoy the convenience of healthy, homemade pumpkin scones any day, without sacrificing flavor or texture!
Pumpkin Scones Variations & Substitutions
Feel free to let your creativity shine by customizing these healthy pumpkin scones to suit your taste preferences!
- Nutty Twist: Add chopped pecans or walnuts for delightful crunch and added nutrition. The earthy flavors blend beautifully with pumpkin!
- Fruity Addition: Stir in dried cranberries or raisins for a juicy pop of sweetness that complements the scone’s pumpkin essence.
- Chocolate Delight: Fold in chocolate chips for a rich chocolate twist – a perfect indulgence for sweet cravings!
- Spice It Up: Experiment with spices like cardamom or ginger to create a unique flavor profile that elevates your scone experience.
- Gluten-Free Option: Use a gluten-free flour blend and be sure to omit the baking powder if using self-rising flour for gluten-free scones.
- Vegan Version: Swap out dairy butter for coconut oil and replace milk with your favorite plant-based alternative for a vegan-friendly scone.
- Sweetness Level: Adjust the maple syrup based on your preferred sweetness; a little extra can enhance the flavors if you like it sweeter.
- Savory Hint: Add a dash of smoked paprika or cheese into the mix for a surprising savory twist that makes your scones unique.
These Healthy Pumpkin Scones are just the beginning! If you’re in the mood for more pumpkin-infused delights, you might also enjoy these Pumpkin Scones Sweet or perhaps treat yourself to the comforting flavors found in Chocolate Chip Pumpkin. Enjoy experimenting in the kitchen!
How to Store and Freeze Pumpkin Scones
Room Temperature: Store leftover pumpkin scones in an airtight container at room temperature for up to 3 days. This keeps them fresh and soft for quick snacks!
Fridge: For longer freshness, you can refrigerate pumpkin scones in a sealed container for up to 5 days. Just remember to enjoy them warm for the best flavor!
Freezer: Freeze scones individually wrapped in plastic wrap and placed in a freezer-safe bag for up to 3 months. This makes for a perfect, quick breakfast option whenever you crave a cozy treat.
Reheating: To reheat, place the scone in a preheated oven at 350°F (175°C) for about 10 minutes, or until warmed through. This restores their delightful flaky texture, allowing you to enjoy them just like freshly baked!
Expert Tips for Perfect Pumpkin Scones
• Dough Handling: Be gentle when mixing, as overworking the dough can lead to dense scones. Aim for a soft, shaggy consistency to ensure lightness.
• Butter Temperature: Use cold unsalted butter for flaky layers; cutting it straight from the fridge helps achieve that perfect texture in your pumpkin scones.
• Ingredient Quality: Ensure your baking powder is fresh to promote proper rising; expired leavening agents can lead to flat scones.
• Chilling Time: If possible, refrigerate the shaped dough for 15-30 minutes before baking. This extra chill helps maintain their shape and enhances flakiness.
• Experiment with Spices: Don’t hesitate to play with spices! Adding a pinch of nutmeg or extra cinnamon can elevate the pumpkin flavor for a unique twist.
What to Serve with Healthy Pumpkin Scones?
Transform your breakfast table into a cozy fall feast with these delightful pairings that elevate your scones to new heights.
-
Creamy Harvest Soup: A warm bowl of butternut squash soup creates a comforting contrast, perfectly complementing the spices in the scones. It’s like a cozy hug on a chilly morning!
-
Greek Yogurt Parfait: Layer Greek yogurt and fresh berries to add a creamy and fruity element, providing a refreshing balance to the sumptuous scones.
-
Maple Cinnamon Butter: Spread this flavorful concoction over your scones, adding a sweet, creamy touch that enhances the pumpkin goodness. It’s blissfully indulgent!
-
Turkey Sausage Links: The savory meatiness of turkey sausage pairs nicely with the sweet and spiced scones, ensuring a well-rounded, satisfying breakfast that’ll keep you energized.
-
Spiced Chai Latte: Enjoy with a hot spiced chai latte, whose warmth and aromatic notes perfectly amplify the scone’s flavors, making every sip and bite together utterly delightful.
-
Cranberry Orange Salad: This bright, zesty salad adds a fresh crunch, offering a wonderful contrast to the tender, warm scones while boosting your vitamin intake in a delicious way.
-
Pumpkin Spice Tea: Sip on pumpkin spice tea to maintain that fall theme, harmonizing beautifully with the flavors of your scones, creating a thematic, cozy drink experience.
-
Warm Apple Crisp: Top off your pumpkin feast with a warm apple crisp, its sweet, caramelized apples providing a delightful dessert that echoes the autumn vibes of your scones.

Pumpkin Scones Recipe FAQs
How do I choose the best pumpkin purée for my scones?
Absolutely! When selecting canned pumpkin purée, make sure to choose a brand that lists “100% pumpkin” as the only ingredient. Avoid pumpkin pie filling, which contains added sugars and spices that can alter the flavor of your scones. Checking the label is essential for a wholesome treat!
How should I store the pumpkin scones for freshness?
You can store leftover pumpkin scones in an airtight container at room temperature for up to 3 days. This keeps them soft and delicious for quick snacking! If you want to keep them longer, refrigerate them in a sealed container for up to 5 days. Just remember to warm them before enjoying for that fresh-baked taste!
Can I freeze pumpkin scones for later use?
Yes, you can! To freeze the pumpkin scones, wrap each one individually in plastic wrap and place them in a freezer-safe bag or container. They can be frozen for up to 3 months. When you’re ready to enjoy them, simply reheat in a preheated oven at 350°F (175°C) for about 10 minutes, and they’ll regain their delightful flaky texture!
What can I do if my scone dough is too wet or dry?
Very! If your dough is too wet, sprinkle a little more flour, a tablespoon at a time, until it holds together without being sticky. If it’s too dry, add a bit more milk, starting with just a teaspoon, until the dough reaches a soft, shaggy consistency. Remember, gentle handling is key to the light fluffiness of your pumpkin scones!
Are these pumpkin scones suitable for people with gluten sensitivities?
Definitely! Simply substitute the white whole wheat flour with a good-quality gluten-free flour blend. This adjustment ensures everyone can enjoy these delightful pumpkin scones without compromising on taste. Just be sure to follow the rest of the recipe as-is, and they’ll turn out beautifully!
How do I achieve the perfect flaky texture in my scones?
To ensure you get that delicious flaky texture, use cold unsalted butter and cut it into small cubes before mixing it into your dry ingredients. This is crucial! The cold butter creates pockets of steam as the scones bake, resulting in a light, tender crumb. Also, be careful not to overwork the dough—mix just until combined for best results.

Pumpkin Scones: Healthy, Flaky Treats for Cozy Mornings
Ingredients
Equipment
Method
- Preheat your oven to 425°F (218°C) and line a baking sheet with parchment paper.
- In a mixing bowl, combine instant oats, canned pumpkin purée, pure maple syrup, and vanilla extract until smooth.
- In another bowl, whisk together flour, pumpkin pie spice, baking powder, and salt.
- Cut the cold butter into small cubes, mix them into the dry ingredients until resembling coarse crumbs.
- Fold the wet mixture into the dry mixture, add milk, stir until a soft dough forms.
- Shape dough into a circle about ¾-inch thick on the baking sheet, brush the top with remaining milk.
- Slice the dough into eight equal segments, but do not separate them.
- Bake for 22 to 26 minutes until golden brown and firm to the touch.
- Cool for about 10 minutes before serving warm.

Leave a Reply