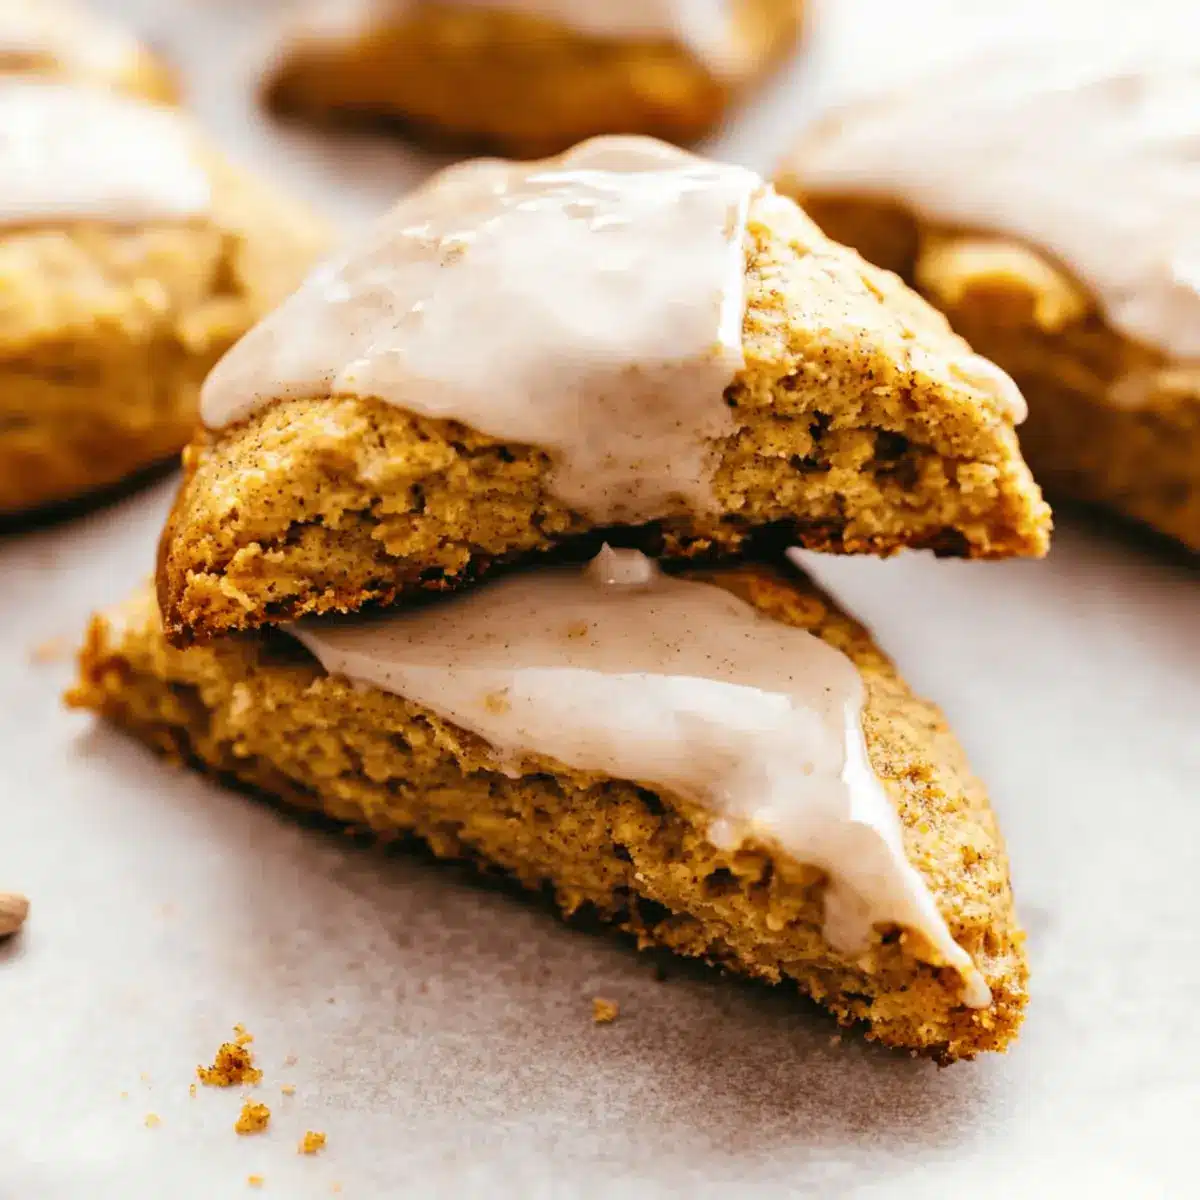
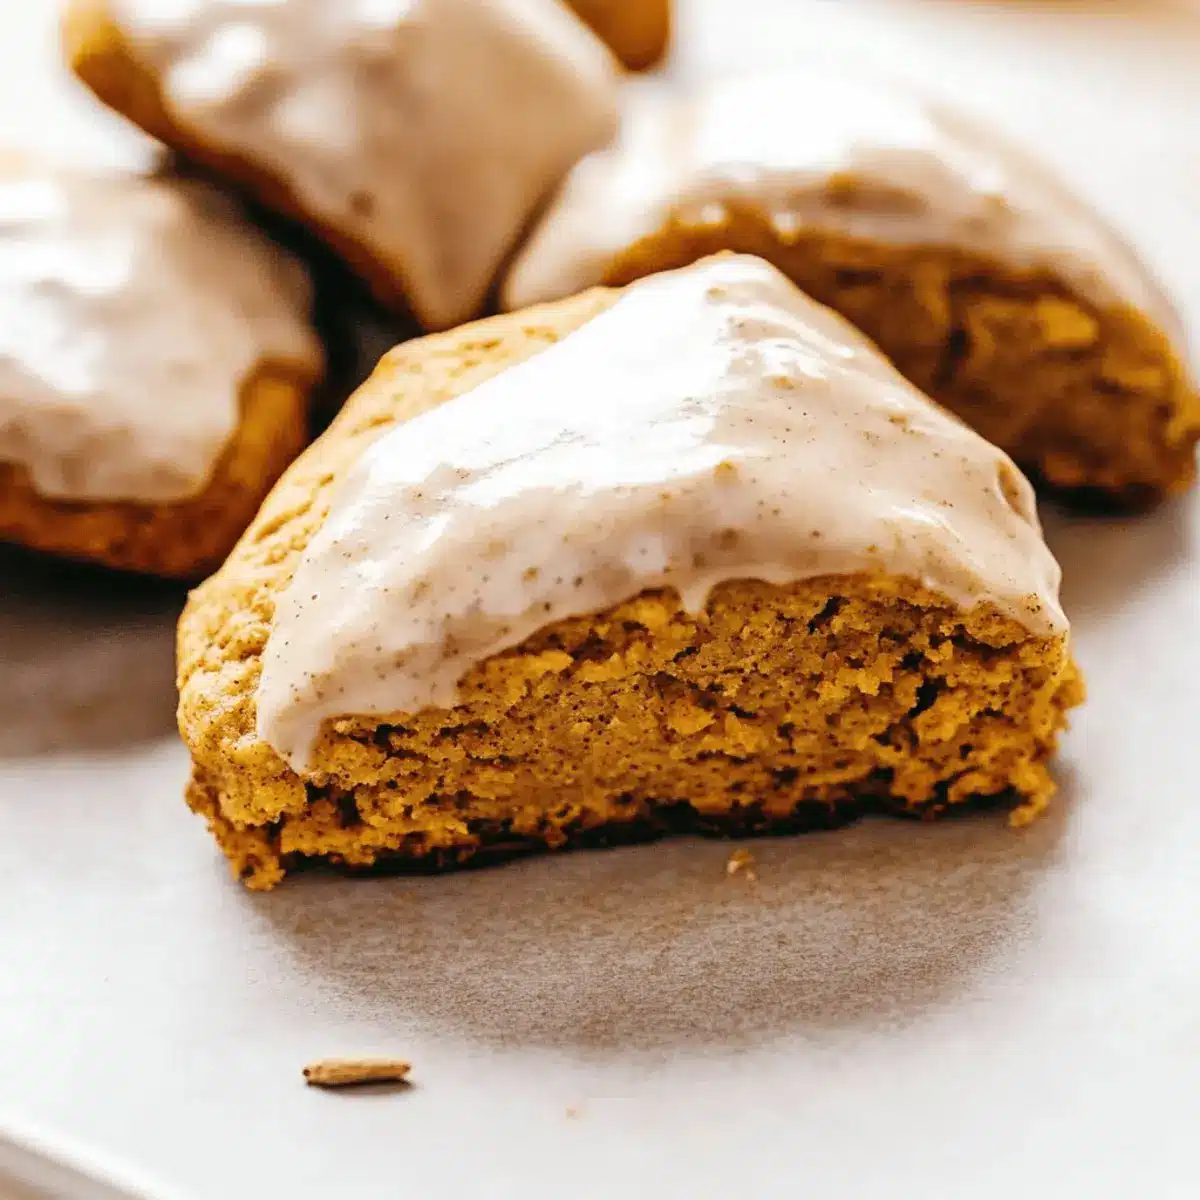
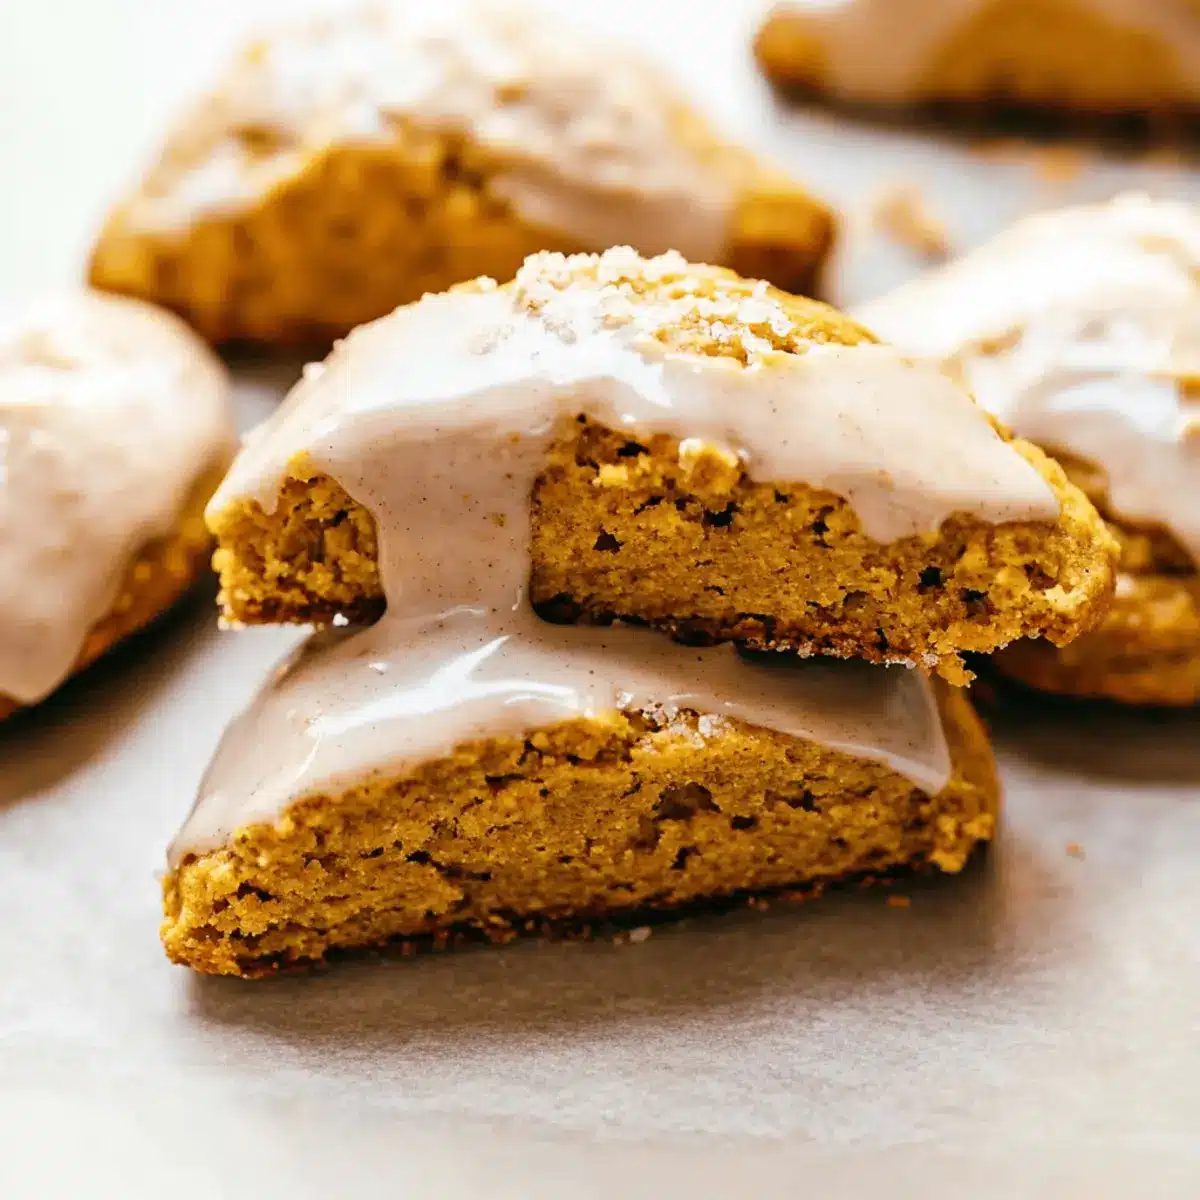
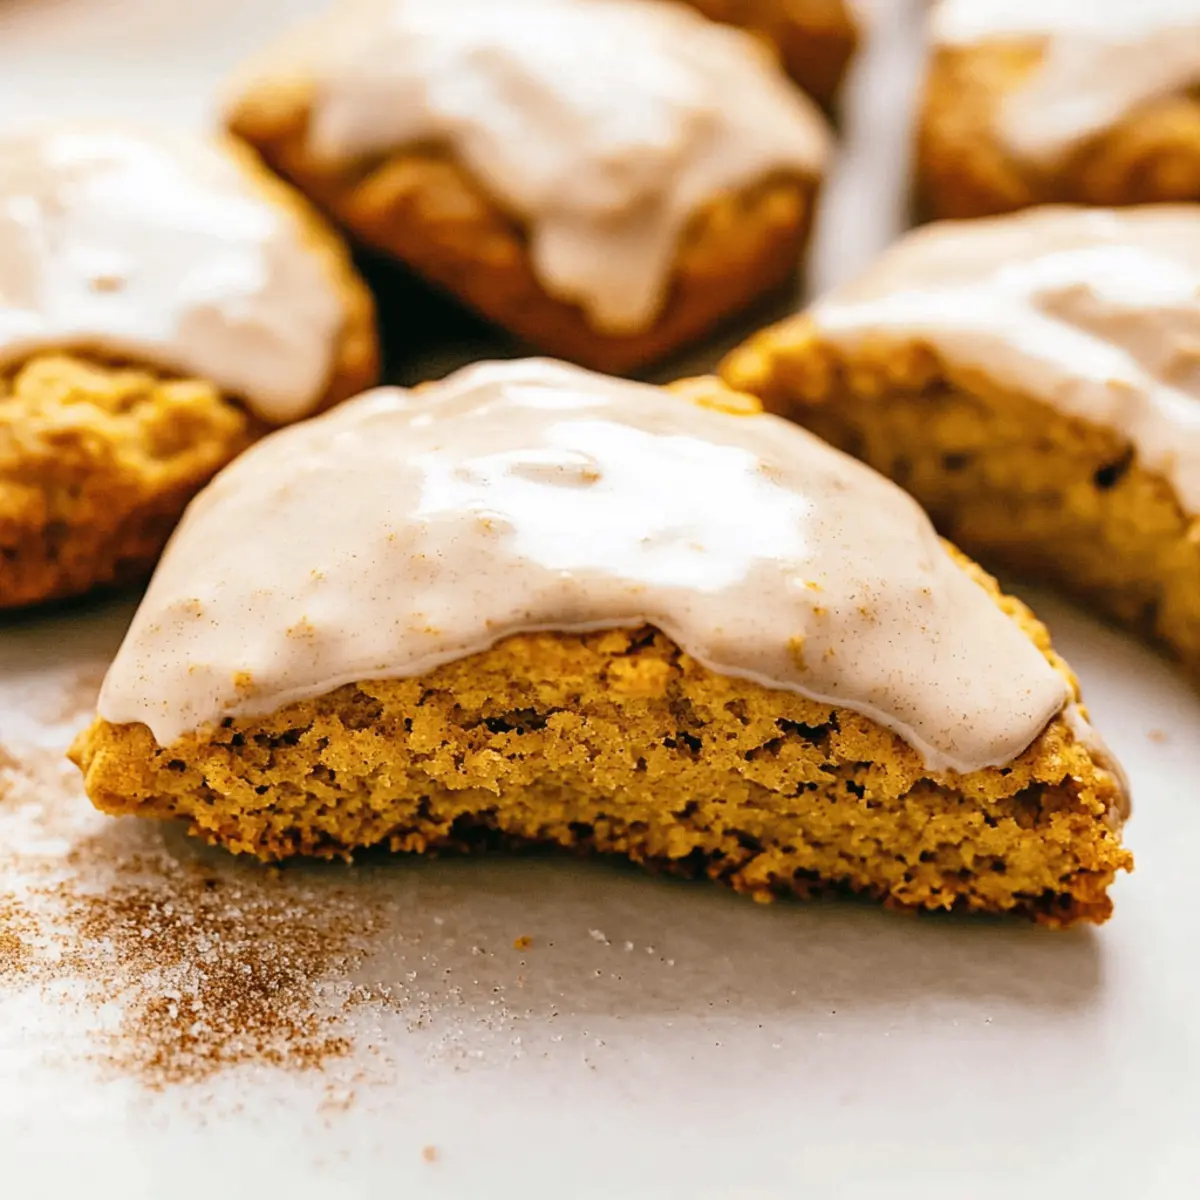
In the heart of autumn, the air is filled with hints of cinnamon and nutmeg, calling for a cozy treat that warms the soul. Enter my Pumpkin Scones—these mouthwatering delights are incredibly light and buttery, inviting you to indulge in the essence of fall. Dressed with a sweet maple glaze and a sugary crust, they’re perfect for gatherings or brunches, especially when paired with your favorite hot beverage. Quick to prepare and irresistibly delicious, these scones bring the coffee shop experience right to your kitchen. Who can resist the comforting aroma of freshly baked scones wafting through the air? Stick around to discover how to make these delightful bites that are bound to become a seasonal favorite!

Why Are Pumpkin Scones a Must-Try?
Irresistible flavors: These pumpkin scones combine the warmth of cozy spices with the sweetness of maple for a flavor that screams autumn.
Quick preparation: In just a few simple steps, you’ll be on your way to enjoying fresh-baked scones—perfect for those busy mornings or afternoon cravings.
Versatile serving options: Serve them warm with a side of apple butter or simply drizzle more glaze for an extra dose of sweetness.
Perfect for sharing: These delightful scones are sure to impress friends and family, making them ideal for brunches or holiday gatherings. Pair them with a warm cup of cocoa or a pumpkin spice latte for the ultimate treat!
Make-ahead convenience: Prep the dough in advance and bake fresh scones when you need them, just like my delicious Soft Pumpkin Cookies!
Pumpkin Scone Ingredients
For the Scones
- All-Purpose Flour – Provides the structure for these light and buttery pumpkin scones; avoid whole wheat for the best texture.
- Baking Powder – Acts as a leavening agent, ensuring your scones rise beautifully.
- Ground Cinnamon – Adds a warm, cozy flavor; feel free to adjust to your taste!
- Ground Ginger – Brightens the spice profile, making it more aromatic.
- Ground Allspice – Enhances the overall warmth; just a pinch makes a difference!
- Ground Nutmeg – Gives a sweet and nutty flavor that complements the pumpkin perfectly.
- Ground Cloves – Adds depth and warmth, balancing the sweetness of the scones.
- Salt – Essential for enhancing flavor without making your scones taste salty.
- Unsalted Butter – Creates that signature flaky texture; freeze and cut into cubes for best results.
- Large Egg – Binds everything together and contributes to the moisture of your scone.
- Heavy Cream – Provides rich moisture; can be substituted with half-and-half if needed.
- Canned Pumpkin – Brings the quintessential pumpkin flavor and moisture—press out excess liquid for best results.
- Light Brown Sugar – Infuses sweetness and a hint of caramel flavor; white sugar can be a substitute, but it alters the taste.
- Vanilla Bean Paste or Extract – Adds a lovely depth of flavor; try almond extract for a unique twist.
- Coarse Sugar – For sprinkling on top, gives a delightful crunch; optional but highly recommended.
For the Glaze
- Powdered Sugar – For sweetness and smoothness in your glaze; essential for that perfect finish.
- Unsalted Butter – A rich base for the glaze; can be replaced with dairy-free options if needed.
- Maple Syrup – Elevates the sweetness and gives that signature flavor; adjust to your preferred sweetness level.
- Salt – Just a pinch to balance the sweetness.
- Ground Cinnamon – Added for extra warmth and spice in the glaze; perfect for that cozy touch.
Your warm and enticing Pumpkin Scones are just a few ingredients away!
Step‑by‑Step Instructions for Melt-in-Your-Mouth Pumpkin Scones with Maple Glaze
Step 1: Preheat and Prepare
Start by preheating your oven to 400°F (200°C). While the oven is heating, line a baking sheet with parchment paper to prevent sticking. This step is crucial for ensuring the perfect crispiness of your pumpkin scones once baked.
Step 2: Mix Dry Ingredients
In a large mixing bowl, whisk together 2 cups of all-purpose flour, 2 tablespoons of baking powder, and all the cozy spices—cinnamon, ginger, allspice, nutmeg, and cloves. This dry mixture will create the flavorful base for your pumpkin scones. Be sure to incorporate a pinch of salt to enhance the overall flavor.
Step 3: Incorporate Butter
Take ½ cup of frozen unsalted butter and cut it into small cubes. Add these to the flour mixture and use a pastry cutter or your fingers to work the butter in until it resembles small peas. This step is essential for achieving that flaky texture in your pumpkin scones.
Step 4: Combine Wet Ingredients
In a separate bowl, mix ½ cup of heavy cream, 1 large egg, 1 cup of canned pumpkin, ½ cup of light brown sugar, and 1 teaspoon of vanilla extract until smooth. Make sure to beat well to combine all ingredients fully. This wet mixture will add moisture and flavor to your scone dough.
Step 5: Merge Wet and Dry Mixtures
Create a well in the center of the dry mixture, then pour the wet ingredients into it. Gently mix with a spatula until just combined, being careful not to overmix. The dough for your pumpkin scones should be slightly sticky and shaggy, ensuring a tender result.
Step 6: Chill the Dough
Divide the dough into two equal portions and shape each into a disc about 1-inch thick. Wrap each disc in plastic wrap and place them in the freezer for 20 minutes. Chilling the dough ensures your scones maintain their shape and prevents them from spreading while baking.
Step 7: Cut Scones
After chilling, remove the discs from the freezer and unwrap them. Cut each disc into 8 wedges and transfer the pieces to your prepared baking sheet. Make sure they’re spaced apart to allow for rising. This is where your soon-to-be pumpkin scones will transform in the oven!
Step 8: Pre-Bake Glazing
Brush the tops of the scones with a little heavy cream and sprinkle with coarse sugar for a delightful crunch. Freeze the scones on the baking sheet for an additional 20 minutes. This step helps create a beautiful golden crust and a perfect glaze when finished baking.
Step 9: Bake the Scones
Place the baking sheet in your preheated oven and bake the pumpkin scones for 17-23 minutes. They should turn lightly golden brown on top, and a toothpick inserted in the center should come out clean. Watch for this color change as an indication that they are perfectly baked!
Step 10: Prepare the Glaze
While the scones are cooling slightly, prepare the sweet maple glaze. In a bowl, whisk together 1 cup of powdered sugar, 2 tablespoons of melted unsalted butter, 2 tablespoons of maple syrup, a pinch of salt, and a dash of ground cinnamon until smooth. This glaze will enhance the flavor of your pumpkin scones beautifully.
Step 11: Glaze and Serve
Drizzle the warm glaze over the slightly cooled pumpkin scones, allowing it to set for a few minutes before serving. The sweetness of the glaze combined with the warm spices of the pumpkin scones creates a delightful treat perfect for any autumn gathering.

What to Serve with Melt-in-Your-Mouth Pumpkin Scones
Warm, fragrant autumn days call for delightful pairings that emphasize the cozy flavors of pumpkin and spices.
-
Spiced Chai Tea: The aromatic blend of spices in chai complements the warm flavors of scones, making every sip a cozy experience.
-
Creamy Maple Butter: Spread this silky butter on your scone for a sweet twist that enhances the maple glaze and adds richness to each bite.
-
Warm Apple Cider: The fresh apple and cinnamon notes create a perfect fall fusion that balances the sweetness of the scones.
-
Cranberry Orange Salad: With its bright flavors and refreshing tartness, this salad contrasts the sweetness of scones while providing a delightful crunch.
-
Pumpkin Spice Latte: Indulge in a warm cup of this seasonal favorite. Its creamy, spiced nature perfectly echoes the flavors of your scones.
-
Vanilla Ice Cream: Let this creamy treat melt atop your warm scone for an indulgent dessert that elevates the entire experience.
-
Chocolate Chai Muffins: Serve these decadent muffins alongside your scones for a double dose of spice that’s sure to delight.
-
Pecan Coffee Cake: With its buttery layers and crunchy topping, the cake complements the tender scones and adds variety to your fall brunch.
How to Store and Freeze Pumpkin Scones
Fridge: Store your pumpkin scones in an airtight container for up to 2 days. Keep them chilled to maintain their delightful texture and flavor.
Freezer: For longer storage, freeze unbaked scones shaped into wedges on a baking sheet. After about 30 minutes, transfer them to an airtight container and freeze for up to 3 months.
Reheating: To enjoy frozen, unbaked pumpkin scones, bake directly from the freezer for an additional 3-5 minutes. For baked scones, reheat in a warm oven (about 350°F) for 5-10 minutes.
Make-Ahead: Prep the dough in advance and refrigerate overnight. Shape and bake fresh pumpkin scones in the morning for a warm, comforting treat!
Expert Tips for Perfect Pumpkin Scones
-
Use Cold Ingredients: Ensure all components, especially butter and cream, are cold to maintain that light, flaky texture in your pumpkin scones.
-
Don’t Skip Chilling: Chilling the dough before baking is crucial. It helps the scones retain their shape and leads to a tender crumb.
-
Press Pumpkin Dry: Always press excess liquid from the canned pumpkin to prevent a dense dough. This step is key for light and airy scones.
-
Mix Gently: When combining wet and dry mixtures, mix just until combined. Overmixing will lead to tough scones—nobody wants that!
-
Experiment with Spices: Adjust spices such as cinnamon, nutmeg, and ginger to suit your taste. This can elevate your pumpkin scones to your unique flavor profile.
Pumpkin Scones Variations & Substitutions
Explore the endless possibilities to make these pumpkin scones your own with exciting twists and swaps!
- Butternut Squash: Substitute pumpkin with butternut squash puree for a milder, sweeter flavor. It adds a delightful creaminess that everyone will adore!
- Chocolate Chips: Fold in a cup of chocolate chips for a sweet contrast against the spices and pumpkin. This is a perfect way to indulge your sweet tooth!
- Nuts Galore: Add chopped pecans or walnuts for a satisfying crunch and a lovely nutty flavor. They beautifully complement the cozy spices.
- Vegan Twist: Swap out the butter for vegan butter and replace heavy cream with coconut cream for a dairy-free version. Enjoy the richness without any dairy!
- Spice Boost: Turn up the heat by adding a pinch of cayenne pepper or red pepper flakes for a subtle kick. This little change will surprise your taste buds!
- Gluten-Free: Use a gluten-free all-purpose blend to accommodate dietary needs without sacrificing flavor or texture. Making these scones accessible has never been easier!
- Alternative Sweeteners: Experiment with maple sugar or monk fruit sweetener instead of brown sugar for a different flavor profile. Tailor the sweetness to your liking!
- Herb Infusion: Fold in some finely chopped fresh rosemary or thyme for an aromatic, herbal note that elevates these scones to a new level of sophistication.
For more delicious alternatives, check out my recipes like these delightful Soft Pumpkin Cookies that offer variations you can enjoy all season long.
Make Ahead Options
These Pumpkin Scones are perfect for busy home cooks who love the idea of prepping in advance! You can prepare the dough and refrigerate it up to 24 hours before baking, which allows the flavors to meld beautifully. Simply shape the dough into discs, wrap tightly in plastic, and store in the fridge. When you’re ready to bake, simply cut the chilled dough into wedges, brush with cream, and freeze the shaped scones for an additional 20 minutes for optimal results. This method ensures your scones maintain that flaky, light texture, giving you fresh-baked, restaurant-quality treats with minimal effort!

Pumpkin Scones Recipe FAQs
What type of pumpkin should I use for the scones?
I recommend using canned pumpkin for consistent moisture and flavor. If you opt for fresh pumpkin, be sure to press out any excess liquid, as too much moisture can lead to a dense scone texture.
How do I properly store pumpkin scones?
Store your pumpkin scones in an airtight container for up to 2 days. This will help maintain their delightful texture and flavor. If you’d like to enjoy them beyond that, consider freezing for longer storage.
Can I freeze pumpkin scones before baking?
Absolutely! Shape your unbaked pumpkin scones into wedges, place them on a baking sheet, and freeze for about 30 minutes. Then, transfer them to an airtight container to freeze for up to 3 months. Just bake directly from the freezer, adding a few extra minutes to your baking time.
What should I do if my scone dough is too sticky?
If your dough is excessively sticky, it may be due to too much moisture in the pumpkin. In this case, you can lightly flour your work surface and your hands to help shape the dough, but be careful not to add too much flour, as this can make the scones dense.
Are pumpkin scones safe for pets?
While pumpkin is safe for dogs in moderation, it’s best to avoid giving scones to pets due to the added ingredients like sugar and spices that may not be good for them. Always check with your vet if you’re unsure about sharing human food with your pets.
What are some creative variations for pumpkin scones?
You can swap out the pumpkin for butternut squash puree for a different flavor profile. Feel free to add chocolate chips, nuts, or even dried cranberries to the dough for added texture and flavor. For a dairy-free option, substitute butter with vegan butter and use coconut cream instead of heavy cream.

Irresistible Pumpkin Scones with Sweet Maple Glaze
Ingredients
Equipment
Method
- Preheat your oven to 400°F (200°C) and line a baking sheet with parchment paper.
- In a large mixing bowl, whisk together the flour, baking powder, cinnamon, ginger, allspice, nutmeg, cloves, and salt.
- Cut the frozen butter into the dry mixture until it resembles small peas.
- In a separate bowl, mix the heavy cream, egg, pumpkin, brown sugar, and vanilla until smooth.
- Create a well in the dry mixture and pour the wet ingredients into it. Gently mix with a spatula until just combined.
- Divide the dough into two discs, wrap in plastic wrap, and freeze for 20 minutes.
- Cut each disc into 8 wedges and transfer them to the baking sheet, spaced apart.
- Brush tops with heavy cream and sprinkle with coarse sugar, then freeze for another 20 minutes.
- Bake for 17-23 minutes until lightly golden brown; a toothpick should come out clean.
- Prepare the glaze by whisking together the powdered sugar, melted butter, maple syrup, salt, and cinnamon until smooth.
- Drizzle the glaze over warm scones and let set before serving.

Leave a Reply