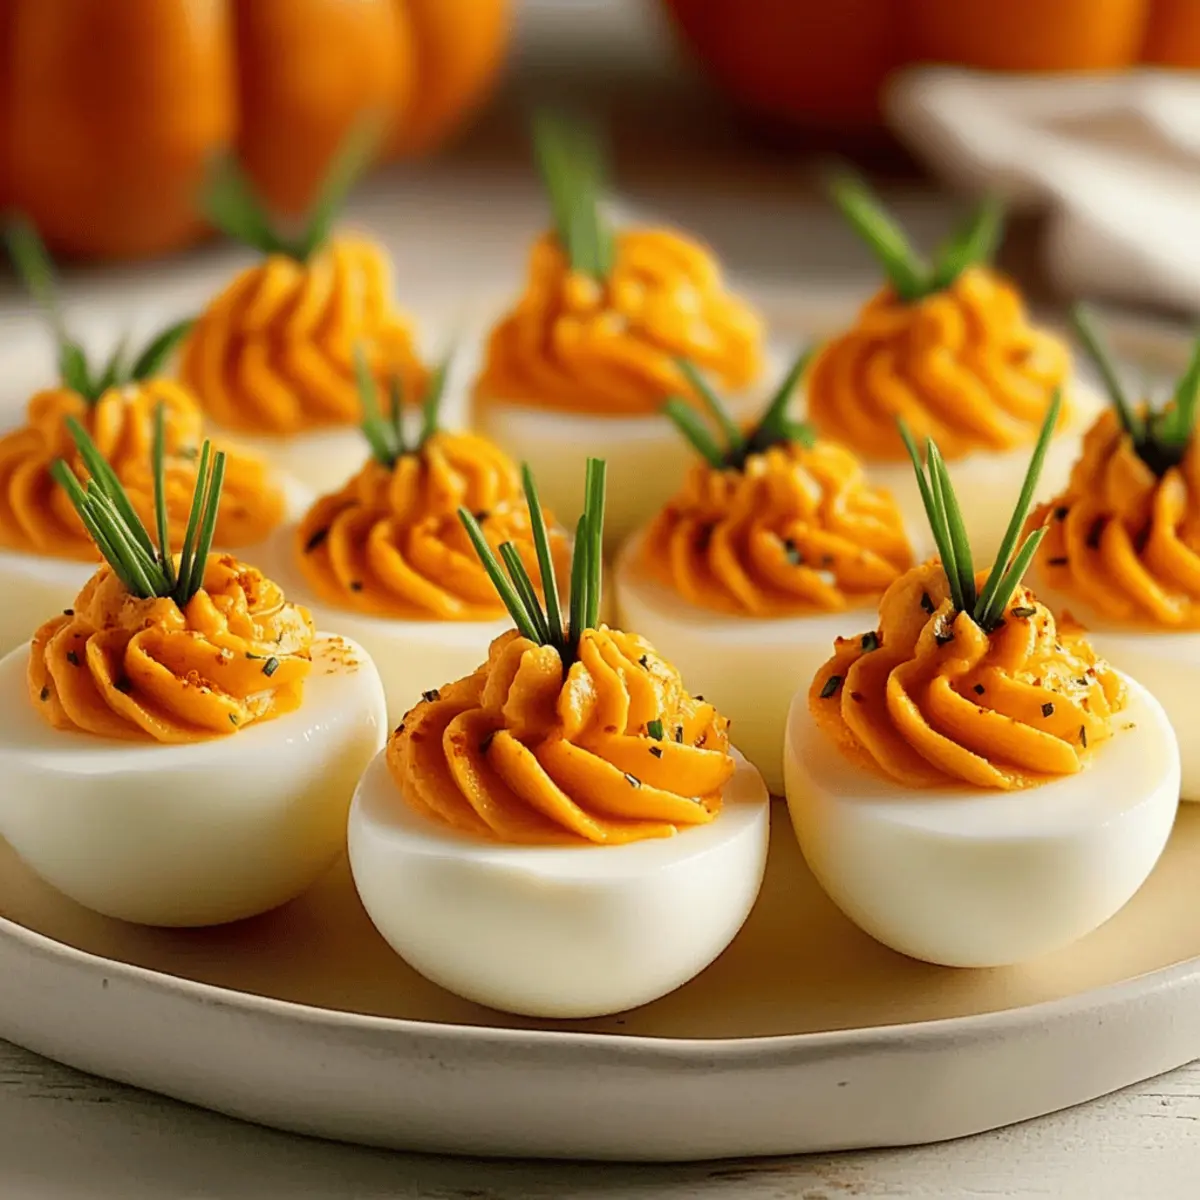
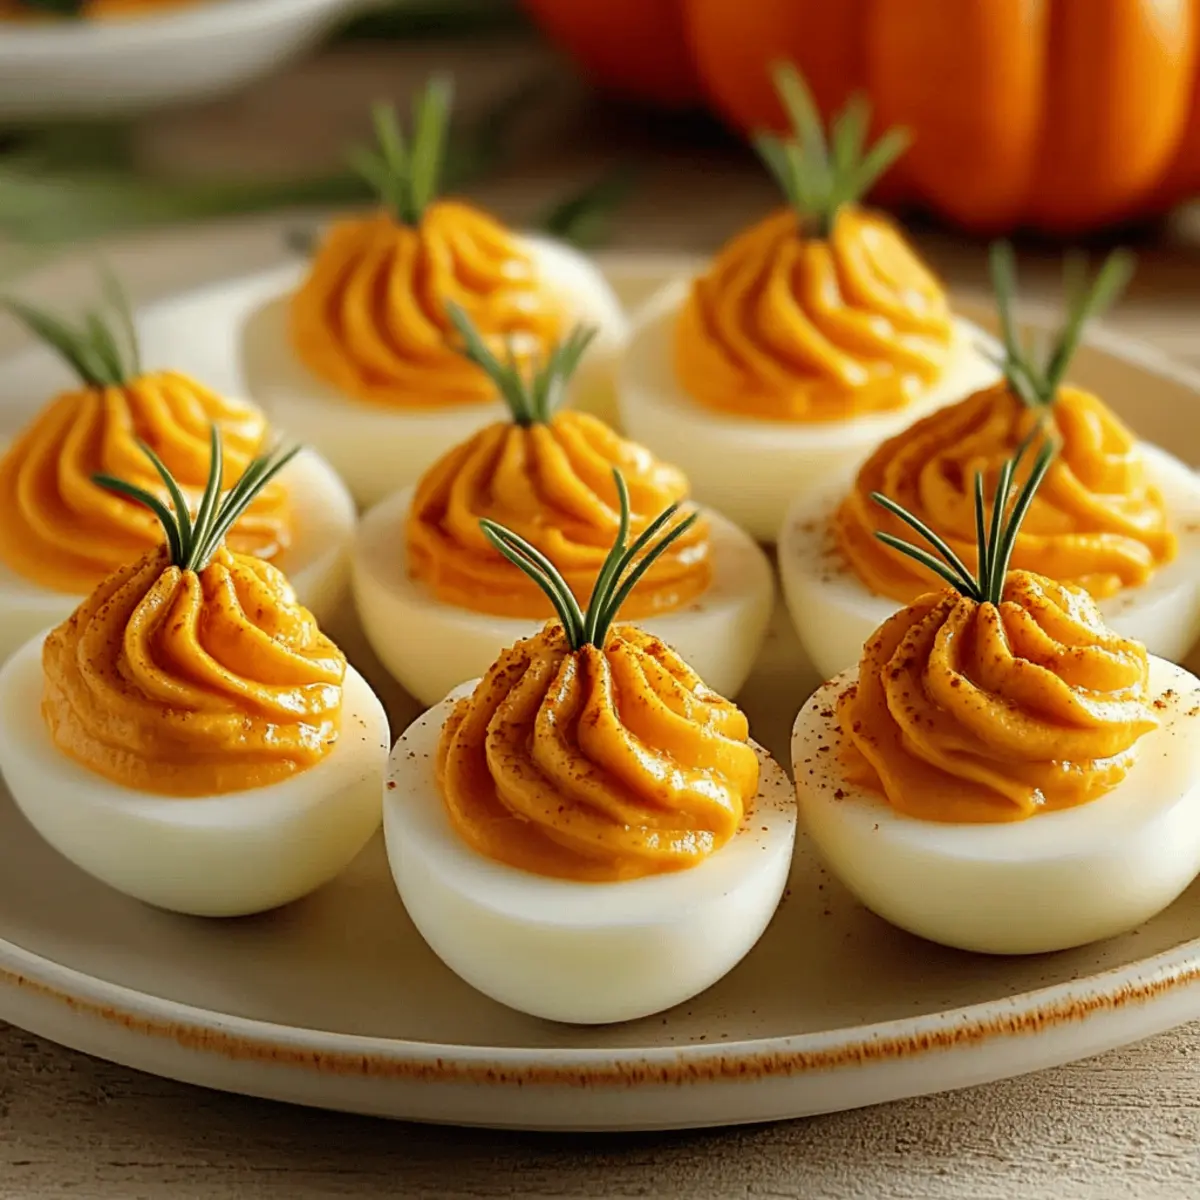
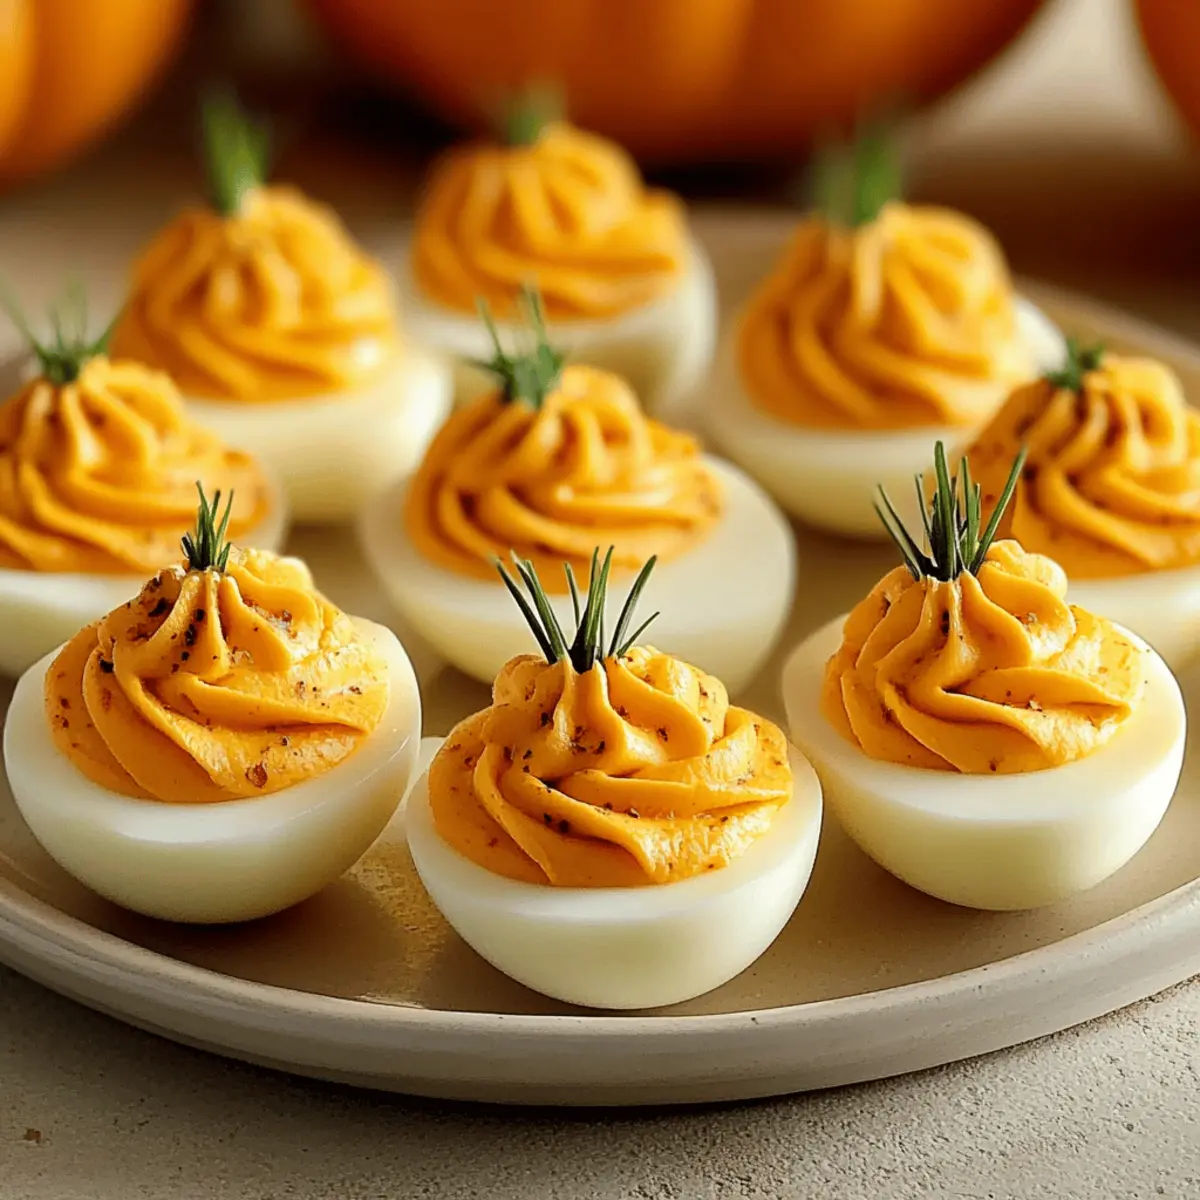
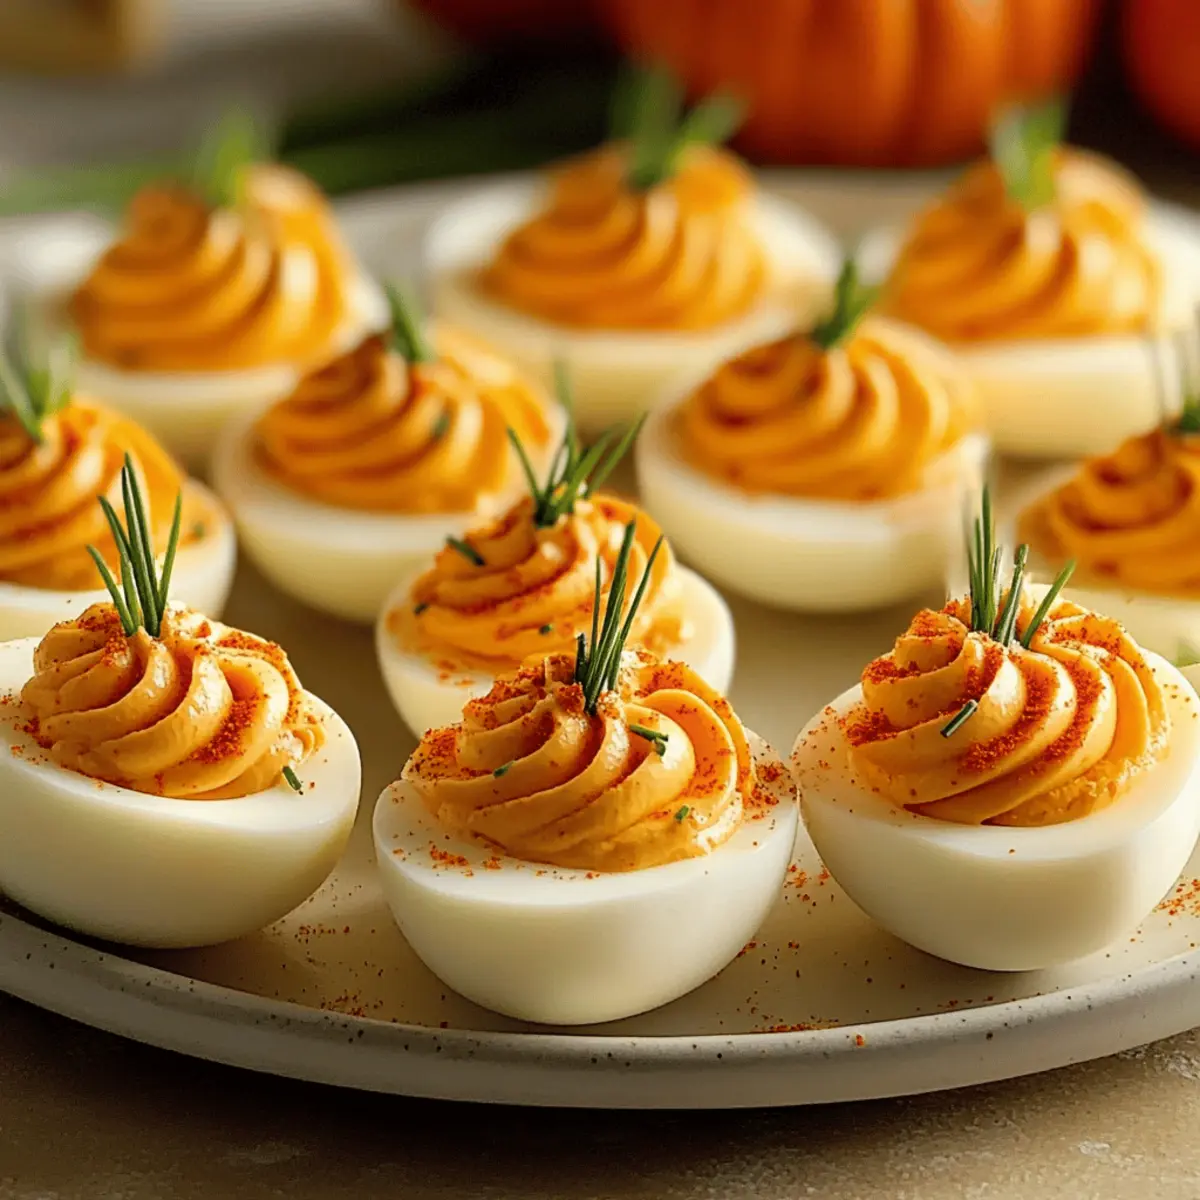
There’s nothing quite like the excitement of autumn gatherings, where the scent of cinnamon and pumpkin spice fills the air. This season, I’m thrilled to share my recipe for Pumpkin Patch Deviled Eggs, the perfect festive appetizer that will wow your guests and elevate your home-cooking game. Not only are they visually captivating with their charming pumpkin-like appearance, but they’re also quick to prepare and incredibly easy to make, ensuring that even novice chefs can join the fun without stress. Imagine a velvety filling with just a hint of warmth from paprika, nestled in a soft egg white—these little delights will quickly become a crowd favorite at any celebration. Ready to impress everyone with a fun, seasonal twist on a classic dish? Let’s dive into this easy-to-follow recipe that makes your fall feasts memorable!

Why Are These Deviled Eggs Special?
Delightful Appearance: These Pumpkin Patch Deviled Eggs are visually stunning, resembling cute little pumpkins that will undoubtedly catch the eyes of your guests.
Easy to Prepare: With straightforward steps, even a kitchen novice can whip these up with confidence, ensuring stress-free cooking before your festivities.
Dynamic Flavor: The creamy filling, enhanced by a hint of paprika, offers a delicious balance of savory goodness that keeps everyone coming back for more.
Versatile Serving: Perfect as an appetizer or part of a festive spread, these deviled eggs complement everything from roasted chicken to hearty soups, making them a versatile choice.
Make-Ahead Magic: With easy storage tips and the option to prepare ingredients in advance, you can ensure your gathering goes smoothly without spending all day in the kitchen.
Get ready to wow your guests with these delightful treats, as they seamlessly blend autumnal cheer with comforting flavors! For other tasty options, consider trying my Chocolate Chip Pumpkin or Pumpkin Scones recipes for a complete festive experience.
Pumpkin Patch Deviled Eggs Ingredients
• Dive into this delightful appetizer with all the ingredients to create your delectable Pumpkin Patch Deviled Eggs!
For the Filling
- Eggs – Provides the base for the deviled eggs; slightly older eggs (7-10 days past packing date) are recommended for easier peeling.
- Mayonnaise – Adds richness and creaminess to the filling; Greek yogurt can be a lighter substitute.
- Yellow Mustard – Introduces tanginess, balancing the creamy filling for a vibrant flavor contrast.
- Salt – Enhances the flavor, bringing all the ingredients together.
- Black Pepper – Adds warmth and spice to the filling for extra depth.
- Paprika – Contributes warmth and visual appeal; consider additional paprika for dusting before serving.
- Orange Food Coloring (optional) – Gives the filling a vibrant pumpkin color; add just a tiny dash to avoid altering the flavor.
- Fresh Chives – Used for garnishing and creating the “stems” of the pumpkins; can be substituted with dill or parsley if needed.
With these ingredients, you’re just moments away from creating stunning Pumpkin Patch Deviled Eggs that will surely steal the show at your fall gatherings!
Step‑by‑Step Instructions for Pumpkin Patch Deviled Eggs
Step 1: Boil Eggs
Start by arranging 6 large eggs in a medium saucepan. Cover them with cold water, ensuring there’s an inch above the eggs. Bring the water to a rolling boil over medium-high heat. Once boiling, cover the saucepan with a lid, remove it from heat, and let the eggs sit for 10 minutes for perfect hard-boiled eggs.
Step 2: Ice Bath
While the eggs are resting, prepare a large bowl filled with ice water. After 10 minutes, carefully transfer the eggs into the ice bath using a slotted spoon. Allow them to cool in the ice water for at least 5 minutes. This step helps stop the cooking process and simplifies the peeling of the eggshells.
Step 3: Peel Eggs
Once the eggs have cooled, gently tap each egg on a hard surface until the shell is cracked all over. Roll the eggs to loosen the shells further, then peel them under cool running water to help remove stubborn bits. Place the peeled eggs on a clean kitchen towel to dry before you proceed to the next step.
Step 4: Prepare Filling
Carefully cut each peeled egg in half lengthwise and scoop the yolks into a mixing bowl. Add in mayonnaise, yellow mustard, salt, pepper, paprika, and a tiny dash of orange food coloring if desired. Use a fork or a potato masher to combine the ingredients until you achieve a smooth, creamy filling, ensuring vibrant taste and texture.
Step 5: Pipe Filling
Transfer the deviled egg mixture into a piping bag fitted with a star tip for a fun presentation. Holding the egg whites steady, pipe the filling into each half, forming a generous mound to mimic little pumpkins. Take your time to make each egg look appealing; practice makes perfect!
Step 6: Decorate
Using a dull knife or the back of a spoon, create ridges on the piped filling, giving it a pumpkin-like appearance. Insert chives into the top of each filled egg to resemble the “stems.” For an extra festive touch, dust a little additional paprika on top of each egg, enhancing both flavor and visual appeal.
Step 7: Chill
Once your Pumpkin Patch Deviled Eggs are beautifully decorated, refrigerate them for at least 30 minutes. Chilling allows the flavors to meld perfectly, ensuring a delightful taste experience. Arrange them on a serving platter just before your guests arrive for a spectacular autumn appetizer that will impress everyone!

Expert Tips for Perfect Pumpkin Patch Deviled Eggs
-
Egg Quality Matters: Use slightly older eggs (7-10 days) for easier peeling. Fresh eggs tend to stick to the shell, making it frustrating!
-
Cooling Technique: Shock the boiled eggs in an ice bath immediately after cooking. This not only cools them quickly but also helps the shells come off cleanly.
-
Smooth Filling: For a perfectly creamy texture, press the yolk mixture through a fine-mesh sieve before piping. It eliminates lumps and enhances the overall mouthfeel of your Pumpkin Patch Deviled Eggs.
-
Piping Practice: Take your time when piping the filling to create a beautiful mound. If you’re new to piping, practice on a plate first to build your confidence!
-
Garnishing Joy: Use fresh chives for the pumpkin “stems,” but feel free to get creative! Dill or even small roasted red pepper pieces work beautifully as alternatives.
Pumpkin Patch Deviled Eggs: Delightful Variations
Customize your Pumpkin Patch Deviled Eggs to tantalize your taste buds and fit any gathering; the possibilities are endless!
-
Spicy Kick: Add a pinch of cayenne or a dash of hot sauce to the filling for an exciting heat that complements the creamy texture. Perfect for those who love a little extra zing!
-
Dairy-Free: Swap out mayonnaise for avocado or tahini, creating a creamy, rich filling that’s free from dairy. This twist is not only healthier but adds a delightful twist in flavor!
-
Herb Infusion: Mix in finely chopped fresh herbs like basil or cilantro for a refreshing twist. This adds freshness and a unique flavor profile that elevates your deviled eggs.
-
Cheesy Delight: Stir in some grated cheddar or cream cheese into the filling for an irresistible cheesy bite. It’s a comforting twist on this classic favorite!
-
Roasted Red Pepper: Fold in finely diced roasted red pepper for a pop of color and smoky sweetness. This will give your deviled eggs a hearty flavor that is sure to impress your guests.
-
Pumpkin Spice: Incorporate a dash of pumpkin pie spice into your filling for a surprising autumn-inspired twist. The warm spices will enhance the festive feel of these deviled eggs!
-
Garnish Variety: Top off with crumbled bacon or fried onions for an added crunch and savory flavor contrast. These little touches can take your deviled eggs from ordinary to extraordinary!
-
Flavorful Avocado: Add mashed avocado into the filling for a creamy texture without sacrificing flavor. This nutritious ingredient pairs beautifully with the other components, making for a delectable treat.
Feel free to experiment and mix these ideas into your Pumpkin Patch Deviled Eggs recipe! For a delicious fall dessert to complement your spread, consider trying my Pumpkin Scones Sweet or indulge in a rich Chocolate Pumpkin Butter for a delightful finishing touch.
Make Ahead Options
These Pumpkin Patch Deviled Eggs are perfect for busy home cooks who want to save time during the hustle and bustle of fall gatherings! You can boil and peel the eggs up to 3 days in advance; just store them submerged in cold water and cover them in the refrigerator to maintain moisture and prevent browning. Additionally, the filling can be prepared up to 24 hours before serving—simply refrigerate it in an airtight container. When it’s time to wow your guests, assemble the eggs within 4-6 hours of serving for the best quality. These make-ahead tips not only streamline your prep but also ensure that each bite remains just as delightful!
What to Serve with Pumpkin Patch Deviled Eggs
Elevate your autumn gathering with delightful pairings that complement the charming flavors of these festive deviled eggs.
-
Crunchy Veggie Platter: A vibrant assortment of fresh vegetables adds a refreshing crunch, balancing the creamy richness of the eggs. Think crisp cucumbers, colorful bell peppers, and crunchy carrots, perfect for dipping.
-
Savory Roasted Chicken: Juicy, herb-infused roasted chicken makes a hearty pairing, echoing the warm spices in the deviled eggs while providing satisfying protein. This duo is a surefire hit for your fall spread!
-
Warm Buttery Rolls: Soft, fluffy rolls or brioche provide a comforting contrast, ideal for soaking up any leftovers of the filling or served alongside. Their pillowy texture is simply irresistible.
-
Classic Potato Salad: A creamy potato salad brings a nostalgic touch that mingles beautifully with the flavors of your Pumpkin Patch Deviled Eggs, making it a perfect side for a relaxed autumn feast.
-
Crisp Green Salad: A fresh summer salad with light dressing offers a burst of bright flavors and a touch of tartness, beautifully complementing the savory deviled egg goodness.
-
Sparkling Apple Cider: Celebrate fall with a glass of sparkling apple cider. Its fizzy sweetness pairs wonderfully with the creamy profile of the deviled eggs, creating a delightful sip that enhances your gathering.
-
Pumpkin Spiced Muffins: For a sweet endnote, serve moist and aromatic pumpkin spice muffins. Their warm spices and rich flavors are a comforting nod to autumn and resemble the delightful tastes in your deviled eggs.
Enjoy your culinary adventure this season, and let these pairings enhance your delightful Pumpkin Patch Deviled Eggs!
How to Store and Freeze Pumpkin Patch Deviled Eggs
Fridge: Store leftover Pumpkin Patch Deviled Eggs in an airtight container in the refrigerator for up to 2 days to maintain freshness and texture.
Make-Ahead: You can boil and peel the eggs 2-3 days in advance. Prepare the filling a day ahead, but assemble your deviled eggs no more than 4-6 hours before serving for best results.
Freezer: Freezing is not recommended for assembled deviled eggs, as the texture can be compromised. However, you can freeze uncooked egg whites if needed for future recipes.
Reheating: If you have leftover filled eggs, serve them cold or at room temperature—no reheating necessary, preserving their delightful creaminess!

Pumpkin Patch Deviled Eggs Recipe FAQs
How do I pick the best eggs for my Pumpkin Patch Deviled Eggs?
Absolutely! For this recipe, I recommend using slightly older eggs, about 7-10 days past their packing date. These eggs are easier to peel, ensuring you have smooth, intact whites for your deviled eggs!
What’s the best way to store leftover deviled eggs?
I suggest storing any leftover Pumpkin Patch Deviled Eggs in an airtight container in the refrigerator. They’ll remain fresh for up to 2 days. Just remember to cover them well to avoid any fridge odors!
Can I make these deviled eggs ahead of time?
Very! You can boil and peel the eggs up to 2-3 days in advance. I often prepare the filling a day ahead and store it in the refrigerator. Just remember to assemble the deviled eggs no more than 4-6 hours before serving for optimal freshness.
Can I freeze the filling for my Pumpkin Patch Deviled Eggs?
Freezing the assembled deviled eggs isn’t recommended since the texture becomes less appealing. However, you can freeze the egg whites if you want to use them later. When ready to use, thaw them in the refrigerator, then whip up your filling!
What if the filling isn’t creamy enough?
If your filling seems a bit chunky, no worries! To achieve a smoother texture, press the yolks through a fine-mesh sieve before mixing in other ingredients. This step creates a delightful creaminess in your Pumpkin Patch Deviled Eggs that everyone loves!
Are these deviled eggs safe for those with food allergies?
Great question! These Pumpkin Patch Deviled Eggs contain mayonnaise and mustard, which could cause issues for those with specific allergies. If needed, you can substitute the mayonnaise with Greek yogurt for a lighter option. Always be sure to check ingredient labels to ensure safety for any dietary restrictions.

Pumpkin Patch Deviled Eggs: A Festive Fall Treat to Impress
Ingredients
Equipment
Method
- Start by arranging 6 large eggs in a medium saucepan. Cover with cold water, ensuring there's an inch above the eggs. Bring to a rolling boil over medium-high heat.
- Cover the saucepan, remove from heat, and let sit for 10 minutes for perfect hard-boiled eggs.
- Prepare a large bowl filled with ice water. After 10 minutes, transfer the eggs into the ice bath using a slotted spoon. Allow to cool for at least 5 minutes.
- Once cooled, gently tap each egg on a hard surface until cracked all over. Peel under cool running water to remove stubborn bits.
- Cut each peeled egg in half lengthwise and scoop the yolks into a mixing bowl. Add mayonnaise, mustard, salt, pepper, paprika, and optional food coloring. Mix until smooth.
- Transfer the mixture into a piping bag fitted with a star tip and pipe into each egg white, forming a generous mound.
- Using a dull knife or spoon, create ridges on the piped filling to resemble a pumpkin. Insert chives on top to mimic stems and dust with paprika.
- Refrigerate decorated eggs for at least 30 minutes before serving.

Leave a Reply