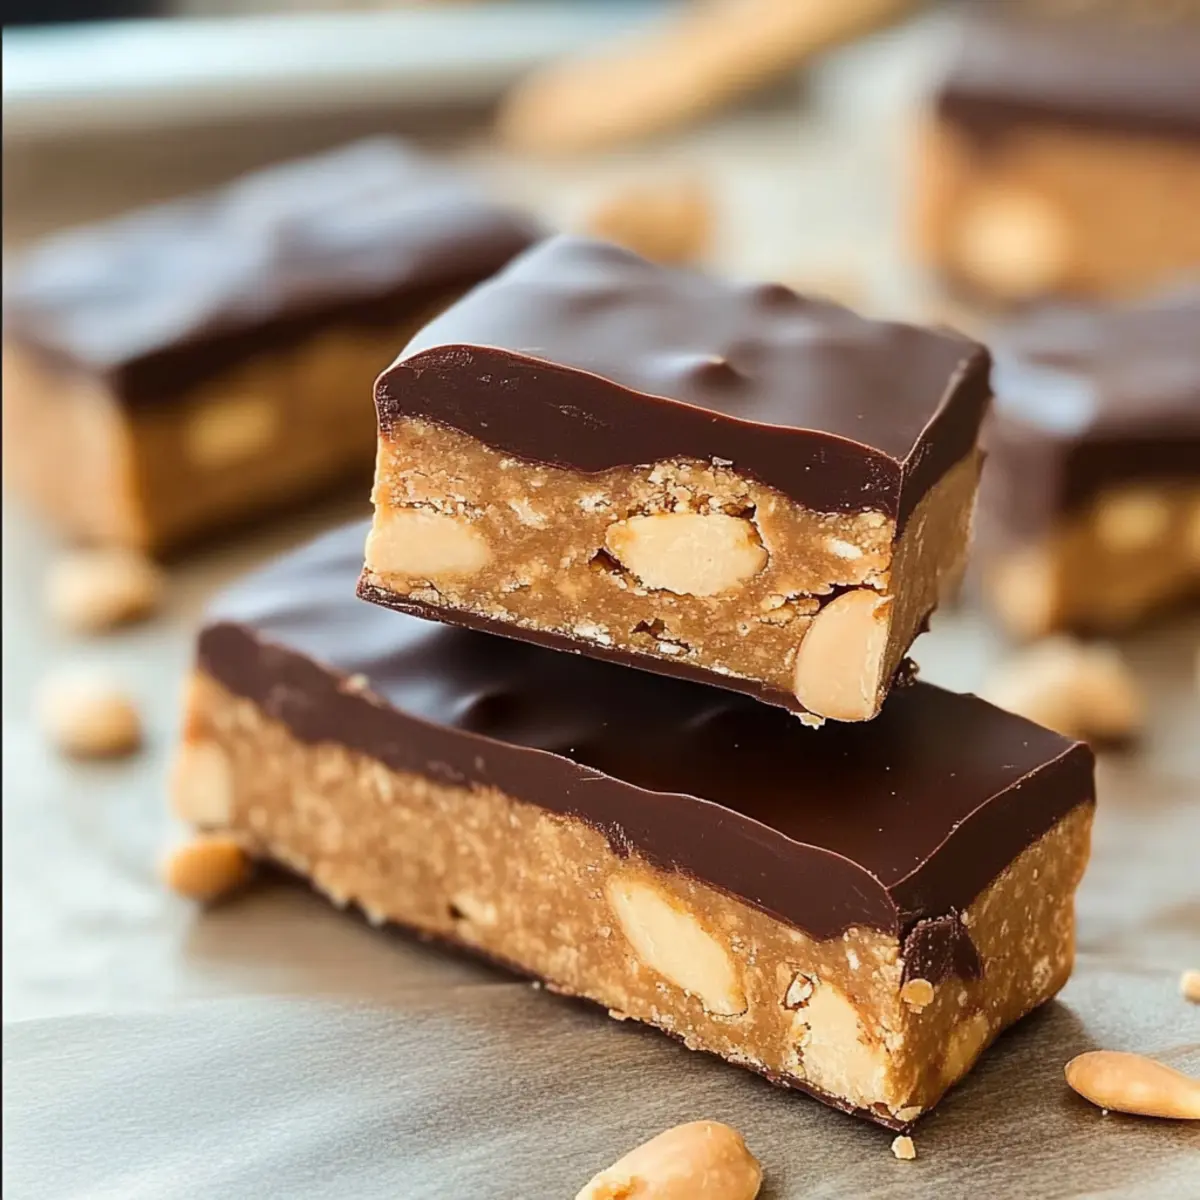
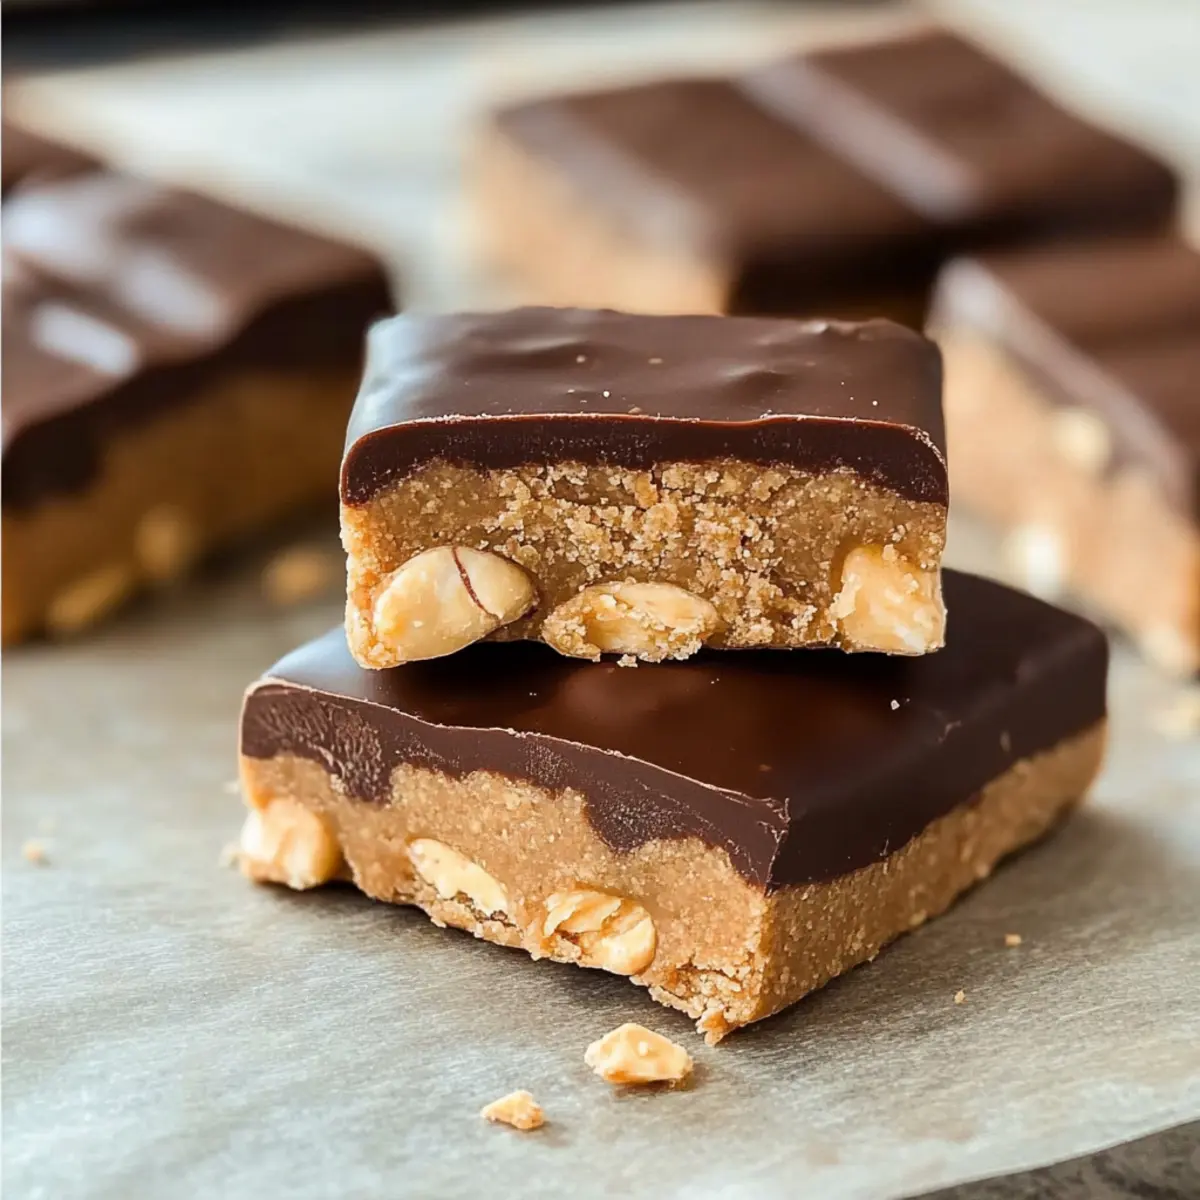
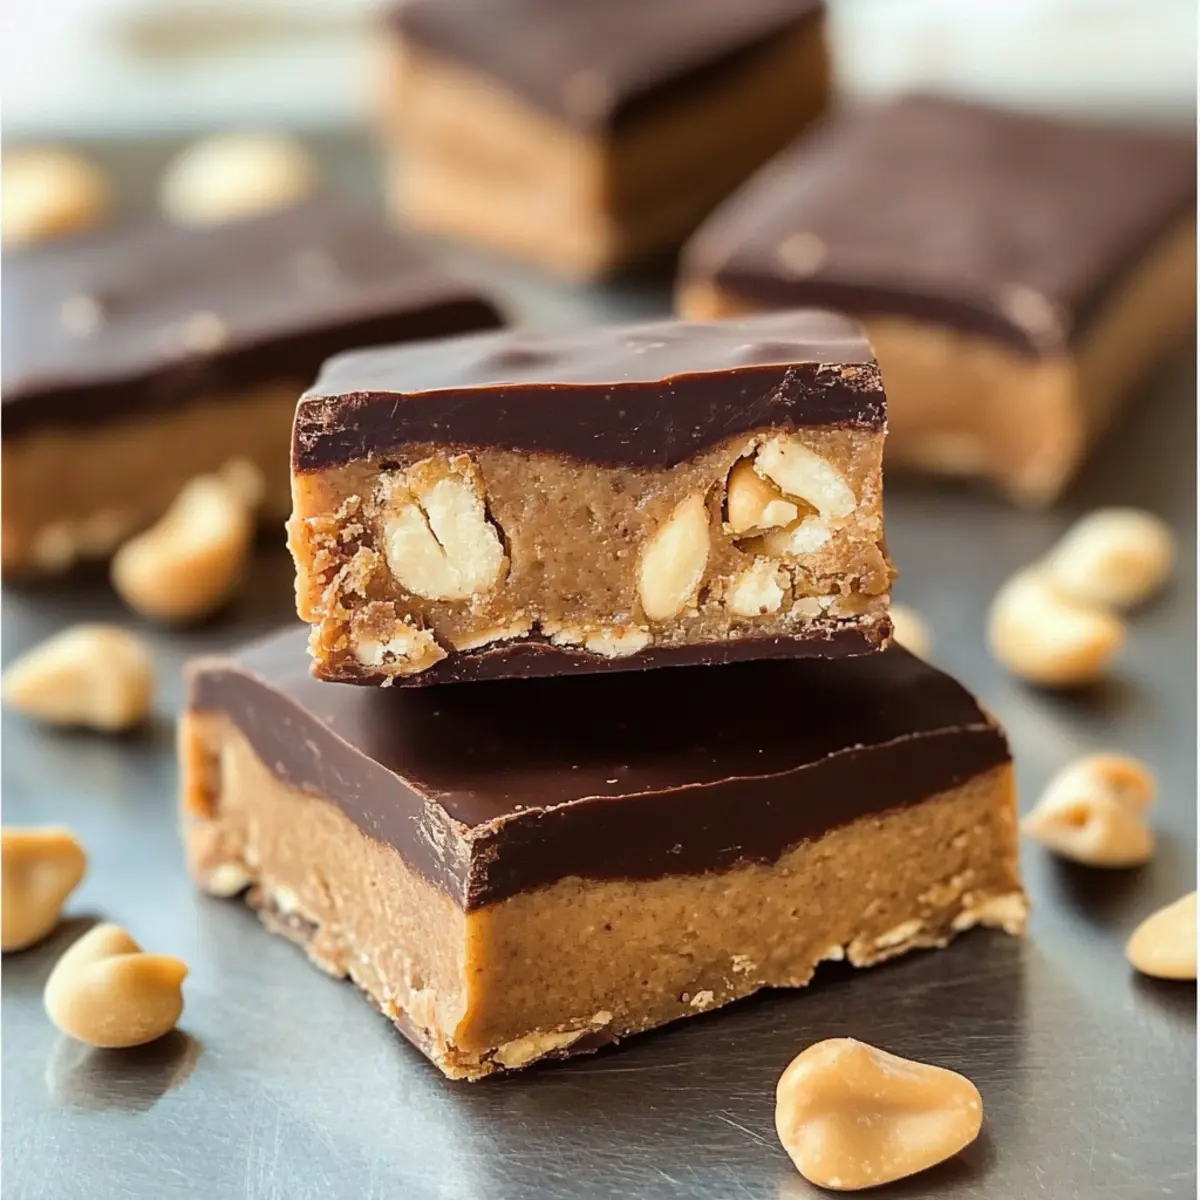
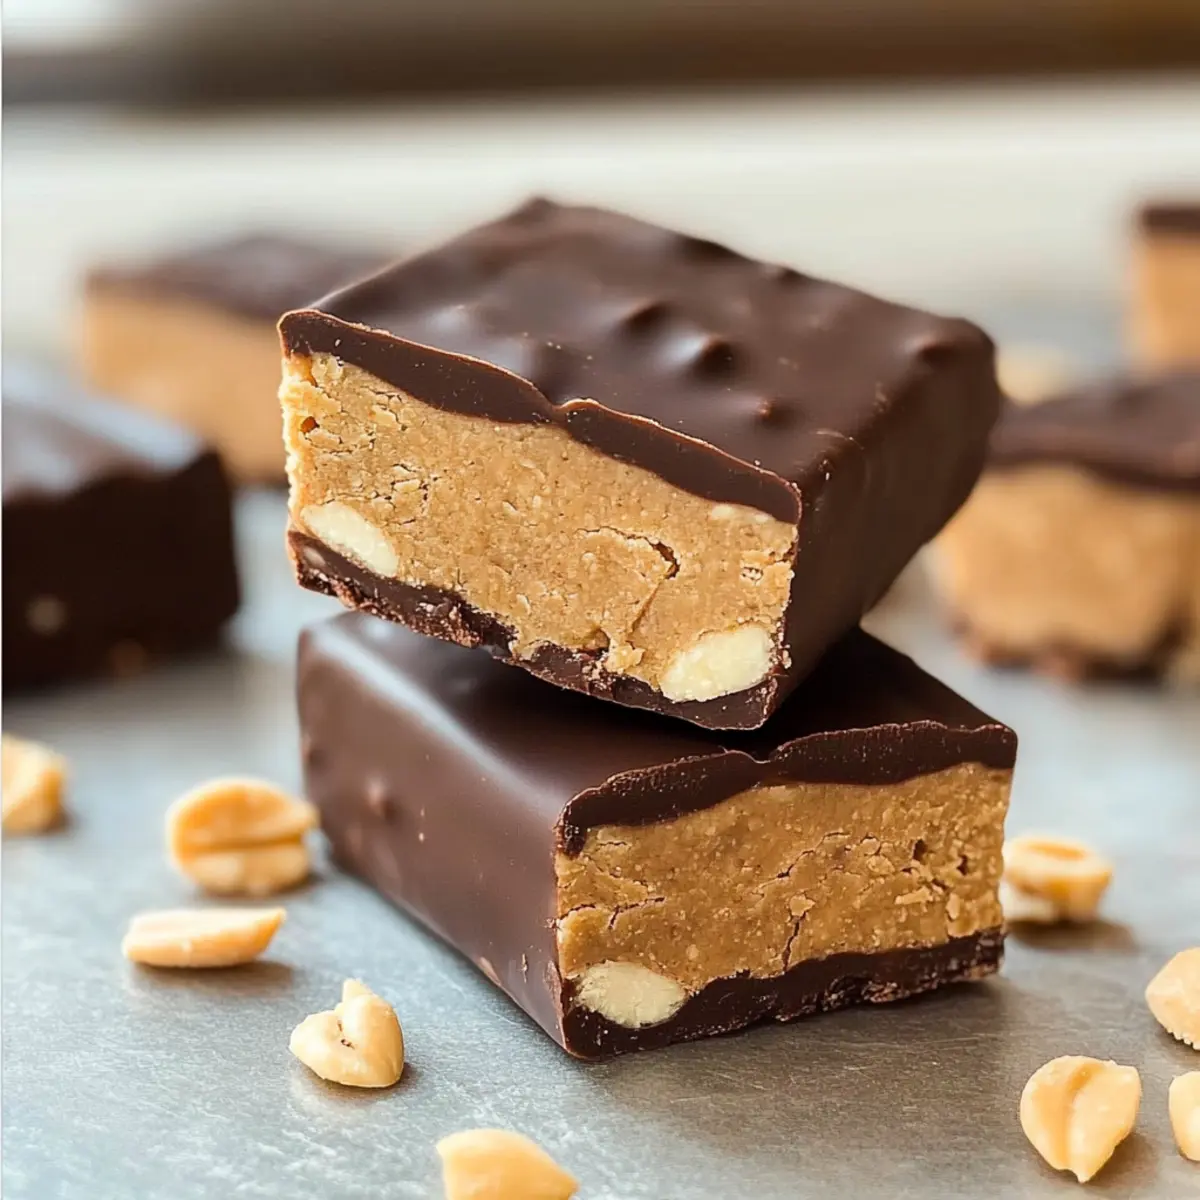
As I glanced at the neatly stacked packs of protein bars in the store, I felt a surge of determination. Those shelves could never replicate the joy of homemade creations. Today, I’m thrilled to share my recipe for 4-Ingredient No-Bake Protein Bars, a delightful snack that’s not only incredibly simple to whip up but also customizable to fit your unique cravings. These protein bars are healthy, vegan, and gluten-free, ensuring they cater to various dietary preferences without sacrificing taste. With just a quick mix and a little chill time, you’ll have a tasty treat that serves as an energizing post-workout boost or a guilt-free snack. Are you ready to explore the delicious ways to elevate your snacking game?

Why are homemade protein bars better?
Customization is the name of the game here! You can tailor your protein bars to fit your unique cravings, whether it’s indulgent chocolate or a fruity banana bread flavor. Simplicity reigns supreme with only four ingredients needed, making this a perfect recipe for novice cooks and seasoned chefs alike. Healthier alternative to store-bought options means fewer preservatives and sweeteners. Plus, you’ll enjoy chewy, fudgy textures that are far from the chalky typical of commercial bars. Versatile and appealing to all, these bars are sure to delight your family or friends—just like my favorite Peach Pie Bars or Blueberry Cheesecake Bars!
Protein Bars Ingredients
• To create your own deliciously easy no-bake protein bars, you’ll need four key ingredients and a few optional additions to customize your snacks!
For the Base
• Peanut Butter – Adds protein and moisture; swap for any allergy-friendly nut or seed butter if needed.
• Protein Powder – The primary protein source; choose your favorite, unsweetened or flavored, for optimal taste.
• Pure Maple Syrup or Honey – A natural sweetener that enhances flavor; opt for maple syrup to keep it vegan.
• Salt – Enhances the overall flavor; adjust the amount depending on your nut butter’s saltiness.
Optional Topping
• Melted Chocolate Chips – Adds a rich chocolate coating; for best results, mix in 2 tsp of oil for a smoother texture.
With these ingredients, you’ll be on your way to making delicious protein bars that are not only healthy but also cater to your cravings. Enjoy customizing to discover your favorite flavor combinations!
Step‑by‑Step Instructions for No-Bake Protein Bars
Step 1: Combine the Base Ingredients
In a large mixing bowl, add 1 cup of peanut butter, 1 cup of your favorite protein powder, 1/4 cup of pure maple syrup or honey, and a pinch of salt. Use a spatula or wooden spoon to mix these ingredients together until you achieve a smooth, cohesive dough. This should take about 2-3 minutes of steady mixing, and you’ll know it’s ready when it holds together well without crumbling.
Step 2: Shape the Protein Bars
Once your dough is well combined, you can mold it into bars. You have two options: shape them by hand or press the mixture into a lined 8×8-inch pan for evenly sized bars. If using the pan method, make sure to press down firmly so it adheres properly. Allow it to set for about 5-10 minutes as you prepare for the next step, making the mixture easier to cut.
Step 3: Optional Chocolate Coating
If you want to add a delightful chocolate layer to your protein bars, melt 1/2 cup of chocolate chips in a microwave-safe bowl. Heat in 30-second intervals, stirring in between, until fully melted and smooth. For a smoother finish, mix in 2 teaspoons of oil. Pour this melted chocolate over the pressed bars in the pan or dip each bar individually for a richer experience.
Step 4: Chill to Set
Transfer the prepared bars into the refrigerator and allow them to chill for at least 30 minutes. This will firm up both the protein bars and the chocolate coating, making them easier to cut and handle. When properly chilled, the chocolate should harden and provide a delightful contrast to the chewy texture of your no-bake protein bars.
Step 5: Cut and Store
After chilling, remove the bars from the refrigerator. If you used an 8×8-inch pan, lift the mixture out using the edges of the lining and place it on a cutting board. Cut into desired sizes, whether it’s traditional bars or bite-sized pieces. Store your delicious no-bake protein bars in an airtight container at room temperature for a few days, or place them in the refrigerator for extended freshness.

Expert Tips for No-Bake Protein Bars
• Protein Powder Choice: Use a protein powder you enjoy, as it greatly impacts flavor. Unsweetened options keep sugar levels low while enhancing taste.
• Perfect Consistency: If your dough feels too dry, add a touch of water or more maple syrup until it holds together. Avoid crumbly bars by ensuring a cohesive mix.
• Chilling Time: Don’t rush the chilling! Allow at least 30 minutes in the fridge for bars to set and achieve the perfect chewy texture—this keeps them from falling apart.
• Chocolate Coating Tips: Mix 2 tsp of oil into melted chocolate for a smoother finish, ensuring a rich layer that complements the healthy protein bars.
• Storage Solutions: Keep your protein bars in an airtight container. For maximum freshness, refrigerate them, as this helps maintain their delightful texture longer.
What to Serve with 4-Ingredient No-Bake Protein Bars
Imagine diving into a nourishing snack that makes your taste buds dance with joy while keeping your health goals intact.
- Fresh Fruit Salad: Bright, juicy fruits like berries or citrus complement the nutty flavors of the bars, adding a refreshing touch.
- Greek Yogurt: A creamy dollop of Greek yogurt enhances the protein content and creates a delightful contrast to the chewy bars.
- Nutty Granola: Crunchy granola adds texture and pairs beautifully with the soft protein bars, turning your snack into a satisfying treat.
- Chia Seed Pudding: The creamy, slightly sweet chia pudding elevates your snacking experience, while also adding nutritional benefits.
- Smoothie Bowl: A thick, fruity smoothie topped with nuts can create a wholesome breakfast or snack that’s both filling and energizing.
- Dark Chocolate Dipped Fruit: Indulge in a sweet treat by dipping fresh fruit in dark chocolate, a perfect juxtaposition to the wholesome bars.
Consider pairing with a refreshing herbal tea to soothe the palate or a protein-packed almond milkshake to keep you energized throughout the day. Each combination not only enhances the experience but also aligns with your healthy living goals.
Protein Bars Variations & Substitutions
Feel free to let your creativity shine by customizing your protein bars to suit your taste and dietary needs!
-
Vegan Twist: Substitute honey with agave syrup for a fully vegan option that sweetens without compromising flavor.
-
Nut-Free: Use sunflower seed butter instead of peanut butter to create allergy-friendly bars without nuts, maintaining delicious taste and texture.
-
Fruit-Infused: Add 1/4 cup of dried fruits like cranberries or apricots for a chewy texture and a burst of flavor that complements the base ingredients.
-
Spicy Kick: Mix in a pinch of cayenne pepper or cinnamon to your base for a fun and unexpected flavor twist, adding warmth and depth to each bite.
-
Protein Boost: Swap in a scoop of collagen protein for a different texture and added health benefits beyond just typical protein powder.
-
Chocolate Lovers: For an indulgent treat, try dipping the bars in dark chocolate or drizzling melted chocolate on top; it’s like a dessert that’s still nutritious.
-
Meal Replacement: Increase the oats in your mixture to make these bars more filling, perfect for a meal on-the-go alongside a refreshing smoothie or your morning coffee!
With these variations, you can cater to your family’s preferences. If you’re looking for more heavenly desserts, check out my delectable Peach Pie Bars or the luscious Blueberry Cheesecake Bars. Enjoy experimenting!
Make Ahead Options
These No-Bake Protein Bars are perfect for busy home cooks looking to save time! You can prepare the dough up to 24 hours in advance by mixing together the peanut butter, protein powder, maple syrup, and salt, then storing the mixture in an airtight container in the refrigerator. To maintain quality and freshness, keep the mixture well-sealed to prevent drying out. When you’re ready to enjoy, simply shape the bars as instructed and chill them for an additional 30 minutes to firm up. With this make-ahead option, you can quickly craft delicious snacks on the go without sacrificing flavor or nutrition!
How to Store and Freeze Protein Bars
Airtight Container: Store your protein bars in an airtight container at room temperature for up to 3 days. This helps maintain their chewy texture and flavor.
Refrigerator: For longer freshness, keep the protein bars in the fridge for up to 1 week. This will keep them firm and delicious for when those snack cravings hit!
Freezer: If you want to make a larger batch, freeze the bars for up to 3 months. Wrap each bar individually in plastic wrap before placing them in a freezer-safe bag.
Thawing: To enjoy, simply take the desired number of protein bars out of the freezer and let them thaw in the fridge overnight or at room temperature for about 30 minutes.

No-Bake Protein Bars Recipe FAQs
How do I choose the right peanut butter for my protein bars?
Absolutely! Opt for a natural peanut butter with only peanuts and salt for the purest flavor. If you have allergies, fabulous alternatives like almond or sunflower seed butter also provide great taste and texture!
What’s the best way to store leftover protein bars?
Very! For the best freshness, store your protein bars in an airtight container at room temperature for up to 3 days. If you want them to last longer, keeping them in the refrigerator will ensure they stay delicious for up to a week.
Can I freeze the protein bars for later?
Absolutely! To freeze, wrap each protein bar individually in plastic wrap and place them in a freezer-safe bag. They can be stored this way for up to 3 months. Just remember to let them thaw overnight in the fridge or at room temperature for about 30 minutes before enjoying.
What if my protein bar mixture seems too dry?
Very! If your mixture feels crumbly and hard to shape, add a tablespoon of water or an extra drizzle of maple syrup. Mix well until the dough holds together—this ensures you have a moist and chewy protein bar instead of a dry one!
Are these protein bars suitable for people with allergies?
Absolutely! These no-bake protein bars can be easily modified to address allergies. If you’re dealing with nut allergies, simply use seed butters like tahini or sunbutter. Always check your protein powder and any additional ingredients for potential allergens.
Can I make these protein bars without protein powder?
Yes! If you prefer, you can substitute protein powder with rolled oats blended into a flour-like texture. However, keep in mind this alteration may slightly affect the texture and protein content. It’s all about experimenting until you find what delights your taste buds!

Deliciously Easy No-Bake Protein Bars You’ll Love
Ingredients
Equipment
Method
- In a large mixing bowl, combine peanut butter, protein powder, maple syrup (or honey), and salt. Mix until smooth.
- Shape the mixture into bars by hand or press it into a lined 8x8-inch pan. Allow to set for 5-10 minutes.
- To make the chocolate coating, melt chocolate chips in 30-second intervals in a microwave. Mix in 2 tsp of oil for a smooth finish.
- Pour melted chocolate over bars or dip each bar individually. Chill in the refrigerator for at least 30 minutes.
- Once set, cut into desired sizes and store in an airtight container.

Leave a Reply