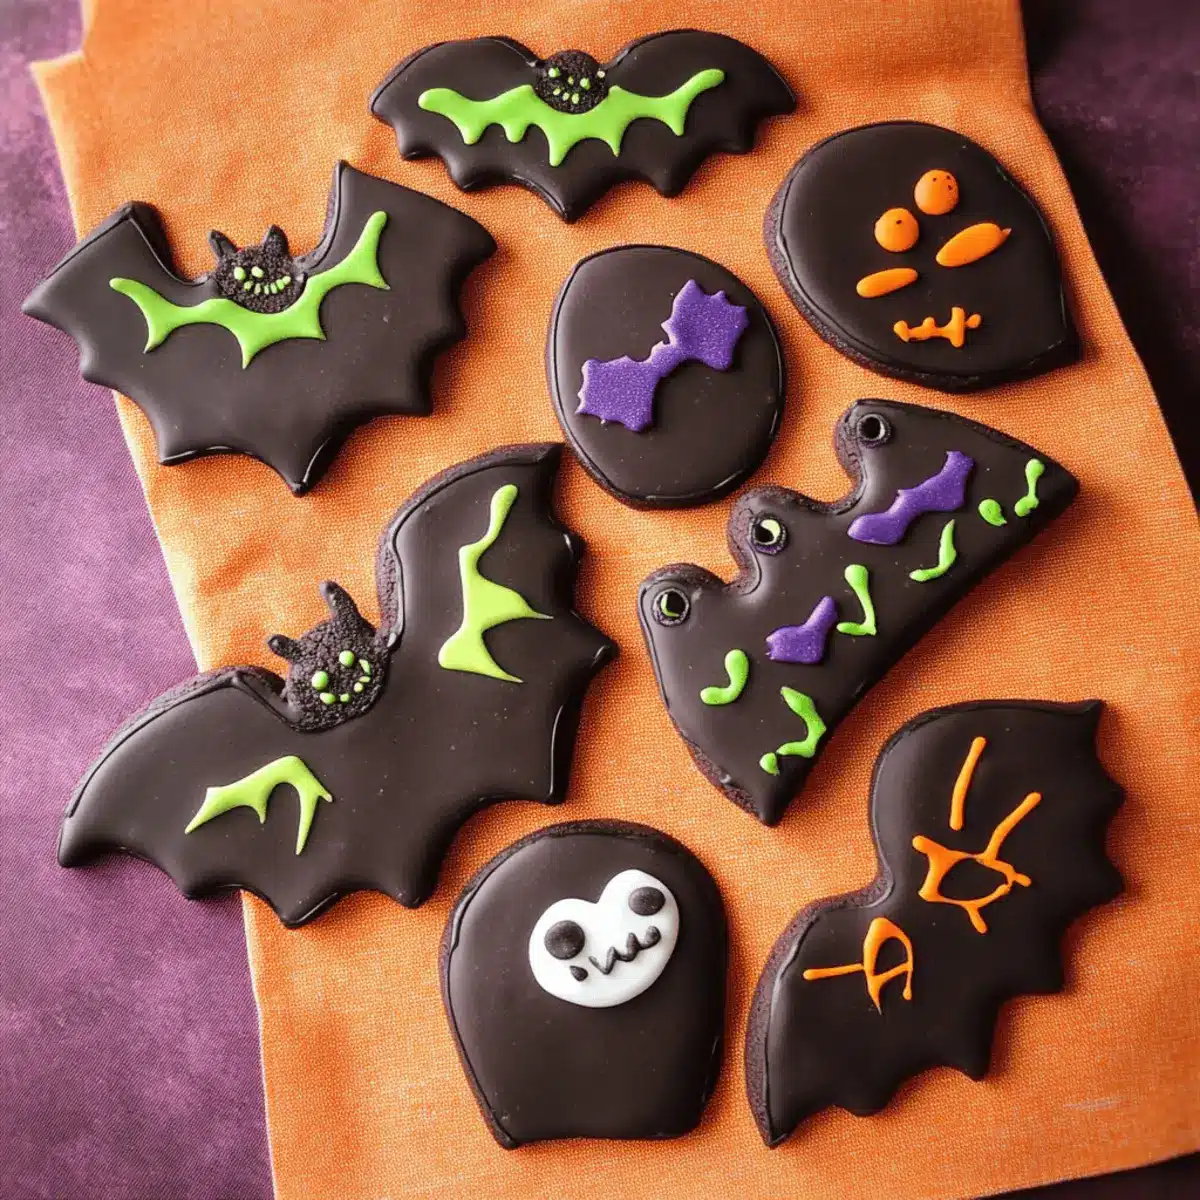
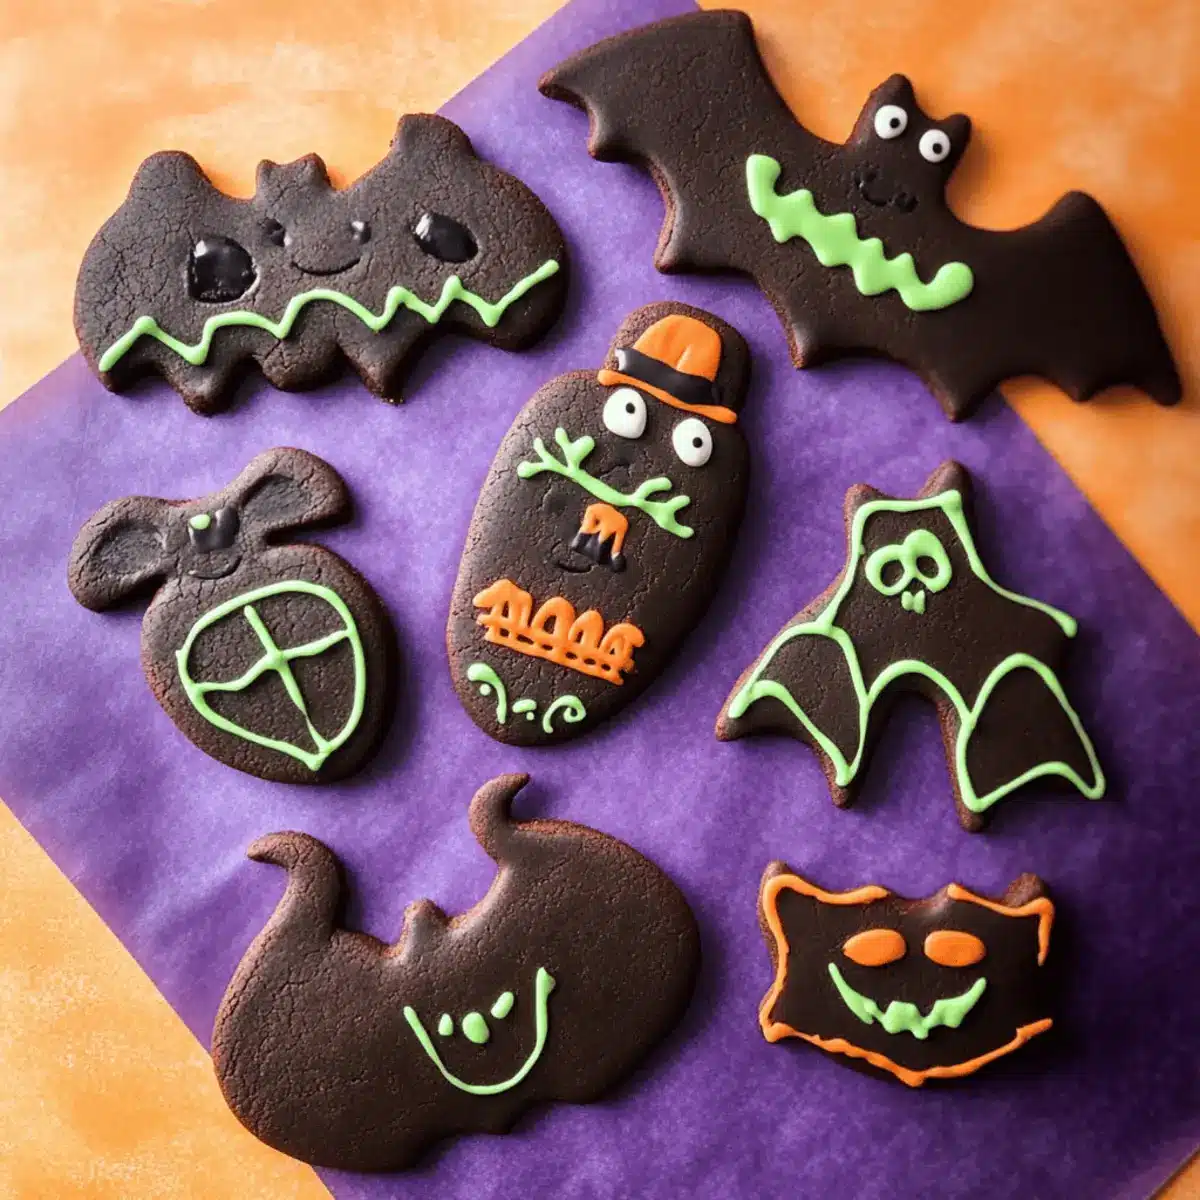
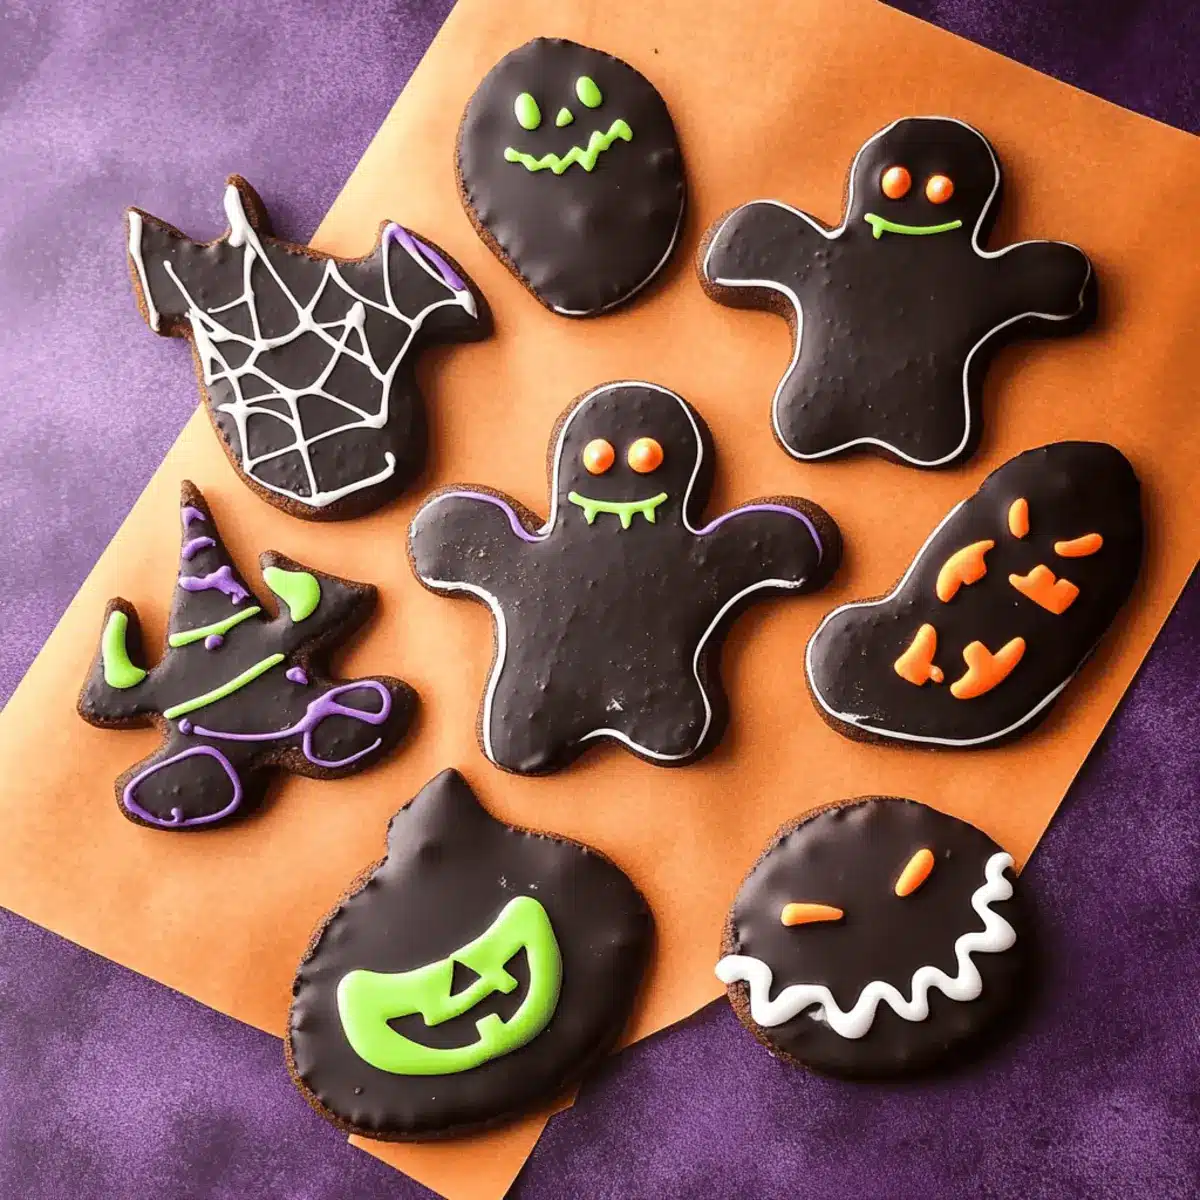
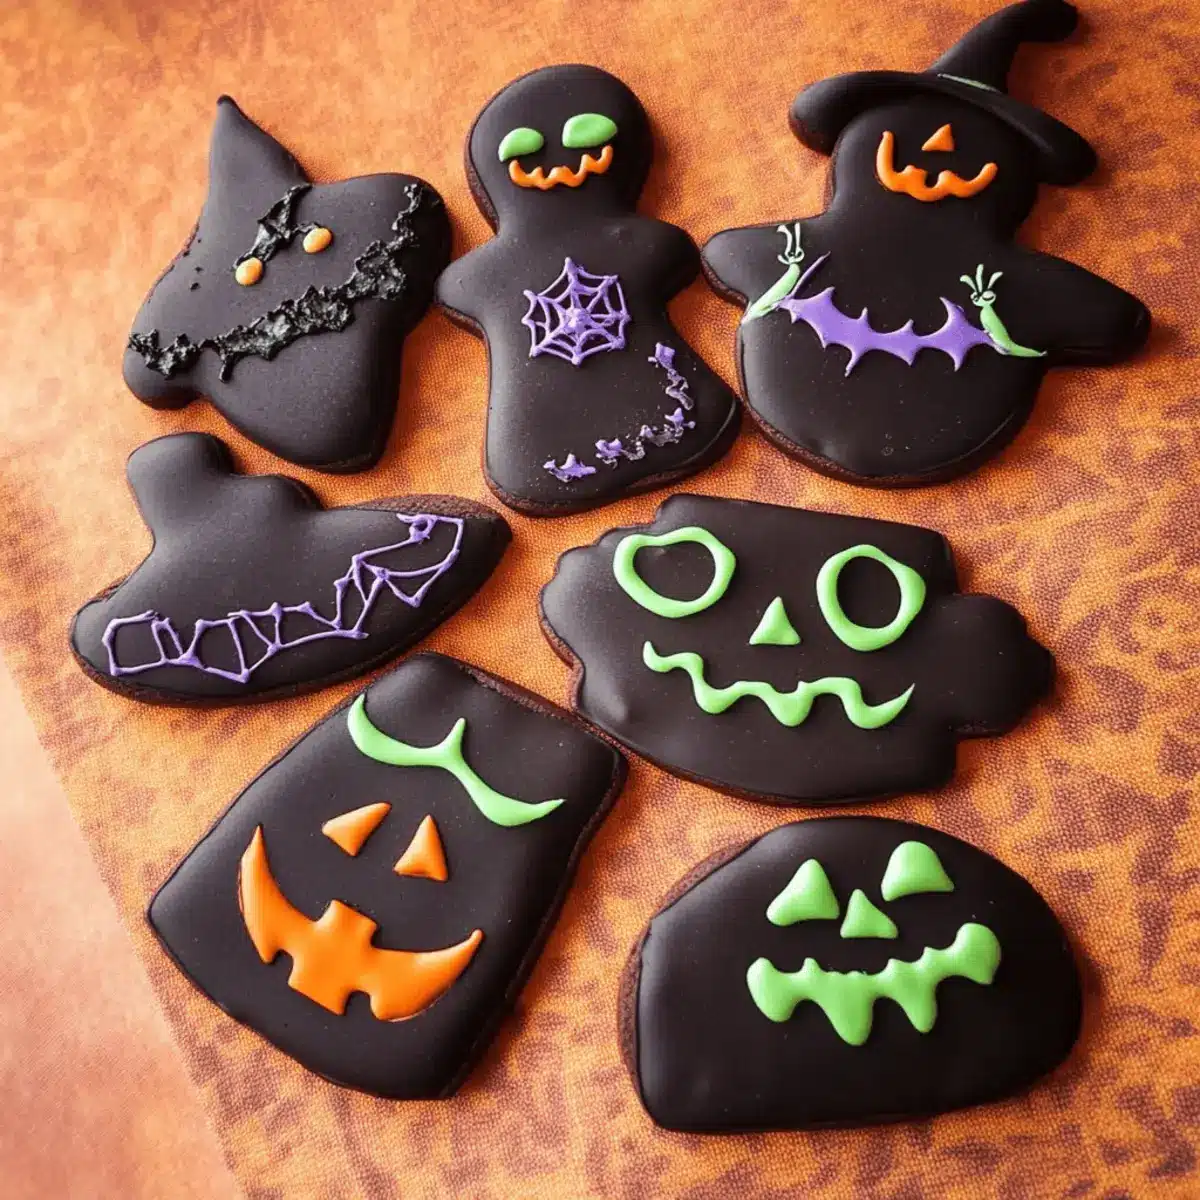
As I sifted through a cabinet full of sprinkles and cookie cutters, I couldn’t help but feel the excitement of Halloween creeping in—a holiday that’s all about creativity, laughter, and sweets! These Spooktacular Halloween Decorated Chocolate Cookies are the perfect project to bring the family together, mixing a deep cocoa flavor with a striking black hue from black cocoa powder. Not only are these cookies easy to decorate, making them ideal for fun family activities, but they also pack a punch of rich chocolate goodness that will delight both kids and adults alike. With the crisp fall air outside, what better way to celebrate the season than by crafting these deliciously festive treats? Grab your kids or friends and let’s get rolling—literally! Are you ready to concoct some Halloween magic?

Why Are These Cookies So Fun to Make?
Pure Creativity: Let your imagination run wild with decorating options, from spooky ghosts to whimsical pumpkins!
Rich Chocolate Flavor: Each bite is a decadent delight, enhanced by the unique taste of black cocoa powder.
Family-Friendly Fun: This recipe invites everyone to join in the fun, making it a perfect Halloween activity for kids and adults.
Perfect for Sharing: Impress friends and family at Halloween parties—these cookies will be a hit!
Convenience in Storage: Bake ahead and freeze undecorated cookies, ensuring you’re ready for those last-minute gatherings. Don’t forget to check out these Egg Sugar Cookies and Soft Pumpkin Cookies for more festive baking ideas!
Versatile Variations: Whether you stick with the classic black cocoa or try substitutions, there’s room for personal flair!
Halloween Decorated Cookies Ingredients
For the Cookie Dough
• Butter – Provides richness and flavor; ensure it’s softened for easy mixing.
• Powdered Sugar – Sweetens the dough and adds a light texture; no substitutes are suggested for this recipe.
• Egg – Binds the mixture, adding vital moisture for soft cookies.
• Flour – The primary structure of the cookie; all-purpose flour is recommended.
• Black Cocoa Powder – Gives the cookies a rich dark color and a unique flavor; substitute with Dutch process cocoa for a milder taste.
• Dutch Process Cocoa Powder – Can be blended with black cocoa for a balanced flavor profile.
• Salt – Enhances the overall flavor of the cookies.
For the Royal Icing
• Powdered Sugar – The main ingredient in royal icing; use fresh for the best results.
• Egg White or Meringue Powder – Helps achieve the smooth consistency needed for decoration; meringue powder can be a safe alternative.
• Water – Adjust to achieve the desired icing consistency; a thicker icing holds shape while a runnier one is perfect for flooding.
These Halloween Decorated Cookies are not only fun to make but also bring a swirl of creativity to your festive celebrations!
Step‑by‑Step Instructions for Halloween Decorated Cookies
Step 1: Creaming the Butter
Begin by placing softened butter in a stand mixer bowl. Mix on medium speed until creamy, about 2 minutes. Gradually add powdered sugar, mixing until fluffy and light, approximately 3-4 minutes. This step is crucial for achieving a melt-in-your-mouth texture in your Halloween Decorated Cookies, so ensure everything is well combined and airy.
Step 2: Add the Egg
With the mixer running on low speed, crack in the egg, allowing it to blend uniformly into the buttery mixture. Continue mixing for another 1-2 minutes, ensuring the egg fully incorporates into the dough. This key ingredient adds moisture and binds your mixture, ensuring that your cookies hold their shape during baking.
Step 3: Combine Dry Ingredients
In a separate bowl, whisk together the all-purpose flour, black cocoa powder, Dutch process cocoa powder, and salt. Mix until well combined, aiming for an even blend of flavors and colors. This step will create the foundation for your cookie dough. Set aside as you prepare to integrate the dry ingredients into your wet mixture.
Step 4: Mix Wet and Dry Ingredients
Gradually add the dry mixture to the bowl of wet ingredients, mixing on low speed until just combined. Be careful not to overmix; the dough should be slightly crumbly. This careful blending is crucial to achieve the perfect texture for your Halloween Decorated Cookies.
Step 5: Chill the Dough
Form the dough into a ball and flatten it into a disc, then wrap it tightly in plastic wrap. Chill in the refrigerator for 30-45 minutes, or up to 2 days for the ultimate flavor development. This chilling period is essential as it helps the cookies retain their shapes while baking, ensuring crisp edges and soft interiors.
Step 6: Cut Out Shapes
Once chilled, roll out the dough on a lightly floured surface to about ¼ inch thick. Use your favorite Halloween-themed cookie cutters to cut out shapes, placing them onto a baking sheet lined with parchment paper. Refrigerate the cut cookies for an hour to maintain their shape during baking.
Step 7: Bake the Cookies
Preheat your oven to 160°C (320°F). Bake the chilled cookies for 10 minutes, watching closely to prevent overbaking. The cookies should look set but remain soft. Allow them to cool on a wire rack once out of the oven. This step will ensure your Halloween Decorated Cookies are tender with a delicious chocolate flavor.
Step 8: Decorate with Royal Icing
Once cooled, prepare royal icing by mixing powdered sugar with egg white or meringue powder and enough water to achieve a smooth, spreadable consistency. Decorate your cookies as desired, then let them dry at room temperature for 3-6 hours. This cooling and drying period is vital to maintain the intricate designs of your Halloween Decorated Cookies.

Expert Tips for Halloween Decorated Cookies
-
Avoid Overmixing: Be cautious not to overmix the dough, as this can lead to tough cookies instead of the tender texture we desire in Halloween Decorated Cookies.
-
Chill the Dough: Always chill the dough before rolling it out and baking. This helps maintain the shapes you’ve cut out and produces perfectly structured cookies.
-
Icing Consistency: For royal icing, aim for a thick consistency while still being easy to work with. Adjust with water as needed to achieve the perfect flow for fine details in your decorations.
-
Storage Solutions: Store undecorated cookies in an airtight container for longer freshness, ideal for those planning ahead for Halloween festivities.
-
Flavor Variations: Feel free to swap black cocoa with Dutch process cocoa or regular cocoa powder to explore different flavor profiles while still keeping your cookies festive!
Make Ahead Options
These Halloween Decorated Cookies are excellent for meal prep, making your festive baking a breeze! You can prepare the cookie dough and chill it for up to 2 days in advance, wrapped tightly in plastic wrap to maintain its freshness. Additionally, you can cut out the cookie shapes and refrigerate them for 1 hour before baking, which helps them hold their shape during the oven time. When you’re ready to serve, simply bake from the fridge and decorate with royal icing once cooled. This way, you’ll achieve delightful, perfectly decorated treats while saving valuable time during Halloween festivities!
What to Serve with Halloween Decorated Cookies
As you dive into the magical world of Halloween, consider pairing these delightful cookies with accompaniments that enhance their spooktacular charm!
-
Pumpkin Spice Lattes: This iconic fall beverage offers a warm, spiced flavor that perfectly complements the rich chocolatey goodness of the cookies.
-
Warm Apple Cider: The aromatic spices and sweet notes of apple cider create a cozy atmosphere, enhancing the holiday spirit at any gathering.
-
Chocolate Milk: Indulgent and nostalgic, a glass of creamy chocolate milk echoes the deep cocoa flavor of the cookies, making it a kid-friendly favorite.
-
Caramel Dipped Apples: The crispness of fresh apples, dipped in smooth caramel, introduces a wonderful texture contrast while staying seasonal.
-
Gingerbread Hot Chocolate: Infused with warming spices, this drink adds a festive twist and goes hand-in-hand with the cookies’ charming decorations.
-
Oreo Cake: With its chocolatey indulgence and creamy layers, this striking dessert can be a delightful contrast to the crisp cookies, perfect for special occasions.
-
Halloween-themed Fruit Skewers: Fresh fruits in fun Halloween shapes not only add a burst of color but also a refreshing element to balance the sweetness of the cookies.
-
Spooky Cupcakes: These cupcakes decorated with gory designs or ghostly icing bring an additional fun element to your Halloween dessert table that pairs beautifully with your cookies!
Create a magical Halloween spread that embraces creativity and joy while celebrating these enchanting cookies!
Halloween Decorated Cookies Customizations
Feel free to unleash your inner creativity with these delightful twist ideas for your cookies!
- Dairy-Free: Replace butter with vegan margarine or coconut oil for a dairy-free version that still tastes buttery.
- Gluten-Free: Use a 1:1 gluten-free flour blend to make these Halloween Decorated Cookies suitable for gluten-sensitive family members.
- Spicy Kick: Add a pinch of cayenne pepper or chili powder to the dough for a subtle heat that surprises! This little twist can elevate your cookie experience—perfect for adventurous palates!
- Flavor Enhancer: Incorporate a teaspoon of vanilla extract into the dough for a deeper flavor profile that beautifully complements the chocolate. It’s a small addition that brings a whole new dimension!
- Nutty Texture: For added crunch, fold in some chopped nuts like walnuts or pecans into the dough before chilling. They provide a delightful texture and pair wonderfully with the chocolate.
- Decorative Twists: Use alternative decorations such as colored sugar, edible glitter, or fondant for more visually striking cookies. These options allow for a personal touch in each creation!
- Cocoa Variation: Swap black cocoa for white chocolate chips if you’re in the mood for a festive contrast—this will create an eye-catching design perfect for Halloween festivities. Try pairing it with drizzles of dark cocoa to enhance that visual appeal!
- Store-Bought Icing: Short on time? Grab a tube of ready-made icing from the store instead of making your own! It’s a simple way to save time while still enjoying festive, decorated cookies.
These suggestions will surely help you personalize your Halloween Decorated Cookies, just as you would with Soft Pumpkin Cookies or Sea Salt Cookies. Explore and enjoy the thrills of baking!
Storage Tips for Halloween Decorated Cookies
Room Temperature: Decorated cookies can be stored in an airtight container at room temperature for up to one week. Ensure they are completely dry before sealing to maintain the icing’s crispness.
Freezer: For longer storage, freeze undecorated cookies in a single layer on a baking sheet, then transfer to an airtight container or freezer bag for up to one month.
Reheating: If you’ve stored cookies in the fridge or freezer, simply let them come to room temperature before enjoying. Avoid reheating in the microwave to keep their texture intact.
Thawing: Thaw frozen cookies in the refrigerator overnight, then bring to room temperature before decorating or serving. This will ensure your Halloween Decorated Cookies retain their delicious flavor!

Halloween Decorated Cookies Recipe FAQs
What type of cocoa powder should I use for the best flavor?
I highly recommend using black cocoa powder for a rich, deep flavor and striking color! If you prefer a milder taste, you can substitute it with Dutch process cocoa. You can even blend both to customize the flavor to your liking!
How should I store my decorated cookies?
Store your decorated Halloween Decorated Cookies in an airtight container at room temperature for up to one week. Make sure they are completely dry before sealing to maintain that perfect icing crispness. This way, they’ll stay fresh and delightful as you enjoy them over the Halloween festivities!
Can I freeze my decorated cookies?
Absolutely! For longer storage, freeze your undecorated cookies. Line a baking sheet with parchment paper, lay the cookies in a single layer, and freeze until solid. Then, transfer them to an airtight container or freezer bag where they’ll stay fresh for up to one month. When you’re ready, simply thaw them in the fridge overnight before decorating!
What should I do if my royal icing is too runny?
No worries! If your royal icing is too runny to work with, you can thicken it by gradually adding more powdered sugar until you achieve the desired consistency. Make sure to mix well after each addition, aiming for a thick yet smooth icing that holds its shape when piped.
Are these cookies suitable for those with allergies?
Always consider dietary restrictions when baking! These Halloween Decorated Cookies contain common allergens like butter, eggs, and flour. If you need to accommodate allergies, consider substitutes like dairy-free butter, egg replacers, and gluten-free flour blends. Always double-check labels to ensure safety.

Delicious Halloween Decorated Cookies for Family Fun
Ingredients
Equipment
Method
- Cream softened butter in a stand mixer bowl on medium speed for about 2 minutes until creamy. Gradually add powdered sugar and mix until fluffy, about 3-4 minutes.
- With the mixer on low speed, add the egg and mix for another 1-2 minutes until fully integrated.
- In a separate bowl, whisk together flour, black cocoa powder, Dutch process cocoa powder, and salt until well combined.
- Gradually mix the dry ingredients into the wet mixture on low speed until just combined. Do not overmix.
- Form the dough into a ball, flatten into a disc, wrap in plastic wrap and chill for 30-45 minutes.
- Roll out chilled dough to ¼ inch thick and cut shapes with cookie cutters. Place on a baking sheet.
- Refrigerate cut cookies for an hour, then preheat the oven to 160°C (320°F). Bake for 10 minutes.
- Allow cookies to cool on a wire rack before icing.
- Prepare royal icing by mixing powdered sugar, egg white or meringue powder, and water to desired consistency, and decorate the cookies.

Leave a Reply