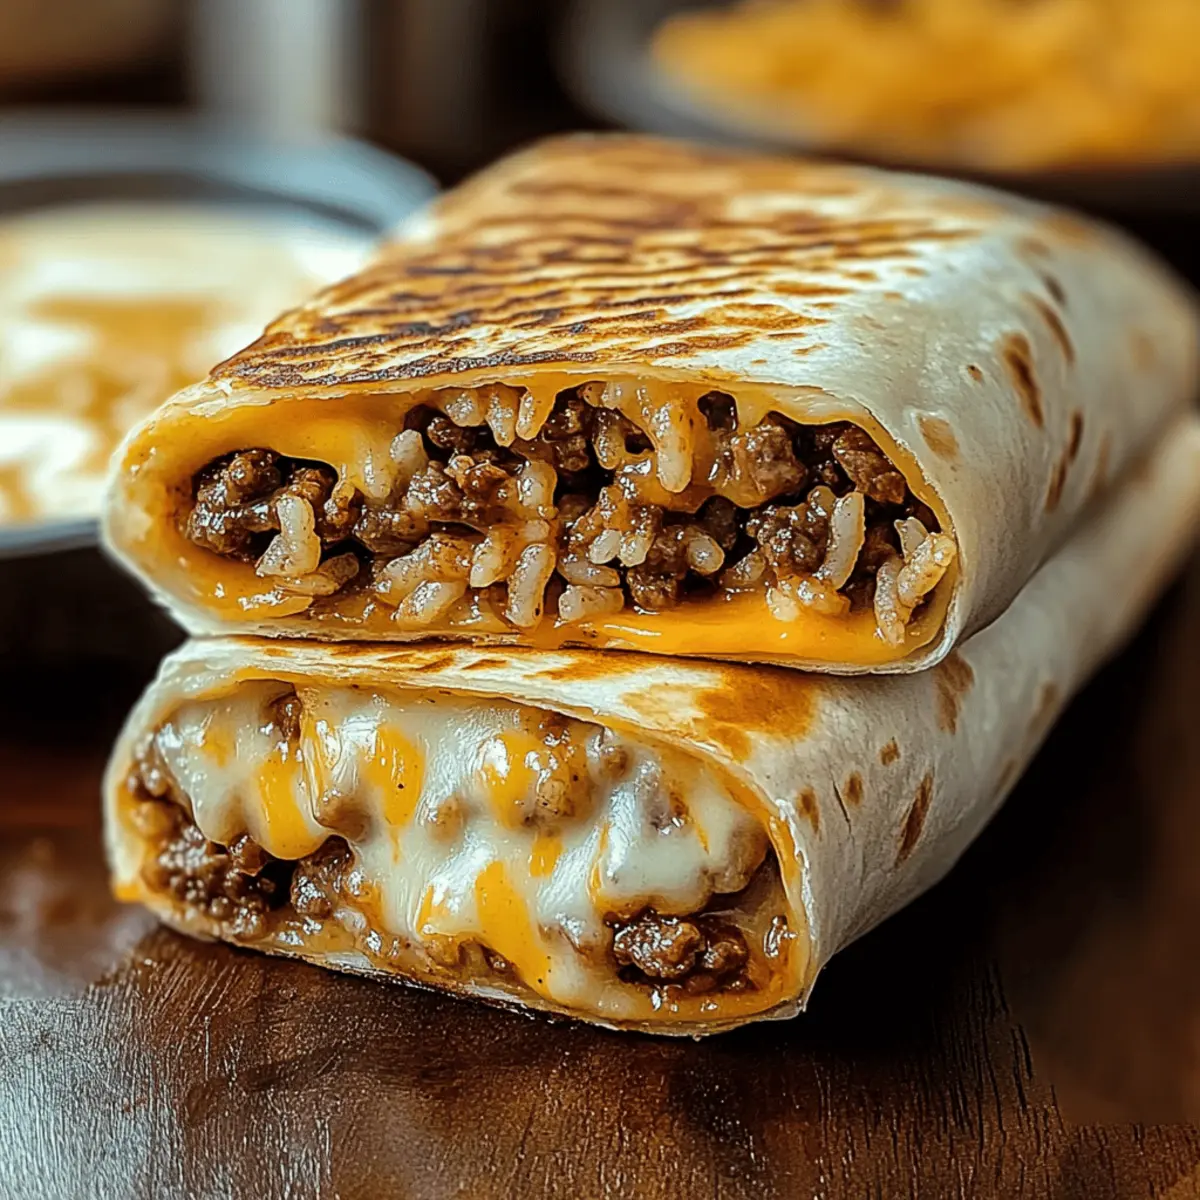
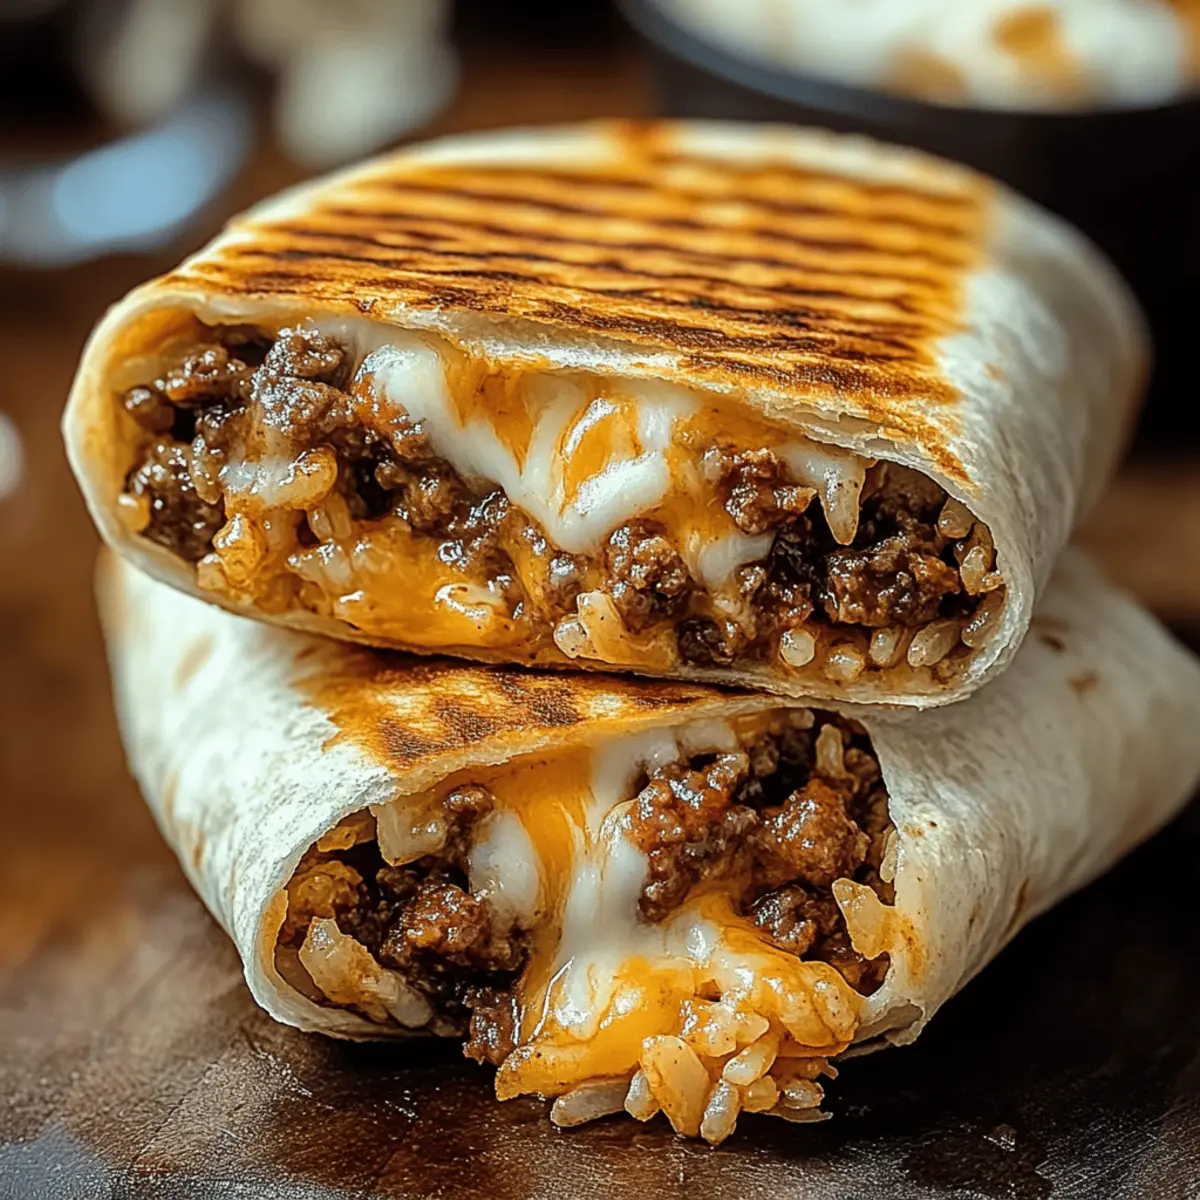
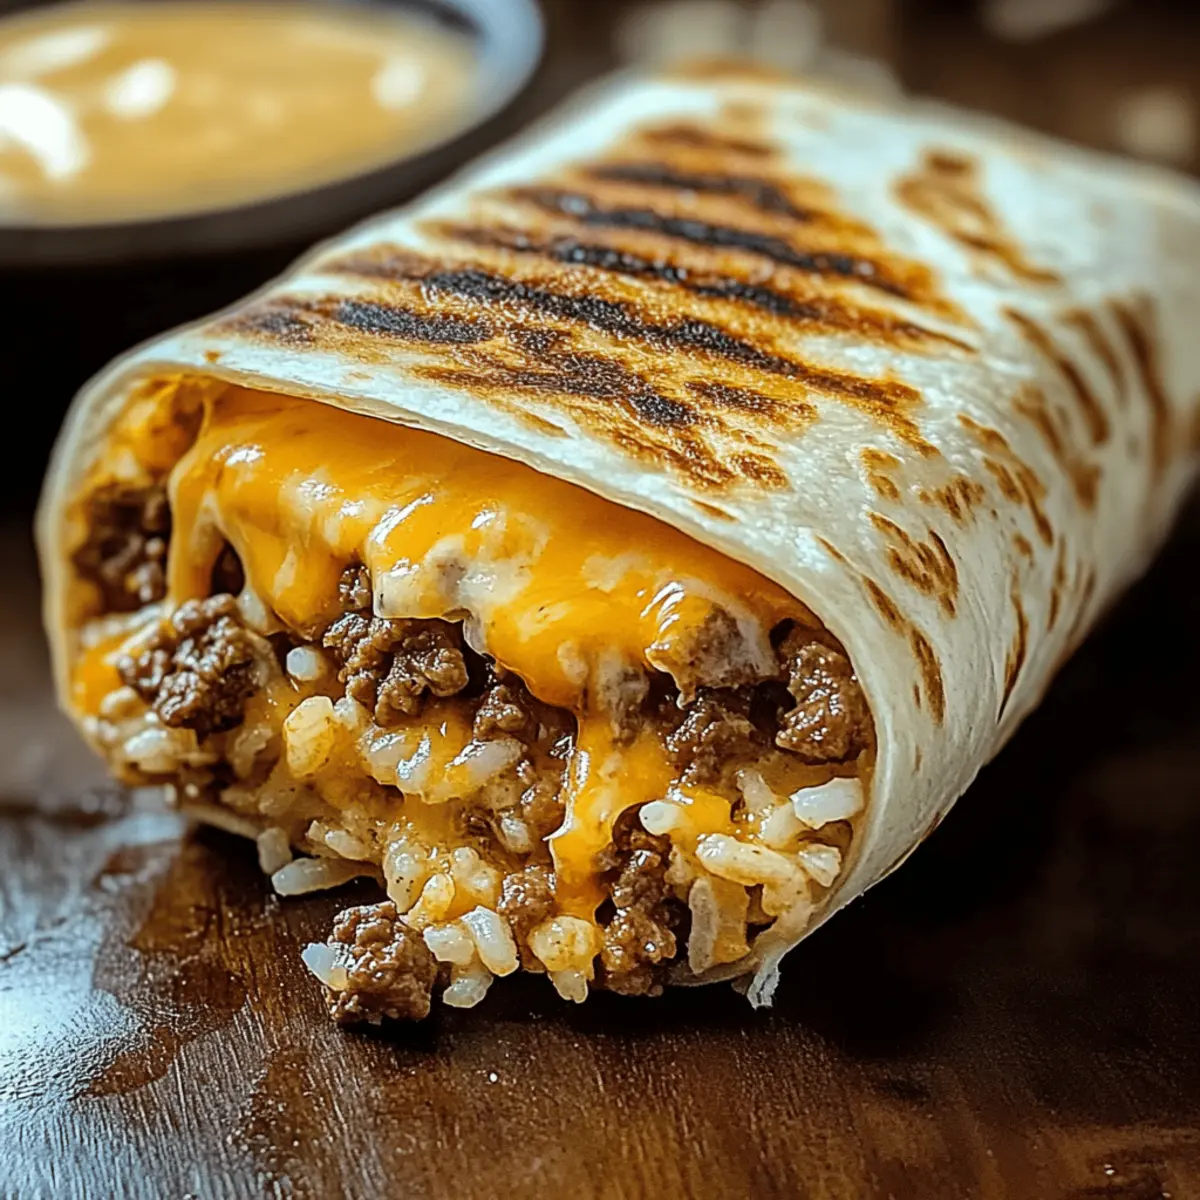
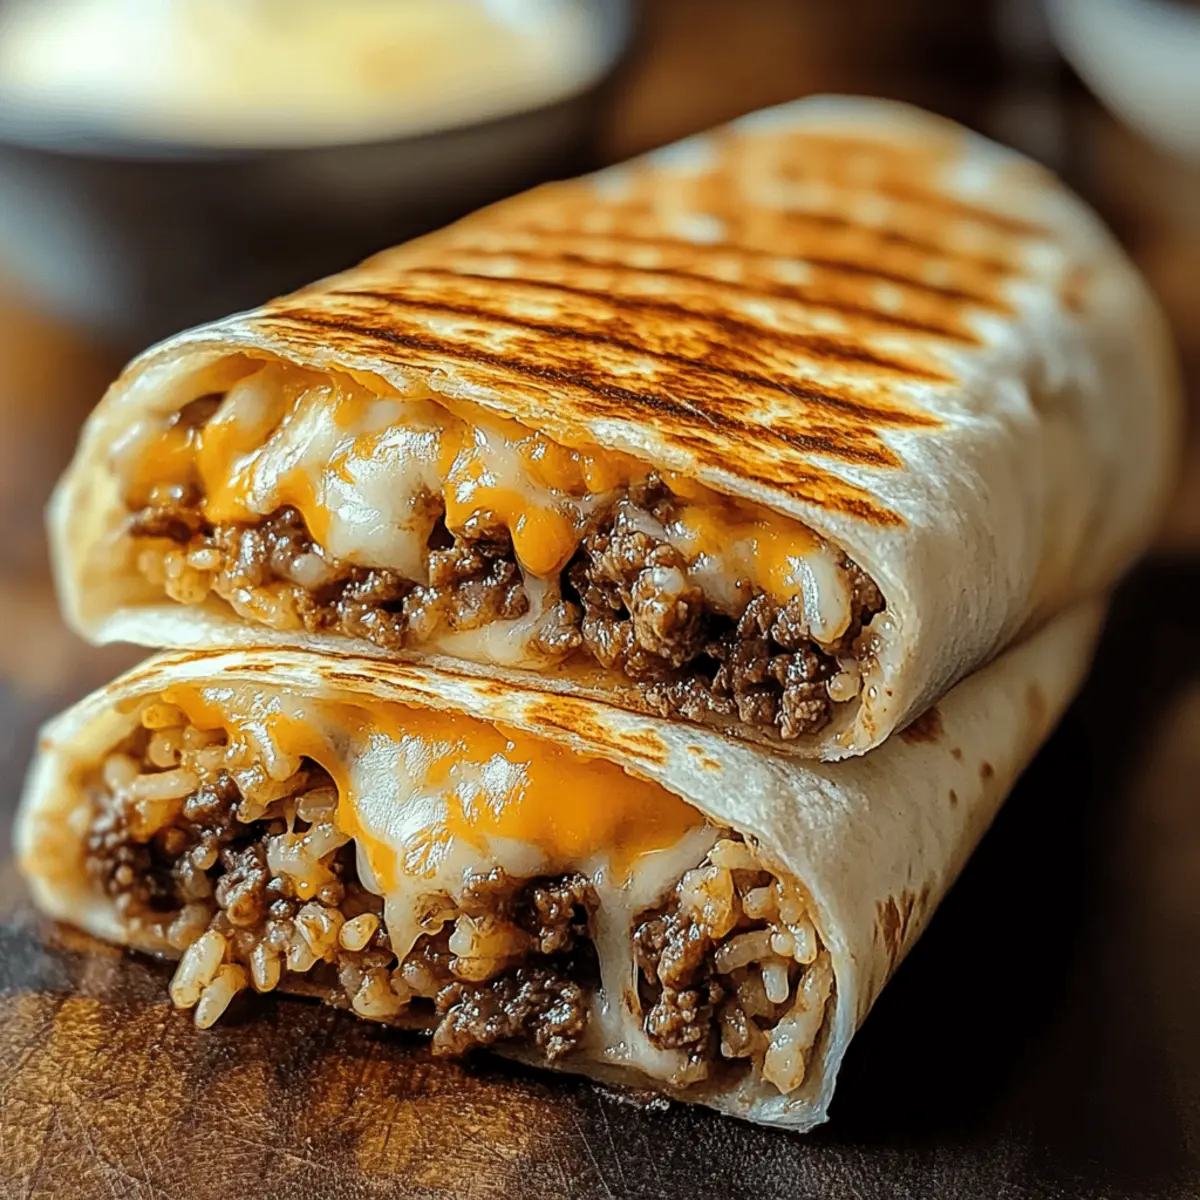
The first time I indulged in a Grilled Cheese Burrito, I was taken aback by how a simple tortilla could hold such cheesy perfection within! Inspired by a beloved fast-food classic, this Easy Grilled Cheese Burrito is more than just a scrumptious meal; it’s a canvas for your favorite flavors. The best part? You can whip it up in just 30 minutes, making it a lifesaver for busy evenings or a weekend treat for your family. Plus, with customizable options and vegetarian or vegan alternatives, it promises to please even the pickiest of eaters. Are you ready to explore this recipe that’s destined to become a go-to for many?

Why is this Grilled Cheese Burrito a Must-Try?
Flavorsome Fusion: This recipe combines the best aspects of your favorite fast food with homemade goodness, ensuring every bite bursts with cheesy delight.
Quick & Easy: With only 30 minutes needed from start to finish, you can effortlessly prepare a satisfying meal that’s ideal for busy weeknights.
Customization Galore: Whether you’re a meat lover or vegetarian, this burrito adapts to your preferences perfectly—try swapping in grilled chicken or tofu for a personal twist!
Kid-Approved: Kids and adults alike rave about this cheesy goodness. Serve it with tasty sides like salsa or guacamole for a complete meal the whole family will love.
Meal Prep Friendly: Make ahead by assembling burritos and refrigerating them; simply grill when you’re ready to enjoy crispy perfection!
Grilled Cheese Burrito Ingredients
For the Filling
- Ground Beef – Provides protein and a savory flavor; substitute with ground turkey, chicken, or plant-based meat for lower fat or vegetarian options.
- Taco Seasoning – Enhances flavor with spices; you can use a homemade blend to control sodium and additives.
- Cooked White Rice – Adds texture and bulk; brown rice can be a healthier option to consider.
- Sour Cream – Adds creaminess and tang; Greek yogurt is a great alternative for higher protein.
- Nacho Cheese Sauce – Creates that gooey cheese effect; opt for a vegan cheese sauce for a dairy-free version.
- Chipotle Sauce – Brings a smoky, spicy kick; an optional ingredient for those who prefer less spice.
- Shredded Cheddar Cheese – Offers a rich, cheesy taste; vegan cheese works for a dairy-free approach.
- Shredded Mozzarella – Adds stretch and creaminess; feel free to use any melty cheese blend.
For the Wrap
- Large Flour Tortillas – Holds all ingredients together; whole wheat or gluten-free tortillas can work as substitutes.
- Butter or Oil for Grilling – Enhances browning and flavor; olive oil is a healthier choice if desired.
Dive into making your Grilled Cheese Burrito with these simple ingredients, and enjoy a homemade meal that’s both comforting and satisfying!
Step-by-Step Instructions for Grilled Cheese Burrito
Step 1: Cook the Beef
In a large skillet over medium heat, brown 1 lb of ground beef for about 8-10 minutes, breaking it up with a spatula until fully cooked. Drain excess grease, then add taco seasoning along with ¼ cup of water. Stir well and let it simmer for an additional 5 minutes until the mixture thickens and is fragrant, creating a deliciously seasoned filling for your Grilled Cheese Burrito.
Step 2: Warm Tortillas
While the beef is cooking, warm the large flour tortillas to make them pliable for easy wrapping. You can do this in a dry skillet over low heat for about 30 seconds on each side or in the microwave, wrapping them in a damp paper towel and microwaving them for 20-30 seconds. This step ensures your tortillas are soft and ready to hold all the tasty fillings.
Step 3: Assemble Burritos
On each warmed tortilla, layer about ¼ cup of fluffy cooked white rice, followed by the seasoned beef mixture, a generous drizzle of nacho cheese sauce, and a tablespoon of chipotle sauce for added kick. Top it off with a dollop of sour cream, and sprinkle shredded cheddar and mozzarella cheese. Carefully fold in the edges, then roll the burrito tightly to keep all the flavorful ingredients secure.
Step 4: Grill Burritos
Heat a skillet over medium heat and add two tablespoons of shredded cheese to create a crispy crust. Once the cheese is melted and sizzling, place the burrito seam-side down in the pan. Grill for about 3-4 minutes until the cheese forms a golden brown crust, then flip the burrito and grill the other side for another 3-4 minutes until equally crispy and golden, ensuring the cheese melts inside.
Step 5: Storage
If you have any leftover Grilled Cheese Burritos, store them in an airtight container in the refrigerator for up to 3 days. When you’re ready to enjoy them again, reheat gently in the skillet over medium-low heat or in the microwave to keep that delicious crispy texture while ensuring they’re warmed through for another delightful meal.

Expert Tips for Grilled Cheese Burrito
-
Hot Skillet: Ensure your skillet is hot enough before grilling to achieve that deliciously crispy exterior and melted cheese inside.
-
Press While Grilling: Gently press down on the burrito while grilling to help the cheese stick better and create a satisfying crust.
-
Assemble Ahead: Prepare burritos in advance and refrigerate. Grilling them just before serving guarantees optimal texture and flavor.
-
Wrap for Freezing: If you plan to store burritos long-term, wrap them individually in foil for freezing. They can last up to a month!
-
Substitutions Allowed: Feel free to customize your Grilled Cheese Burrito by swapping out ground beef for chicken, beans, or tofu to cater to your taste.
How to Store and Freeze Grilled Cheese Burrito
Fridge: Store leftovers in an airtight container for up to 3 days. Reheat gently in a skillet over medium-low heat to retain crispiness.
Freezer: Wrap individual burritos in foil and freeze for up to a month. To reheat, thaw overnight in the fridge and grill in a skillet for a crispy finish.
Meal Prep: Assemble and refrigerate burritos ahead of time. Grill when ready to serve for the best texture and flavor.
What to Serve with Easy Grilled Cheese Burrito
There’s nothing quite like the comforting warmth of a delicious burrito paired with vibrant sides that bring the whole meal together.
-
Salsa Fresca: A fresh salsa adds zesty flavor and brightness, balancing the savory richness of the burrito.
-
Guacamole: Creamy and smooth, this dip enhances the burrito experience, providing a luxurious contrast to the crispy exterior.
-
Mexican Street Corn: Grilled corn with lime, cheese, and chili powder offers delightful texture and a pop of sweetness that complements every bite.
-
Crisp Side Salad: A refreshing salad made from romaine, cherry tomatoes, and a light lime vinaigrette brings crunch and a burst of freshness, perfect alongside the hearty burrito.
-
Rice and Beans: A classic side that gives extra protein and fiber, this pairing makes for a filling experience, satisfying any hunger pangs.
-
Homemade Tortilla Chips: Serve these crunchy bites with the burrito for added texture. Don’t forget to pair them with your favorite salsa or guac for double deliciousness!
Grilled Cheese Burrito Variations
Get creative with your Grilled Cheese Burrito by mixing and matching flavors that your family will love!
-
Protein Swap: Replace ground beef with grilled chicken, beans, or tofu for a tasty alternative that suits your dietary needs.
-
Extra Veggies: Add sautéed bell peppers and onions for a colorful and nutritious twist, enhancing both texture and flavor.
-
Spice It Up: Toss in diced jalapeños or a splash of hot sauce for an added kick that will satisfy spice lovers.
-
Cheesy Delight: Consider layering in extra cheeses like pepper jack or gouda for a more indulgent cheese experience.
-
Dairy-Free: Skip the cheese and sour cream, substituting with a creamy avocado spread for a fresh, dairy-free version.
-
Rice Alternatives: Swap out white rice for quinoa or cauliflower rice to add a healthy twist without sacrificing flavor.
-
Herb-Infused: Mix in fresh cilantro or parsley into the filling to brighten the flavor and add a fresh element.
-
Delicious Dipping: Serve with Strawberry Cheesecake Dump or Blueberry Cheesecake Bars for a perfectly sweet ending to your cheesy feast!
Make Ahead Options
Preparing the Easy Grilled Cheese Burrito ahead of time saves you precious moments during busy weekdays! You can assemble the burritos up to 24 hours in advance; just refrigerate them in an airtight container to maintain freshness. If you wish to make an even longer-lasting option, wrap each burrito in foil and freeze them for up to a month. When you’re ready to enjoy, simply grill the burritos from frozen or refrigerated; this ensures a crispy exterior and gooey interior. To reheat, place them in a hot skillet over medium heat for about 3-4 minutes on each side until warm and the cheese is melted, delivering that delightful homemade taste, just like restaurant-quality!

Grilled Cheese Burrito Recipe FAQs
What is the best way to select ripe ingredients for this recipe?
Absolutely! For the best flavors, choose fresh, firm tomatoes for salsa or guacamole. If you’re using avocados, look for ones that yield slightly when pressed to indicate ripeness. When choosing your tortillas, opt for those with no dark spots or cracks to ensure they hold together well during grilling.
How should I store leftover Grilled Cheese Burritos?
Store any leftover burritos in an airtight container in the fridge for up to 3 days. If you want to enjoy them later, reheat gently in a skillet over medium-low heat to help maintain that crispy exterior. If using the microwave, wrap them in a damp paper towel to keep them from getting too soggy.
Can I freeze Grilled Cheese Burritos, and how?
Absolutely! To freeze, wrap each burrito tightly in foil or plastic wrap and place them in a zip-top freezer bag. They’ll stay fresh for up to a month! When you’re ready to enjoy, thaw them overnight in the fridge. Then, grill them in a skillet for a few minutes on each side until warmed through and crispy. This method helps preserve that delightful texture!
What if my burritos are falling apart when I grill them?
No worries! Make sure to wrap the burritos tightly, tucking in the sides as you roll. Press them gently while grilling to help everything stick. If the tortillas are too dry, briefly heat them in the microwave or on a skillet before assembling to make them more pliable. This will help prevent any unfortunate spills during grilling.
Are there any dietary considerations for pets or allergies?
When making Grilled Cheese Burritos, be cautious of ingredients that can be harmful to pets—such as onions, garlic, and chocolate. For allergies, it’s best to use gluten-free tortillas for those with gluten sensitivities and control sodium levels by making your own taco seasoning. If serving to anyone with dairy allergies, substitute the dairy ingredients with plant-based alternatives.

Grilled Cheese Burrito: Cheesy Comfort in Every Bite
Ingredients
Equipment
Method
- In a large skillet over medium heat, brown the ground beef for about 8-10 minutes. Drain excess grease, then add taco seasoning and ¼ cup of water. Stir well and simmer for 5 minutes.
- While the beef is cooking, warm the large flour tortillas in a dry skillet over low heat for 30 seconds on each side or microwave them for 20-30 seconds.
- On each warmed tortilla, layer about ¼ cup of rice, the beef mixture, nacho cheese sauce, and chipotle sauce. Top with sour cream and sprinkle with cheddar and mozzarella cheese. Fold in the edges and roll tightly.
- Heat a skillet over medium heat and add 2 tablespoons of cheese. Once melted, place the burrito seam-side down and grill for 3-4 minutes until golden brown. Flip and grill the other side.
- Store leftovers in an airtight container in the refrigerator for up to 3 days. Reheat gently to keep crispiness.

Leave a Reply