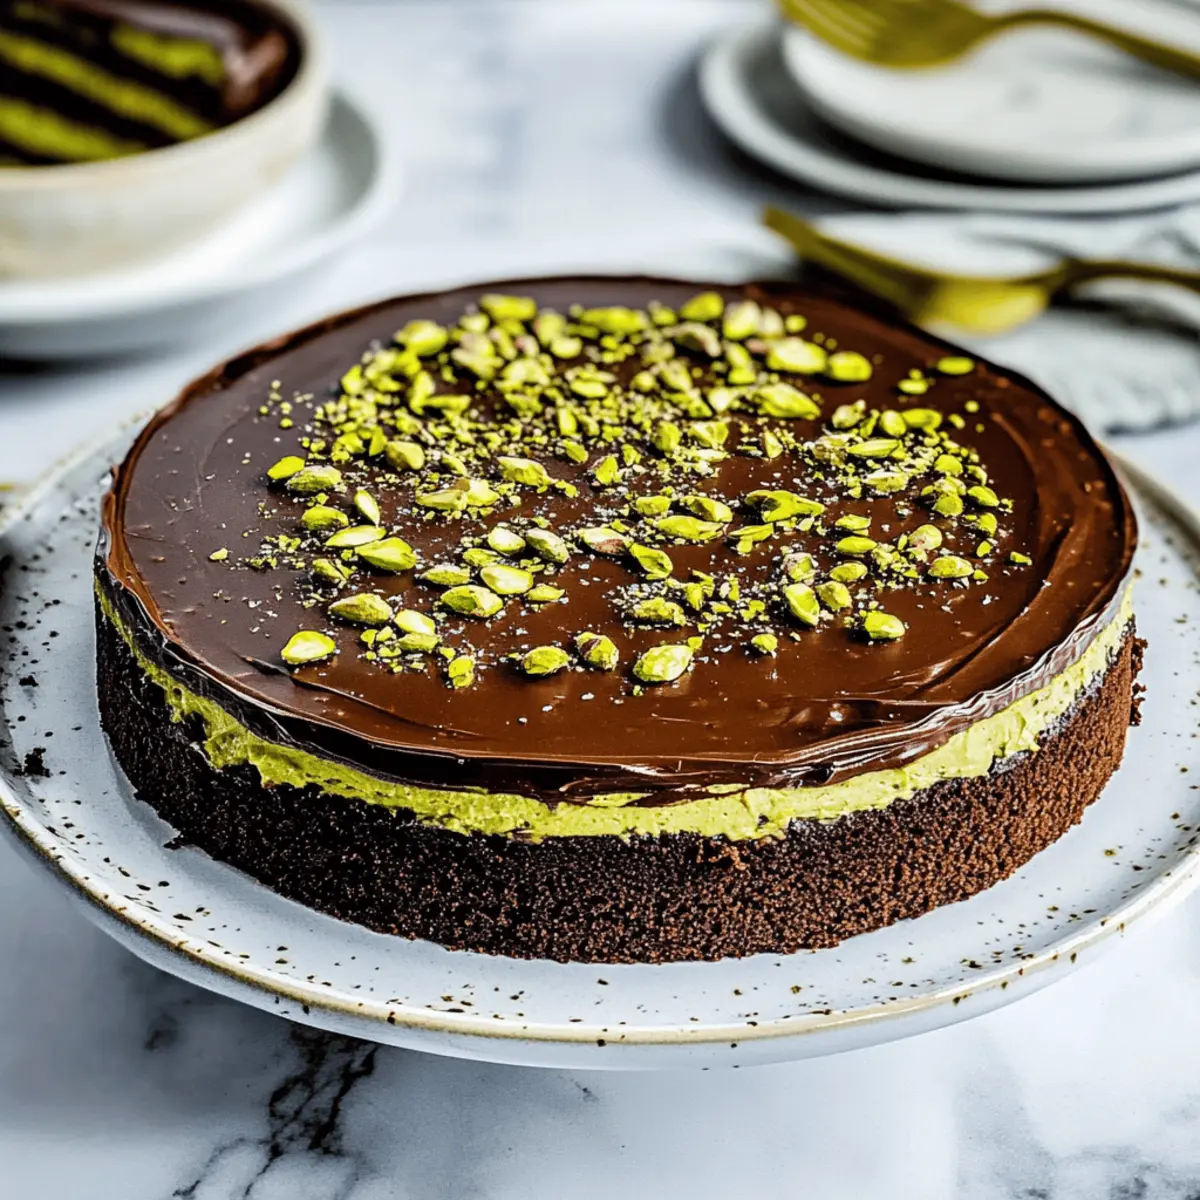
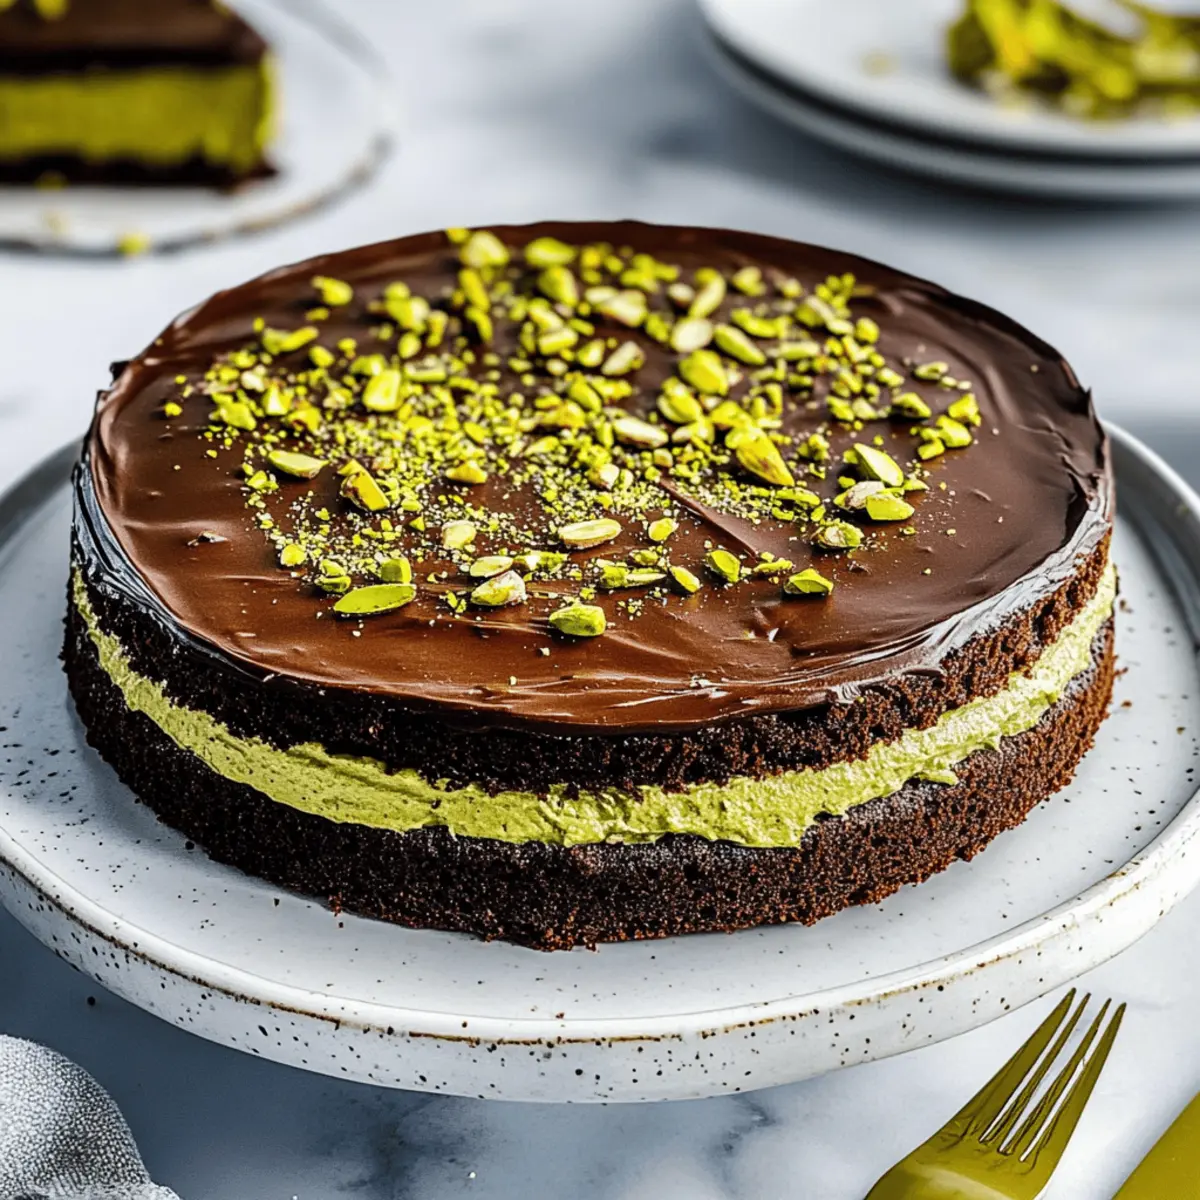
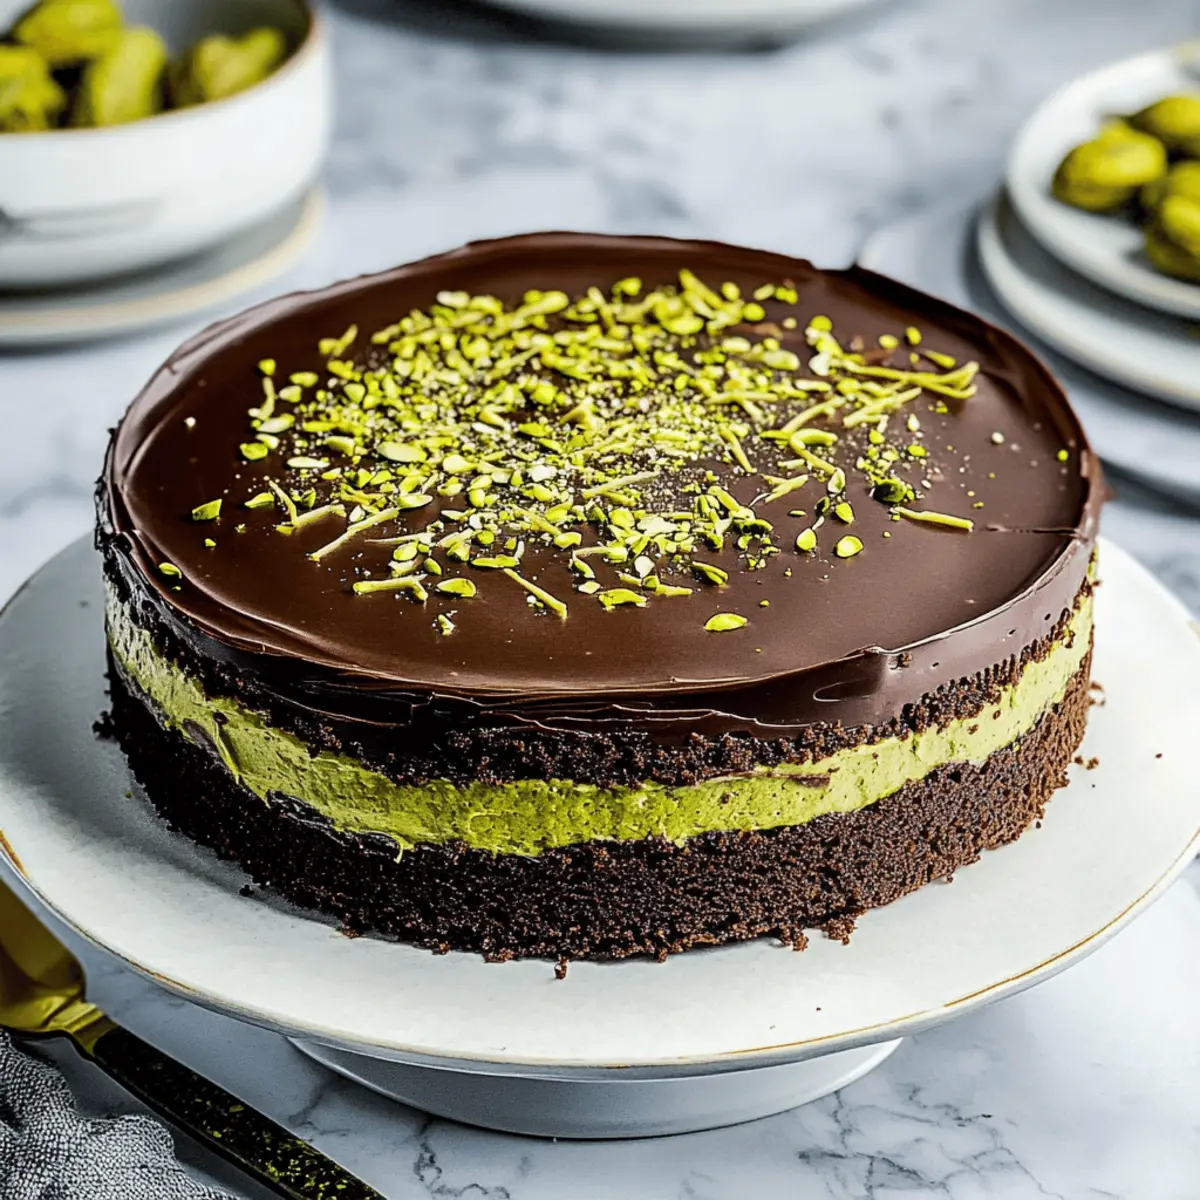
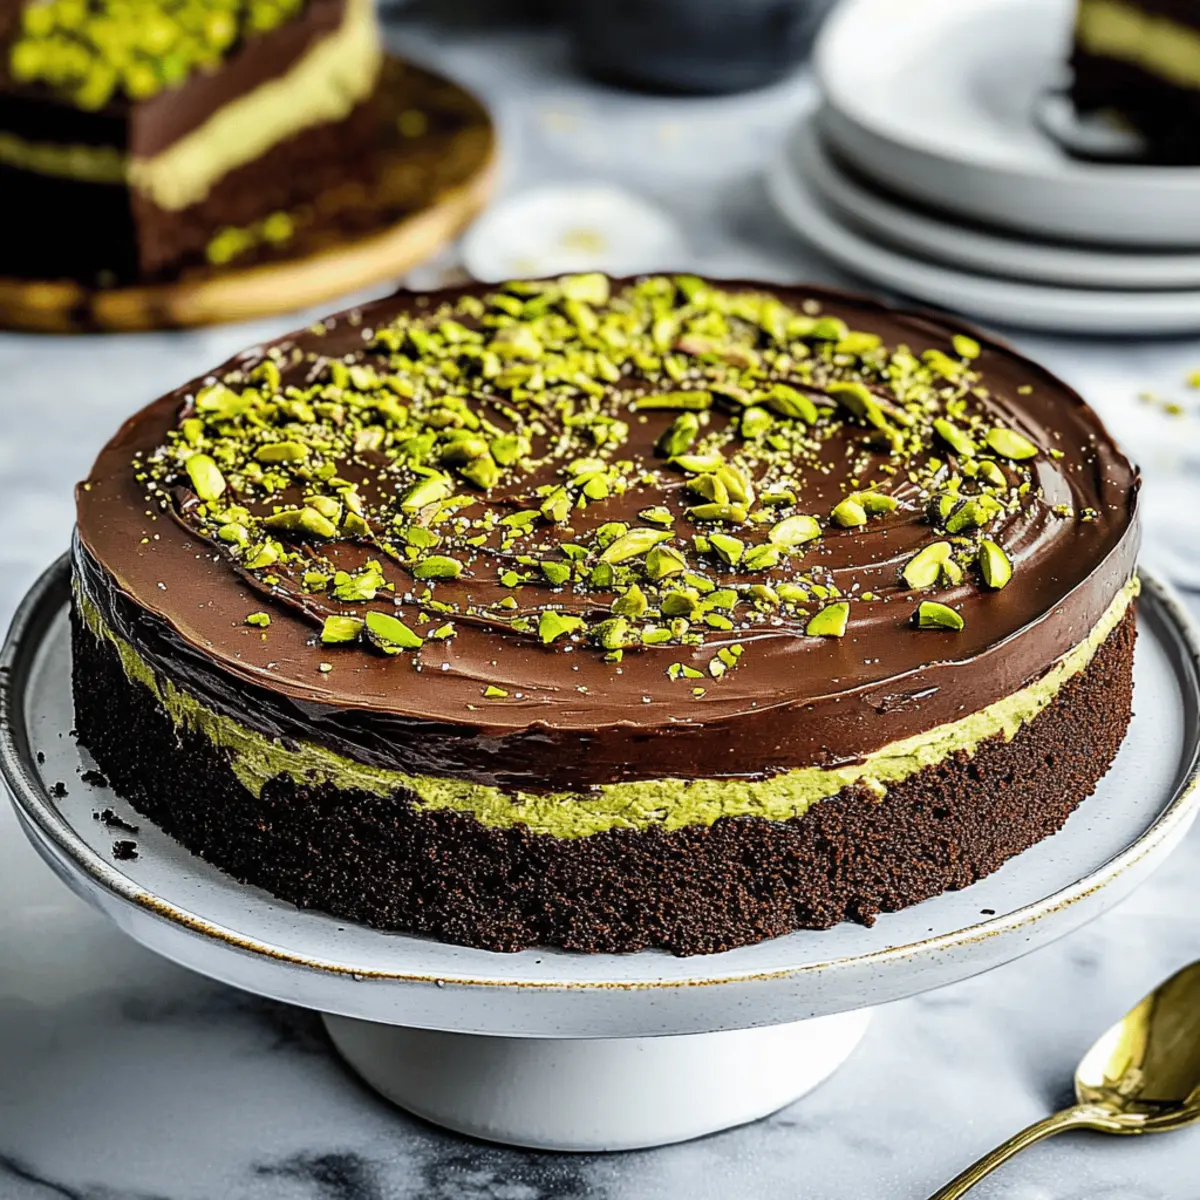
As I strolled through a bustling market in Dubai, the air was filled with rich chocolate indulgence and hints of exotic spices. This inspires my take on the Luxurious Dubai Chocolate Cake, a delightful fusion of textures and flavors that pays homage to Middle Eastern sweets. With its moist chocolate layers and a luscious pistachio filling, this dessert is not only a showstopper for any gathering but also surprisingly easy to whip up at home. Plus, it’s a perfect treat that can be enjoyed both as a festive centerpiece and a personal escape from fast food cravings. So, are you ready to elevate your dessert game with this heavenly delight?

Why You’ll Love This Dubai Chocolate Cake?
Irresistible flavor blends await! This cake features a rich chocolate base paired with a nutty pistachio filling, creating a decadent bite that transports you to the heart of Dubai. Effortless to prepare, it’s perfect for both novice and experienced bakers looking for a showstopper. Versatile options allow for ingredient swaps, like using almond cream or dark chocolate, ensuring it suits any palate. Plus, it’s a delightful treat to impress guests, just like my Chocolate Mousse Cake or Cinnamon Roll Cake. Sweet satisfaction awaits, making it ideal for celebrations or a comforting escape from fast food!
Dubai Chocolate Cake Ingredients
Transform your baking dreams into reality with the essentials you’ll need for this rich dessert!
For the Cake
• All-purpose flour – Provides structure and stability to the cake; gluten-free all-purpose flour works well for a gluten-free version.
• Granulated sugar – Adds the perfect sweetness and moisture to balance the rich chocolate.
• Unsweetened cocoa powder – Delivers an intense chocolate flavor; opt for Dutch-processed for extra smoothness.
• Baking powder – Gives the cake its light and fluffy texture.
• Baking soda – Reacts with acidic ingredients to provide a lovely rise.
• Salt – Enhances the flavor and rounds out the sweetness.
• Large egg – Binds everything together; try a flax egg for a vegan alternative.
• Vanilla extract – Infuses warmth and depth of flavor into your cake.
• Milk – Ensures a moist, rich texture; swap with almond milk for a dairy-free option.
• Vegetable oil – Keeps the cake incredibly moist; melted coconut oil can be used as a substitute.
• Hot coffee – Intensifies the chocolate flavor; can be replaced with hot water or milk for non-coffee lovers.
For the Pistachio Filling
• Shredded phyllo dough (kataifi) – Adds delightful crunch to the pistachio filling.
• Butter – Contributes richness and a luscious texture to the filling.
• Pistachio cream – Gives a nutty flavor and smooth consistency; pistachio butter can be substituted, but adjust sweetness as needed.
For the Chocolate Layer
• Milk or semi-sweet chocolate bar – Creates the chocolate layer that’s pure indulgence; dark chocolate makes for an even richer treat.
• Heavy cream or table cream – Produces a silky smooth sauce; table cream adds an ultra-creamy finish.
With these ingredients, your Dubai Chocolate Cake will not only look good but also taste heavenly! Your baking adventure awaits!
Step‑by‑Step Instructions for Dubai Chocolate Cake
Step 1: Preheat the Oven
Begin by preheating your oven to 350°F (175°C). This essential first step ensures that your Dubai Chocolate Cake bakes evenly and rises beautifully. While the oven warms up, prepare your baking equipment by greasing a 9-inch round cake pan with butter or oil to prevent sticking.
Step 2: Prepare the Cake Batter
In a large mixing bowl, combine the all-purpose flour, granulated sugar, unsweetened cocoa powder, baking powder, baking soda, and salt. Whisk these dry ingredients together until well-blended. Next, add in the large egg, vanilla extract, milk, vegetable oil, and slowly whisk in the hot coffee until the mixture is smooth and well-combined. The batter should be glossy and thick.
Step 3: Bake the Cake
Pour the cake batter into your prepared cake pan, smoothing the top with a spatula for an even surface. Place the pan in the preheated oven and allow it to bake for approximately 25 minutes. To check for doneness, insert a toothpick into the center of the cake; if it comes out clean, your Dubai Chocolate Cake is ready to be removed from the oven.
Step 4: Prepare the Pistachio Filling
While the cake is baking, it’s time to prepare the pistachio filling. In a medium pan over medium heat, melt the butter. Once melted, add the shredded phyllo dough (kataifi) and stir frequently until it reaches a golden brown color and becomes crispy—about 5-7 minutes. Remove from heat and mix in the pistachio cream until fully incorporated.
Step 5: Make the Chocolate Layer
Once the cake is finished baking and cooling, prepare the chocolate layer. In a microwave-safe bowl, combine the milk or semi-sweet chocolate and heavy cream. Heat in the microwave in 30-second intervals, stirring after each interval, until the chocolate has melted and the mixture is smooth and glossy, creating a luxurious sauce.
Step 6: Assemble the Cake
After the cake has cooled completely, carefully slice it in half horizontally to create two layers. Take the bottom layer and spread a generous portion of the pistachio filling evenly across the surface. Place the top layer gently over the filling, then pour the warm chocolate sauce over the entire cake, allowing it to drizzle down the sides for a decadent finish.
Step 7: Serve and Enjoy
Your luxurious Dubai Chocolate Cake is now ready to be served! For the best experience, let it sit for a few minutes to allow the chocolate to set before slicing. Enjoy each slice of this rich, flavorful cake with family or friends, perfect for any special occasion or simply as a delightful homemade dessert.

Make Ahead Options
For busy home cooks, the Dubai Chocolate Cake is a dream come true! You can prep the cake layers up to 24 hours in advance; simply allow them to cool completely before wrapping tightly in plastic wrap to prevent drying out. The pistachio filling can be made up to 3 days ahead. Store it in an airtight container in the refrigerator, ensuring it stays fresh and delicious. On the day of serving, just assemble the cake by layering the filling between the cake layers and drizzling on the silky chocolate sauce. This way, you’ll enjoy a show-stopping dessert with minimal effort!
Storage Tips for Dubai Chocolate Cake
-
Room Temperature: Keep the cake in an airtight container at room temperature for up to 3 days. This keeps it moist and delicious, perfect for indulging at any time.
-
Fridge: If you want to extend its life, refrigerate the cake for up to a week. Make sure it’s properly covered to prevent it from absorbing any unwanted odors.
-
Freezer: For longer storage, slice and wrap individual pieces of the Dubai Chocolate Cake in plastic wrap, then place them in a freezer-safe bag. It will stay fresh for up to 3 months.
-
Reheating: To enjoy the cake warm, simply thaw in the fridge overnight and then microwave for 10–15 seconds. This will revive the fudgy textures and flavors beautifully!
Dubai Chocolate Cake Variations & Substitutions
Ready to make your Dubai Chocolate Cake even more delightful? Feel free to stir up some fun with these creative swaps and variations that will excite your taste buds!
- Gluten-Free: Substitute all-purpose flour with gluten-free all-purpose flour for an equally delectable cake that everyone can enjoy.
- Nut-Free Option: Swap out the pistachio filling with a seed butter like sunflower seed butter to cater to nut allergies while keeping the flavor profile nutty.
- Flavored Extracts: Add a twist by incorporating different extracts, such as almond or orange, to enhance the cake’s aromatic layers.
- Vegan-Friendly: Use a flax egg in place of the large egg and substitute dairy milk with almond milk for a vegan-friendly version without sacrificing flavor.
- Intense Chocolate: Replace the milk chocolate in the chocolate layer with dark chocolate for a richer taste that chocolate lovers will adore.
- Extra Crunch: Mix chopped nuts like walnuts or almonds into the pistachio filling for an exciting texture contrast—each bite will be a delightful surprise!
- Spicy Touch: Add a pinch of cinnamon or chili powder into the batter for a warm, spiced flavor that complements the chocolate beautifully.
- Fruit Fusion: Top each slice with fresh raspberries or strawberries for a zesty contrast that cuts through the richness of the cake, reminiscent of my Chocolate Chip Pumpkin Bread.
Feel free to mix and match these suggestions to create your perfect decadent dessert experience—your Dubai Chocolate Cake adventure awaits!
Expert Tips for Dubai Chocolate Cake
-
Choose Quality Chocolate: Use Ghirardelli or high-quality European chocolate to achieve the richest flavor in your Dubai Chocolate Cake.
-
Cool Before Assembly: Allow your cake to cool completely before adding the pistachio filling and chocolate layer; this prevents the fillings from melting and maintains texture.
-
Mind Your Measurements: Accurately measure your ingredients, especially the dry components, to avoid a dense cake. Too much flour can leave you with a heavy texture!
-
Mixing Technique: Mix the batter just until combined to keep your cake light and fluffy. Overmixing can create a tough consistency.
-
Serving Temperature: Serve the cake slightly warm for a gooey chocolate experience or chilled for a firmer texture; both options are delicious!
-
Garnishing Tips: Get creative with garnishes—consider crushed pistachios or a sprinkle of sea salt to elevate the presentation of your Dubai Chocolate Cake.
What to Serve with Luxurious Dubai Chocolate Cake?
The decadent layers of this rich dessert create the perfect opportunity to build a memorable meal experience filled with delightful pairings.
- Vanilla Ice Cream: The creamy, cold sweetness balances the cake’s rich chocolate, adding a refreshing contrast that enhances every bite.
- Whipped Cream: A light dollop of freshly whipped cream introduces a delightful airiness, cutting through the cake’s indulgence for a truly satisfying taste.
A luscious cake like this deserves a bit of flair! Consider adding a sprinkle of crushed pistachios on top of the whipped cream to mirror the flavors of the filling while introducing an extra crunch.
- Mint Tea: This aromatic beverage refreshes your palate, the cool mint offsetting the cake’s sweetness wonderfully and adding warmth to family gatherings.
- Chocolate Sauce: Drizzling a bit more rich chocolate sauce on your slice will heighten that decadent chocolate experience, drawing chocolate lovers deeper into the sensation.
A mug of hot mint tea or a small pitcher of chocolate sauce at your table creates the perfect atmosphere for guests to personalize their indulgence, ensuring everyone leaves satisfied.
- Fresh Berries: Juicy raspberries or strawberries provide a tartness that balances the cake’s richness, transforming it into a beautifully balanced dessert.
- Coffee: A rich, brewed coffee enhances the chocolate notes in the cake, providing a comforting warmth that complements the entire dessert experience.
These pairings harmonize with your Dubai Chocolate Cake, elevating your dessert into a cherished memory with every delightful bite!

Dubai Chocolate Cake Recipe FAQs
How do I know if the ingredients are ripe or fresh?
For this Dubai Chocolate Cake, make sure your ingredients are fresh for the best flavor and texture. Look for all-purpose flour that is free from lumps and smells neutral. Cocoa powder should be dark and aromatic—if it has a stale odor, it’s time to replace it. Fresh eggs should feel heavy and have a smooth shell. Always check the expiry dates!
What’s the best way to store leftover Dubai Chocolate Cake?
Store the cake in an airtight container at room temperature for up to 3 days for optimum freshness. If you’re looking to keep it longer, refrigerate it for up to a week—just ensure it’s covered to keep it moist and prevent it from picking up other flavors.
Can I freeze the Dubai Chocolate Cake?
Absolutely! To freeze, slice the cake into individual portions and wrap each piece in plastic wrap, then place them in a freezer-safe bag. The cake will maintain its deliciousness for up to 3 months. When you’re ready to enjoy a slice, simply thaw it in the fridge overnight and microwave for about 10–15 seconds for that fresh-baked taste!
The cake turned out too dense—what went wrong?
A dense cake often results from overmixing the batter or inaccurate flour measurements. Make sure to mix just until combined and level your flour correctly by spooning it into the measuring cup rather than scooping directly. If you find the cake still dense, consider using a lighter flour next time, like cake flour, to achieve that airy texture.
Are there any dietary considerations for this recipe?
Yes! If you’re accommodating dietary restrictions, you can easily make this Dubai Chocolate Cake gluten-free by substituting gluten-free all-purpose flour. For a vegan version, use a flax egg (1 tablespoon ground flaxseed mixed with 2.5 tablespoons of water) instead of a large egg and swap milk for any plant-based alternative. Always check your chocolate and cream options, as some may contain milk products.
What can I serve with this cake to enhance its flavors?
I often recommend pairing this luxurious Dubai Chocolate Cake with a scoop of vanilla ice cream or a dollop of freshly whipped cream for added richness. You could also serve it with a sprinkle of crushed pistachios or a drizzle of extra chocolate sauce for that gourmet touch.

Indulge in Irresistible Dubai Chocolate Cake Delight
Ingredients
Equipment
Method
- Preheat your oven to 350°F (175°C) and prepare a cake pan by greasing it.
- Mix all-purpose flour, sugar, cocoa powder, baking powder, baking soda, and salt in a bowl. Then add egg, vanilla, milk, oil, and hot coffee to make a smooth batter.
- Pour the batter into the pan and bake for approximately 25 minutes.
- While the cake bakes, melt butter in a pan, then add shredded phyllo dough and cook until golden brown. Mix in pistachio cream.
- After cooling, melt chocolate and heavy cream in a bowl until smooth.
- Slice the cake in half horizontally, spread pistachio filling on the bottom layer, place the top layer and drizzle with chocolate sauce.
- Let sit for a few minutes before serving.

Leave a Reply