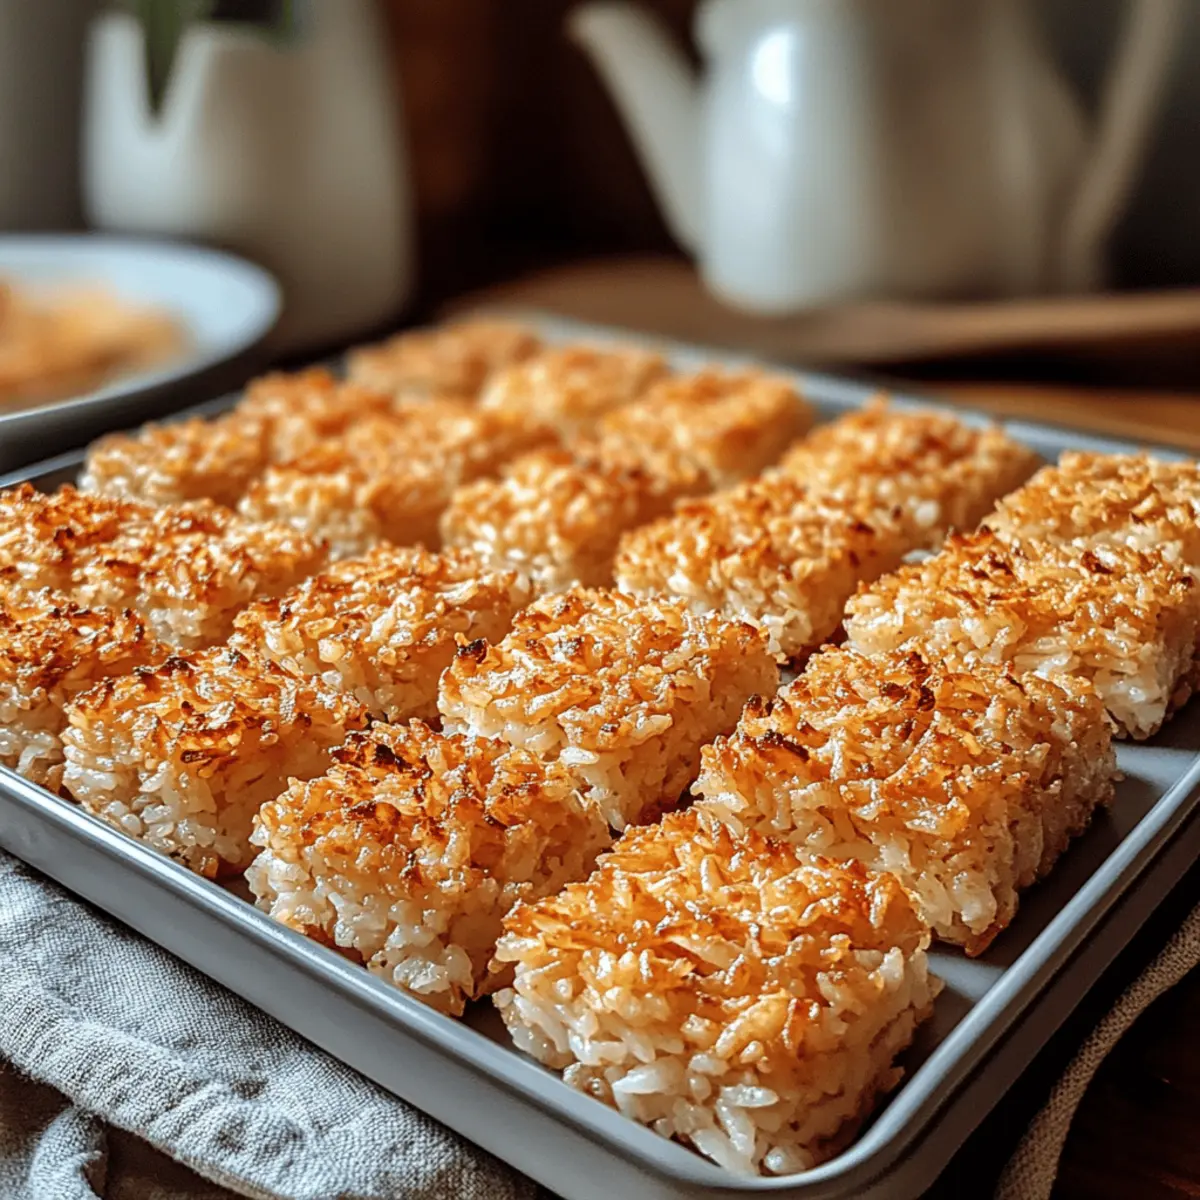
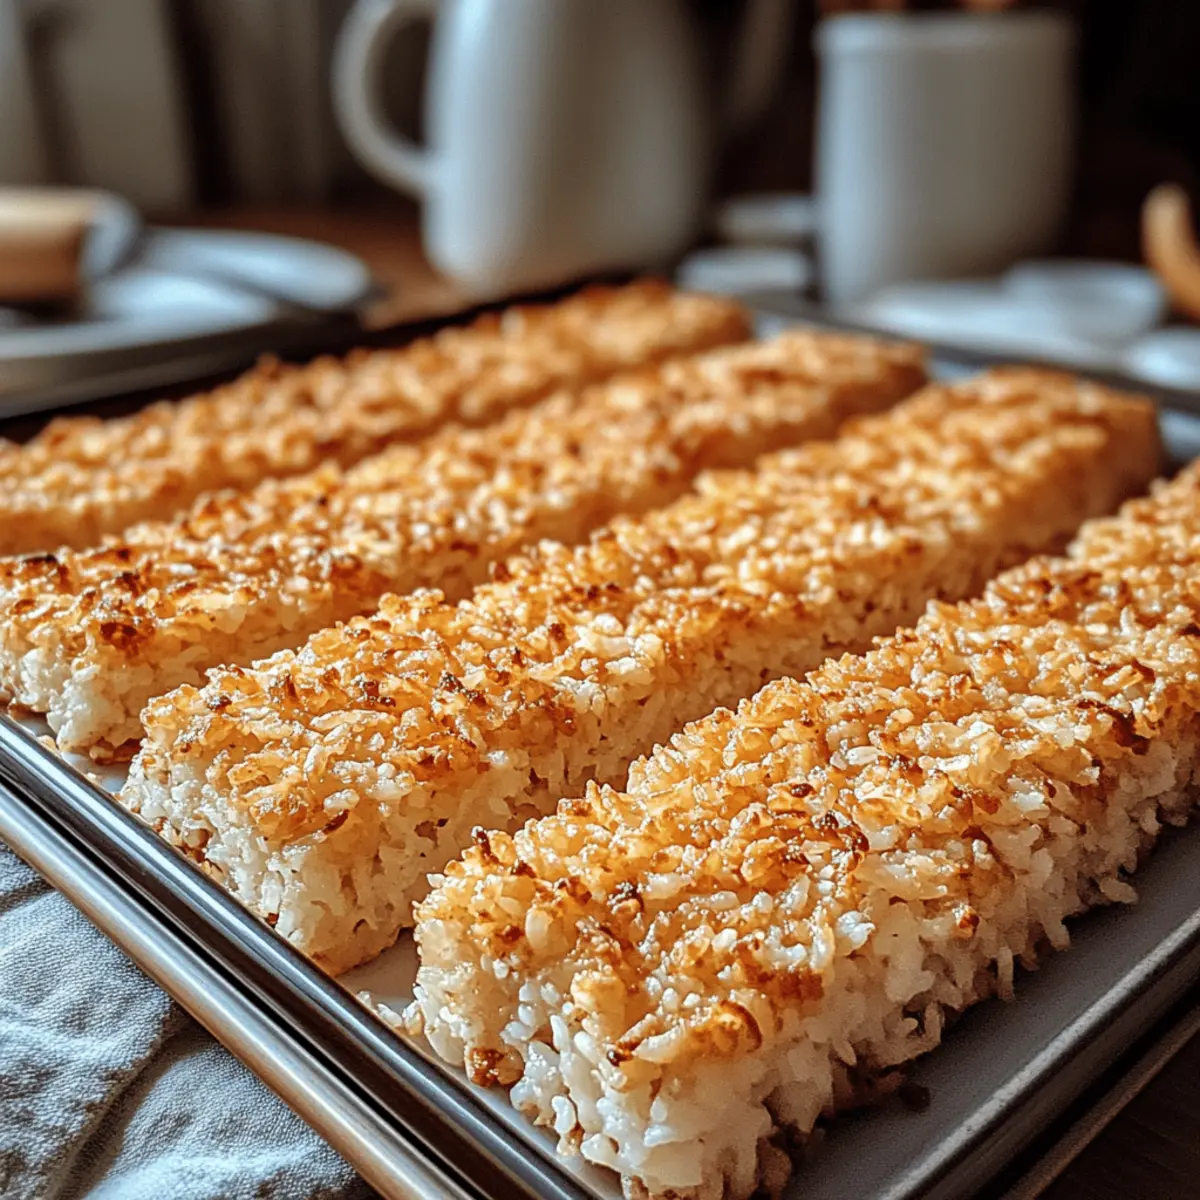
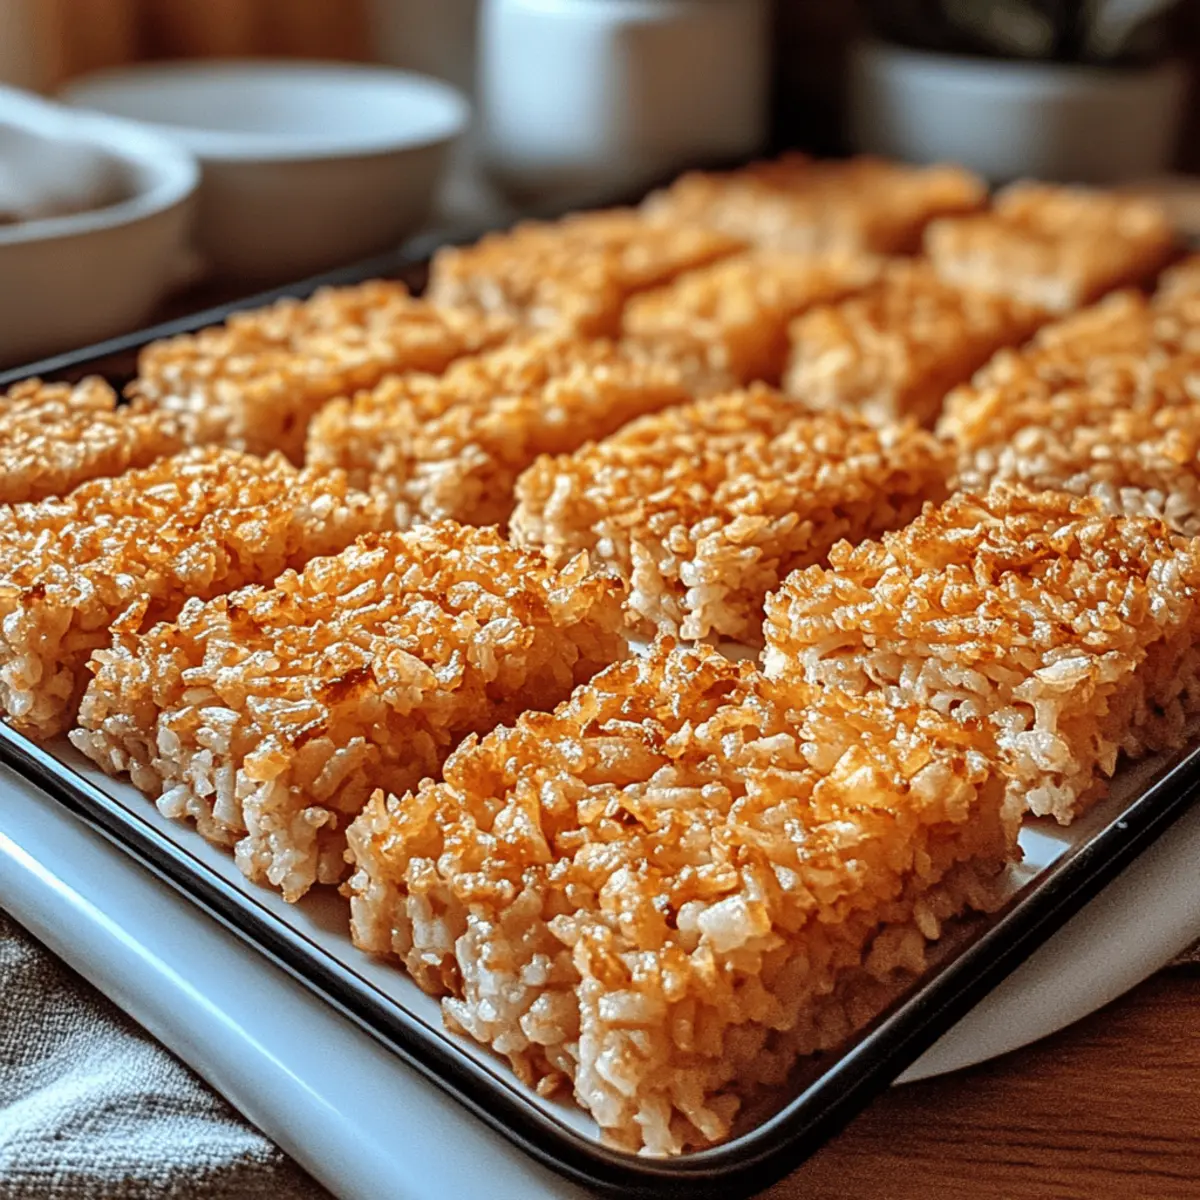
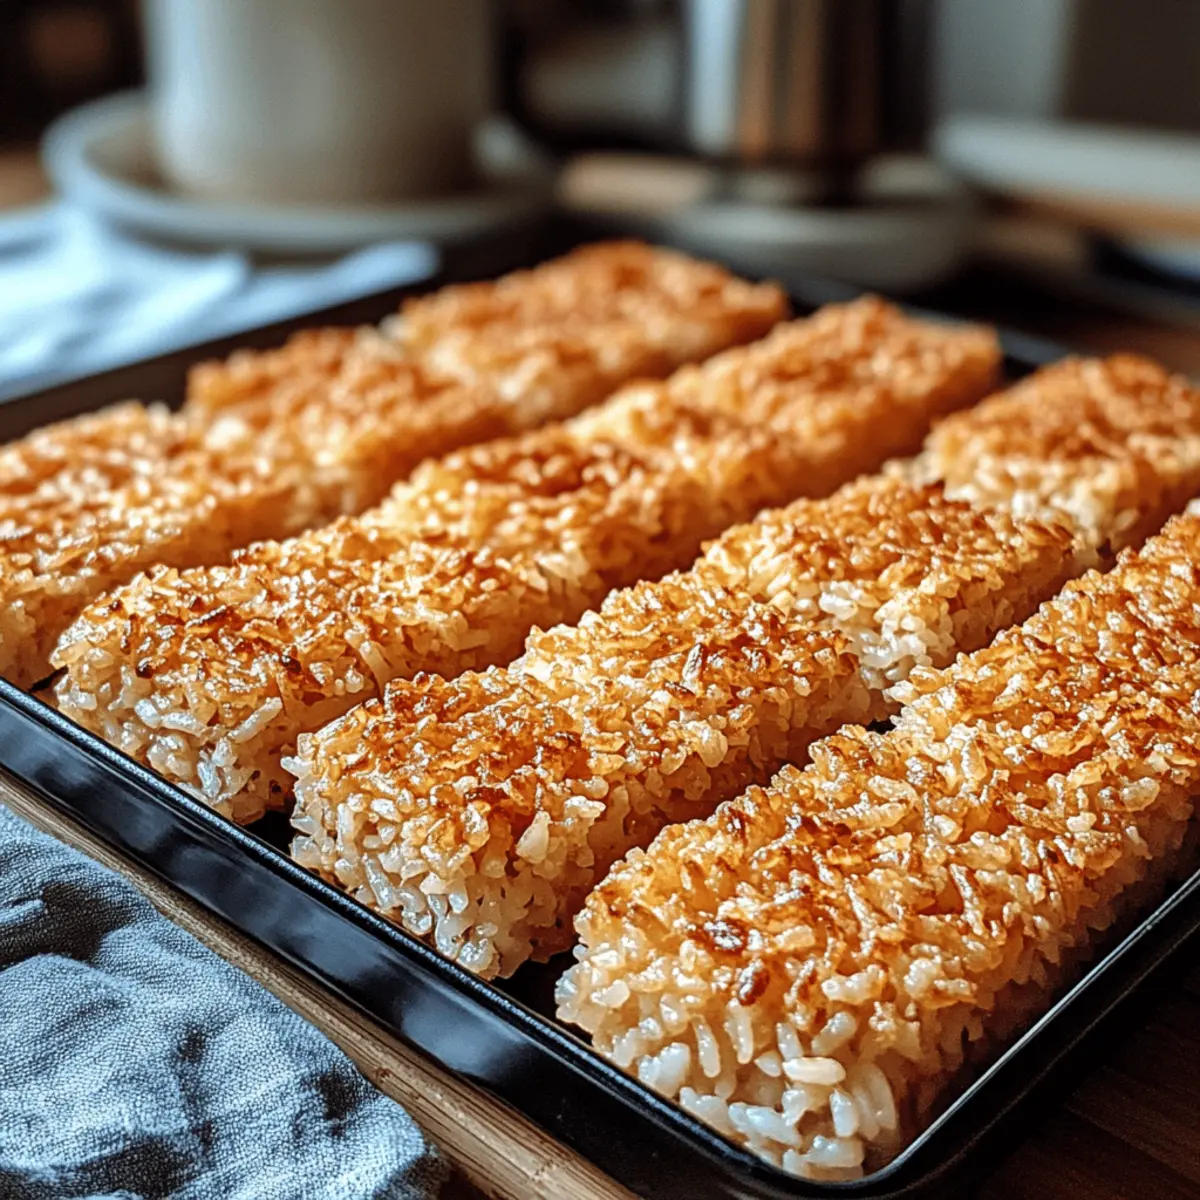
As I savored the crunchy edges of my favorite childhood treat, I realized crispy rice isn’t just food; it’s a flavorful memory waiting to happen. This Easy Crispy Rice recipe brings a delightful twist to plain rice, transforming it into golden, crunchy bites that are both satisfying and simple to make. With just a handful of basic ingredients, you’ll discover the joy of preparing this dish that’s not only versatile but also an absolute crowd-pleaser—perfect as a sushi base, a salad topper, or even a snack on its own. Whether you’re opting for traditional sushi rice or a healthier brown rice variant, you can enjoy the friendly flexibility this recipe offers. Ready to embark on a crunchy adventure? Let’s dive into the delicious world of crispy rice!

Why Is Crispy Rice So Irresistible?
Crispy Rice offers a delightful crunch that transforms any meal! Its versatility lets you use it as a sushi base, topping for salads, or a standalone snack. Quick preparation means you can whip it up in minimal time—perfect for those busy evenings. With the option to make it healthier using brown rice, this dish caters to various dietary needs. Plus, it’s bound to impress guests at your next gathering, making it a must-try addition to your recipe collection. For more exciting dishes, don’t miss out on Buttery Rice New or Broccoli Chicken Rice!
Crispy Rice Ingredients
For the Rice Base
- Sushi Rice – Ideal for achieving that perfect stickiness when fried.
- Water – Essential for cooking the rice and achieving the right texture.
For the Seasoning
- Rice Vinegar – Adds delightful flavor and helps the rice stick; can be replaced with apple cider vinegar.
- Sugar – Balances the flavors; feel free to omit for a less sweet version.
- Salt – Enhances overall taste and brings out the flavors of the crispy rice.
For Frying
- Neutral Oil (e.g., avocado, vegetable, sesame) – Ensures a crispy texture; choose oils with a high smoke point.
This ingredient breakdown will guide you in creating the perfect crispy rice that dazzles with every bite!
Step‑by‑Step Instructions for Easy Crispy Rice
Step 1: Cook the Rice
Begin by rinsing 1 cup of sushi rice under cold water until the water runs clear, which removes excess starch. In a medium saucepan, combine the rinsed rice with 1 ¼ cups of water and bring it to a boil over medium-high heat. Once boiling, reduce the heat to low, cover, and let it simmer for 15 minutes. Afterward, turn off the heat and let it sit covered for 10 minutes, allowing the rice to become perfectly fluffy.
Step 2: Season the Rice
In a small bowl, mix together 2 tablespoons of rice vinegar, 1 tablespoon of sugar, and ½ teaspoon of salt until dissolved. Gently fold this seasoning mixture into the cooked sushi rice using a spatula, taking care not to mash the grains. This step is crucial to add flavor and help the crispy rice pieces stick together later. Allow the seasoned rice to cool to room temperature before chilling.
Step 3: Chill the Rice
Press the seasoned rice evenly into a shallow, greased pan, creating an even layer that’s about 1 inch thick. Cover the pan with plastic wrap or a lid to prevent drying out, and place it in the refrigerator. Chill for at least 4 hours, but preferably overnight. Chilling firms up the rice, making it easier to cut and fry, ensuring your crispy rice will hold its shape.
Step 4: Cut and Fry the Rice
Once chilled, remove the rice from the refrigerator and carefully lift it out of the pan. Use a sharp knife to cut the rice into squares or rectangles, depending on your desired size. In a large frying pan, heat ½ cup of neutral oil over medium heat. When the oil is shimmering, add the rice pieces in batches, frying for about 3-4 minutes per side until they are golden brown and crispy.
Step 5: Drain and Serve
Using a slotted spatula, carefully remove the crispy rice pieces from the pan and place them on a plate lined with paper towels to drain excess oil. Repeat this until all pieces are fried and achieve a delightful golden hue. Now, your easy crispy rice is ready to be served! These crunchy delights can be enjoyed as a standalone snack, added to salads, or used as a base for sushi toppings.

Expert Tips for Crispy Rice
-
Chill Time Matters: Allowing the rice to chill for at least 4 hours is crucial. This firmness is key for achieving the perfect texture when frying your crispy rice.
-
Check Oil Temperature: Ensure your oil is hot enough before adding rice pieces. Test with a small piece of rice—if it sizzles immediately, you’re ready to go!
-
Don’t Overcrowd the Pan: Fry in batches to prevent steaming. Overcrowding can lead to uneven cooking and soggy crispy rice.
-
Mind Your Heat: Cooking at medium heat helps achieve that golden crunch without burning the rice. Too high, and you’ll end up with crispy rice that’s charred on the outside but undercooked inside.
-
Flavor Variations: Feel free to experiment with different seasonings or toppings, like sesame seeds or chili flakes, to elevate your crispy rice even more!
-
Storage Solutions: Make extra crispy rice? Store leftovers in an airtight container in the fridge for up to three days. To re-crisp, just fry them for a minute or two again!
Make Ahead Options
These Crispy Rice bites are perfect for busy meal prep! You can cook and chill the rice up to 24 hours in advance, which allows the flavors to meld beautifully. Simply prepare the seasoned rice, press it into a shallow pan, cover it tightly, and refrigerate. When you’re ready to serve, just cut the chilled rice into squares and fry them for 3-4 minutes per side until golden brown and crispy. To maintain quality, ensure the rice is correctly chilled and avoid overcrowding the pan while frying for even cooking. This way, you’ll have delightful crispy rice ready to impress with minimal effort!
Crispy Rice Variations & Substitutions
Feel free to put your personal spin on this crispy rice recipe to suit your taste buds!
- Brown Rice: Swap out sushi rice for brown rice for a nuttier flavor and a healthy twist. The crunch will remain, but the added fiber boosts nutrition!
- Asian Flavors: Incorporate sesame oil and a sprinkle of furikake for a delightful umami flavor that’ll transport you straight to Japan. Enjoy the layers of taste that emerge!
- Herb-Infused: Add fresh herbs like cilantro or basil to the seasoned rice before chilling. This simple twist elevates the dish with a burst of freshness and vibrant color.
- Spiced Up: For a little heat, mix chili flakes or cayenne pepper into the oil before frying. This adds a lovely kick to your crispy rice that spice lovers will adore!
- Toppings Galore: Top crispy rice with a fried egg, avocado, or kimchi for a satisfying and vibrant meal—there’s no limit to how you can dress these tasty bites!
- Sushi Style: Use your crispy rice as a base for sushi rolls, pairing with spicy tuna, salmon, or veggies to create a fun sushi night at home! This is where creativity knows no bounds!
- Cheesy Touch: Sprinkle with grated cheese right after frying while still hot. The gooey cheese pairs beautifully with the crunchy texture, offering a savory treat!
- Sweet Treat: For a sweet twist, sprinkle cinnamon and sugar over the fried rice for a dessert version. Perfect as a crunchy topping for ice cream or yogurt!
Want to enhance your crispy rice experience? Consider trying this dish alongside Crispy Air Fryer Burrata Bites for an amazing appetizer!
How to Store and Freeze Crispy Rice
-
Fridge: Store any leftover crispy rice in an airtight container for up to 3 days. The texture will soften slightly, so consider re-frying for a minute before serving for that delightful crunch.
-
Freezer: For long-term storage, freeze the uncooked, chilled rice (before frying) in a freezer-safe bag for up to 2 months. Thaw in the fridge overnight before frying.
-
Reheating: Reheat cooked crispy rice by frying in a little oil over medium heat until warmed through and crispy again—this will bring back that golden crunch!
-
Preparation Tip: When freezing, ensure the crispy rice is flat in the bag to save space and promote even freezing. Enjoy your versatile crispy rice whenever the craving hits!
What to Serve with Easy Crispy Rice
As you savor those crunchy bites, imagine the perfect companions to elevate your meal and entice your taste buds!
-
Soy Sauce: A classic dipping option that enhances the savory flavor of crispy rice, adding a touch of umami that’s simply irresistible.
-
Sushi Rolls: Pair your crispy rice with fresh sushi rolls like spicy tuna or cucumber, adding a delightful textural contrast to your meal.
-
Avocado Salad: A creamy avocado salad provides a refreshing and healthful balance with the crunchy texture of crispy rice, combining flavors beautifully.
-
Grilled Teriyaki Chicken: The sweetness of teriyaki chicken marries well with the crunchy texture of crispy rice, creating a satisfying and hearty dish.
-
Steamed Edamame: Light, yet satisfying. The slight saltiness of steamed edamame complements crispy rice well, offering a balance of textures and flavors.
-
Kimchi: For those who enjoy a spicy kick, adding kimchi gives a zesty contrast. The crunchiness of both elements creates a thrilling culinary experience!
-
Miso Soup: Delightful warmth in a bowl, miso soup adds depth to your meal. Enjoy it alongside crispy rice for a comforting combination.
-
Green Tea: A soothing cup of green tea pairs beautifully, offering a calming finish while cleansing your palate between each crunchy bite.
-
Fruit Sorbet: End the meal on a sweeter note with fruit sorbet, its refreshing flavors will leave you satisfied and yearning for more crispiness.

Crispy Rice Recipe FAQs
How do I choose the right rice for crispy rice?
Absolutely! Sushi rice is the best choice due to its higher starch content, which helps it stick together when fried. Look for grains labeled ‘sushi rice’ or ‘short-grain rice’ for the ideal consistency. If you’re looking for a healthier option, you can also use brown rice; just keep in mind that it may take a little longer to cook and won’t achieve the same stickiness but will offer a nutty flavor.
How should I store leftover crispy rice?
Leftover crispy rice should be stored in an airtight container in the fridge for up to 3 days. To retain its crunch, I recommend re-frying it in a bit of oil for 1-2 minutes before serving. This method revives that delicious golden texture, making it a delightful treat again!
Can I freeze crispy rice, and if so, how?
Yes, you can! To freeze crispy rice, first chill the uncooked rice (after pressing it into a pan) for at least 4 hours. Once chilled, cut it into pieces and place them in a single layer in a freezer-safe bag. Remove as much air as possible and freeze for up to 2 months. When you’re ready to enjoy, simply thaw in the fridge overnight and fry as usual.
What if my crispy rice turns out soggy?
Very! If your crispy rice turns out soggy, it may have been overcrowded in the pan or fried at too low a temperature. Make sure to fry in batches and ensure the oil is hot enough by testing it with a small piece of rice before adding the rest. For added crunchiness, try re-frying the soggy pieces for another minute or two at medium-high heat.
Is crispy rice gluten-free?
Yes, crispy rice can easily be made gluten-free! Just ensure that the rice vinegar you use is gluten-free (most are, but it’s always good to check), and avoid using soy sauce or other gluten-containing ingredients as toppings. It’s a snack that’s delightful for anyone following gluten-free dietary restrictions—enjoy the crispy goodness!
Can pets eat crispy rice?
While plain, cooked rice is generally safe for dogs, crispy rice often contains seasonings and oils that may not be suitable for pets. It’s best to avoid offering crispy rice to pets, especially if it contains added ingredients like salt or vinegar. Always consult with your vet for dietary advice specific to your furry friend!

Crispy Rice Bliss: Your New Favorite Crunchy Delight
Ingredients
Equipment
Method
- Rinse sushi rice under cold water until the water runs clear. Combine with water in a medium saucepan, bring to boil, then reduce heat and simmer for 15 minutes. Let sit covered for 10 minutes.
- Mix rice vinegar, sugar, and salt in a small bowl until dissolved. Fold into cooked rice gently using a spatula. Let cool to room temperature.
- Press seasoned rice into a greased shallow pan, about 1 inch thick. Cover with plastic wrap and refrigerate for at least 4 hours, preferably overnight.
- Cut chilled rice into squares or rectangles. Heat neutral oil in a frying pan over medium heat. Fry rice pieces in batches for 3-4 minutes per side until golden brown.
- Remove crispy rice from the pan and drain on paper towels. Serve as a snack, salad topping, or sushi base.

Leave a Reply