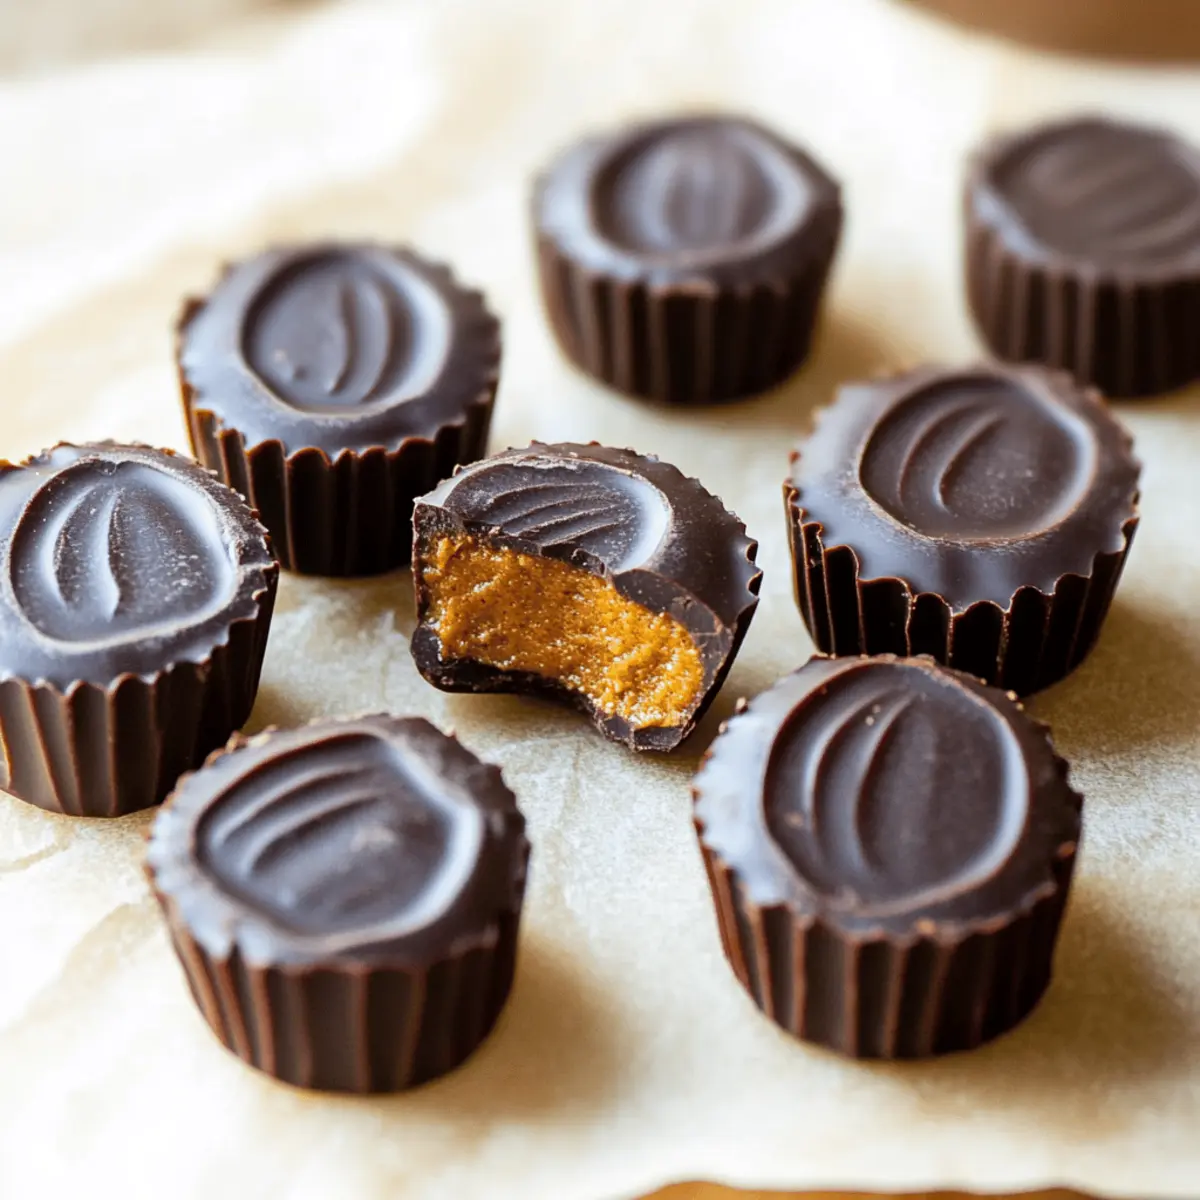
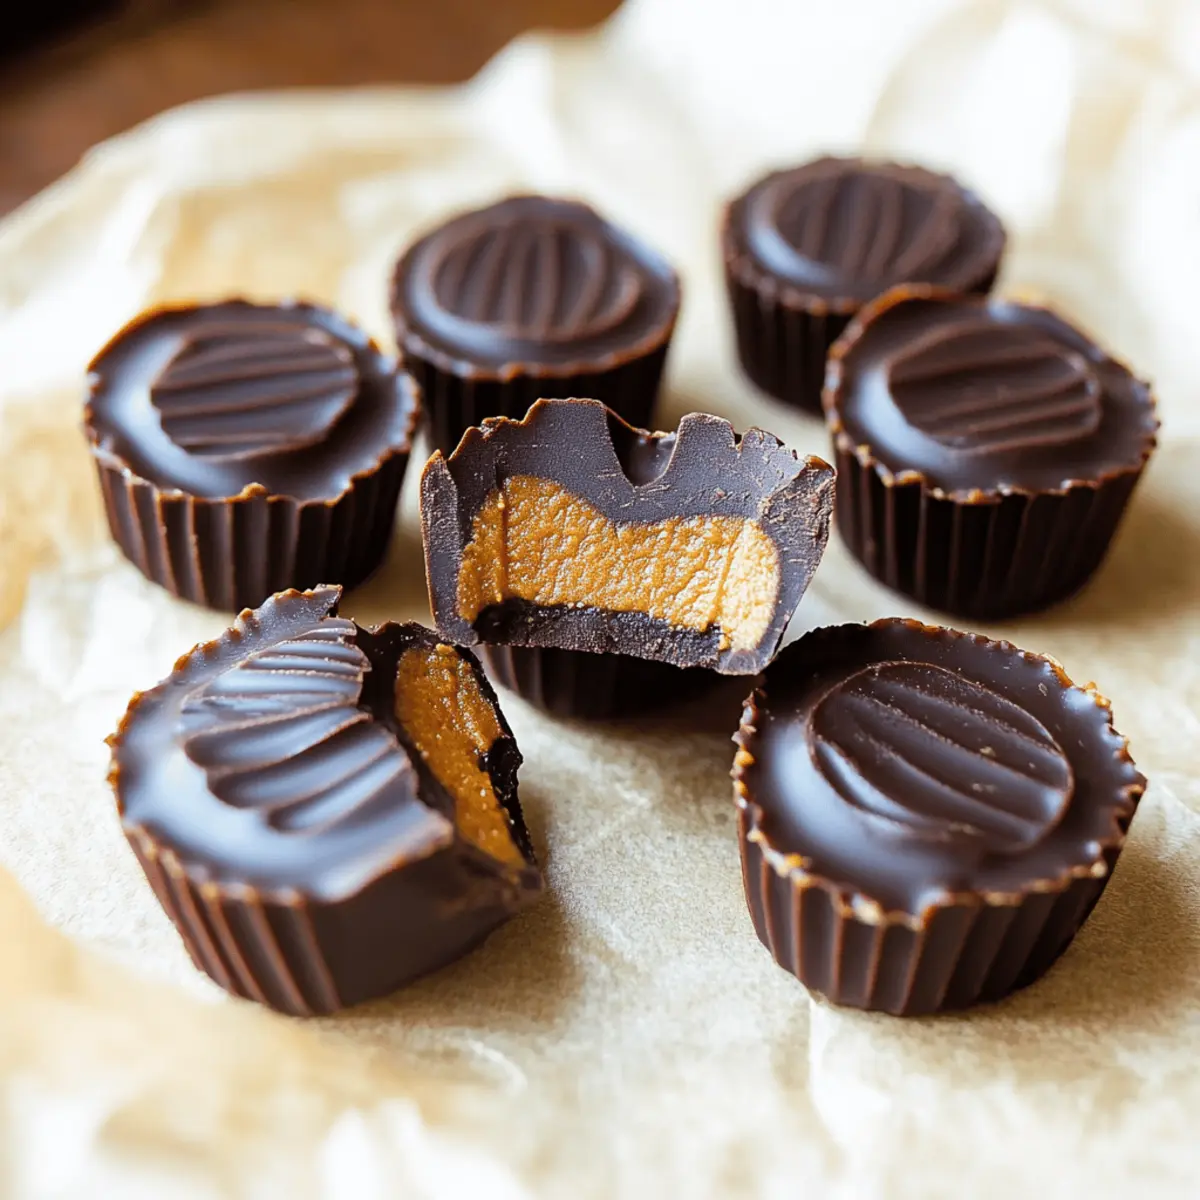
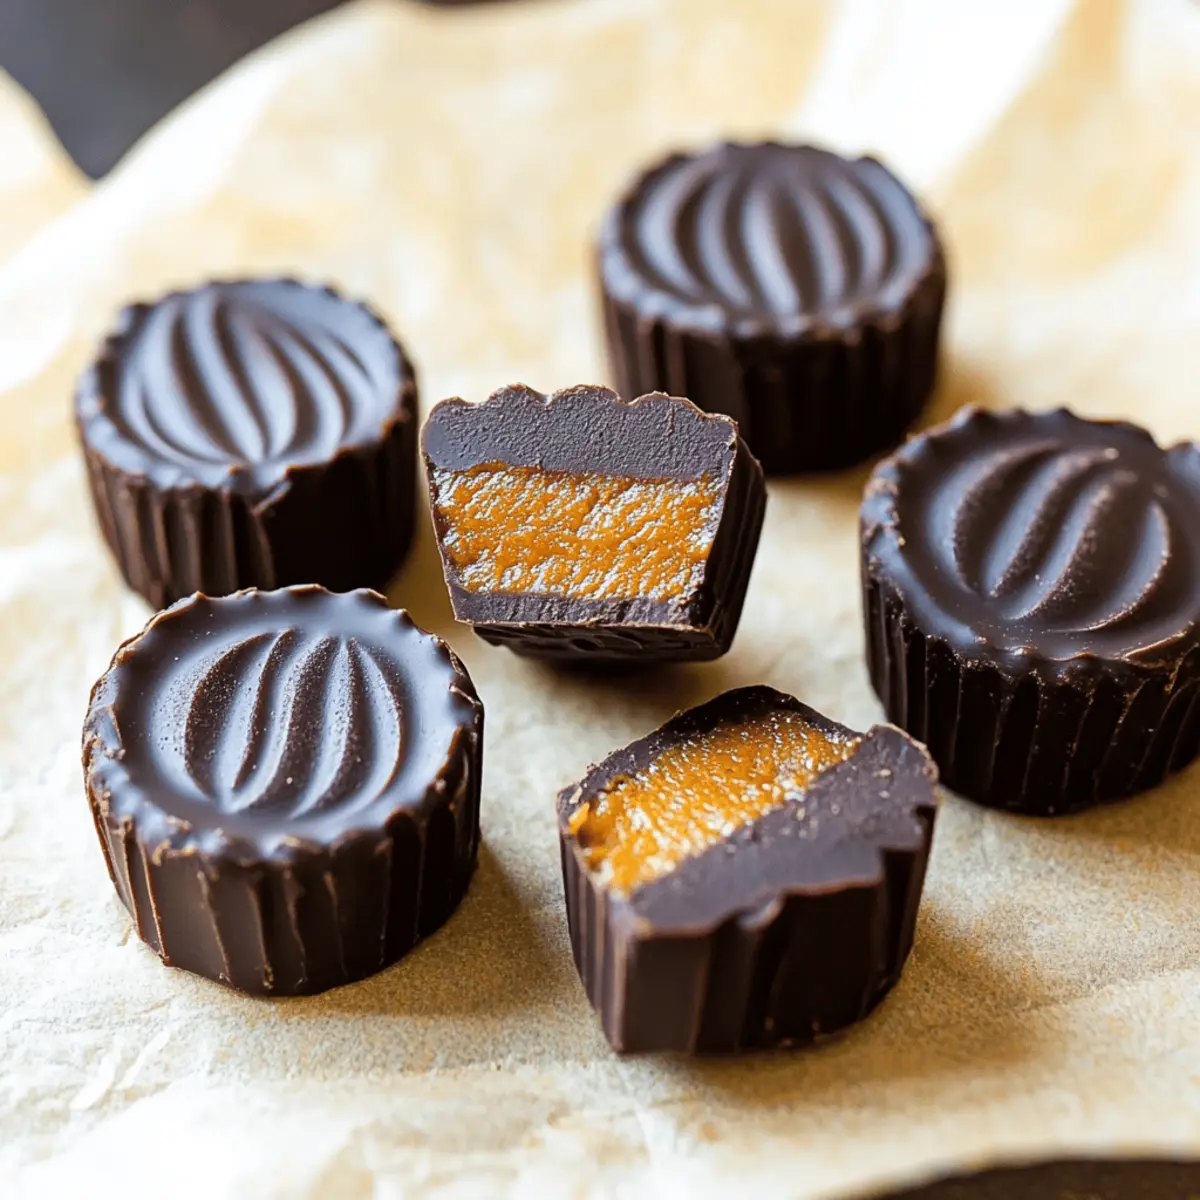
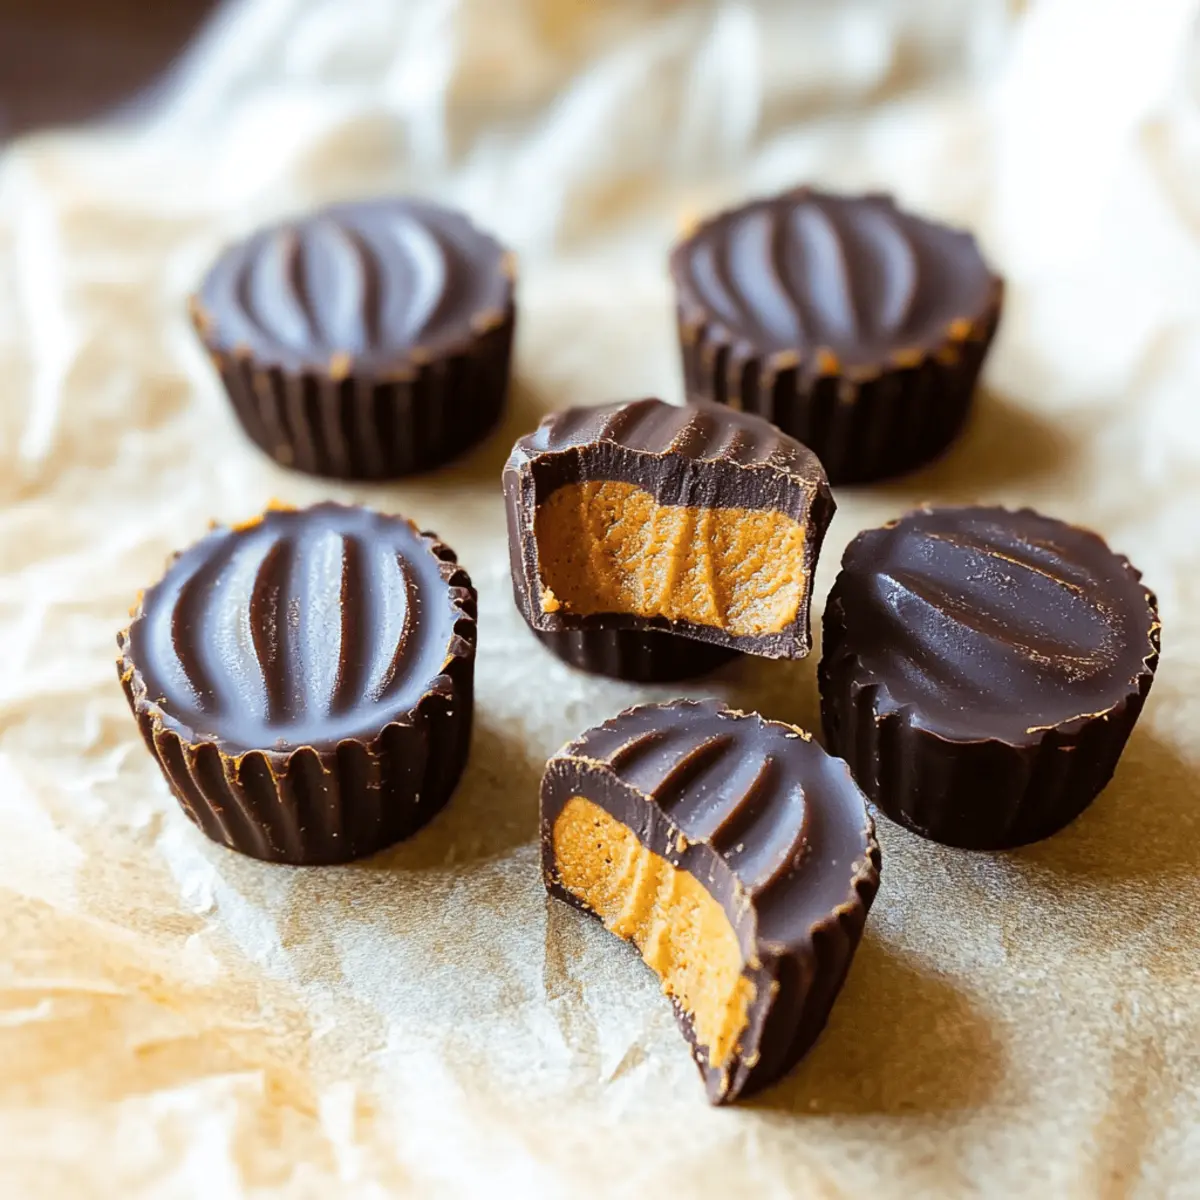
As autumn leaves begin to blanket the ground, my kitchen transforms into a cozy haven filled with the warm, inviting scent of pumpkin spice. That’s when I find myself irresistibly drawn to making these delightful Chocolate Pumpkin Butter Cups. They’re not just another dessert; they’re a healthier, no-bake alternative that combines creamy pumpkin goodness with luscious dark chocolate. With just six simple ingredients, you’ll be whipping up a crowd-pleasing treat that skips the guilt without sacrificing flavor. Perfect for those who crave a little sweetness and want to indulge without the added sugar, these treats are also gluten-free and offer a nut-free option. Have you ever enjoyed a dessert that captures the essence of fall? Let’s dive into this delicious recipe together!

Why are Chocolate Pumpkin Butter Cups special?
Unique Flavor Fusion: The delightful blend of rich dark chocolate and creamy pumpkin spice filling creates an unforgettable taste experience. No-Bake Convenience: It’s as simple as mixing ingredients and freezing—perfect for busy folks craving a sweet treat! Healthier Alternative: With lower sugar and the option to go nut-free, these cups cater to health-conscious eaters. Festive Appeal: They capture fall’s essence, making them ideal for gatherings or cozy nights at home. Want more scrumptious ideas? Try pairing them with our Pumpkin Scones Sweet for a delightful brunch!
Chocolate Pumpkin Butter Cups Ingredients
• Here’s what you need to make these irresistible treats!
For the Filling
- Pumpkin Puree – Provides a creamy base with a rich pumpkin flavor; use canned or homemade puree for convenience.
- Almond Butter – Adds creaminess and healthy fats; substitute with any nut butter or use Sunbutter for a nut-free option.
- Honey – Offers natural sweetness to balance the flavors; swap for maple syrup to make it sugar-free.
- Pumpkin Spice – Infuses the mixture with delightful autumnal flavors; adjust to your taste for a stronger or milder spice.
For the Chocolate Layer
- Chocolate Chips – Creates a rich, dark chocolate layer; opt for dairy-free if necessary for a fully dairy-free treat.
- Coconut Oil – Helps achieve a smooth melting chocolate layer; can be substituted with any neutral oil if preferred.
Step‑by‑Step Instructions for Chocolate Pumpkin Butter Cups
Step 1: Prep Almond Butter
Start by microwaving the almond butter for about 30 seconds until it’s warm and easy to mix. This helps integrate it seamlessly into the filling. Be sure to stir it well to achieve a smooth consistency that will blend beautifully with the rest of your ingredients.
Step 2: Combine Filling
In a mixing bowl, combine the pumpkin puree, honey, warmed almond butter, and pumpkin spice. Stir vigorously for about 1-2 minutes until the mixture is smooth and well-blended. Set this luscious pumpkin filling aside, allowing the flavors to meld while you move on to the chocolate layer.
Step 3: Melt Chocolate
Take a glass bowl and place the chocolate chips along with coconut oil inside. Microwave the mixture in 20-second intervals, stirring in between, until fully melted and glossy, which should take about 1-2 minutes. Be careful not to overheat; your goal is a smooth chocolate consistency for the coating.
Step 4: Initial Chocolate Layer
Pour a thin layer of the melted chocolate into silicone molds or mini cupcake liners, covering the bottom completely. Use a spoon to spread it evenly. Place the molds in the freezer for about 10 minutes until the chocolate is firm to the touch, creating a solid base for your Chocolate Pumpkin Butter Cups.
Step 5: Pipe Adding Layer
Once the initial chocolate layer is set, transfer your pumpkin filling into a plastic bag. Snip off one corner to create a makeshift piping bag, then gently pipe the filling over the hardened chocolate layer. Freeze for an additional 5-10 minutes to ensure that the filling firms up slightly before adding the final chocolate layer.
Step 6: Final Chocolate Layer
With the pumpkin filling firmed up in the molds, pour the remaining melted chocolate over the top, ensuring it completely covers the filling. Smooth it out with a spatula if needed, then return the molds to the freezer for 1-2 hours until the Chocolate Pumpkin Butter Cups are completely firm and ready to enjoy.
Step 7: Store
Once fully set, carefully remove the Chocolate Pumpkin Butter Cups from the molds. Store any leftovers in an airtight container in the freezer to maintain their texture. These delightful treats can be enjoyed chilled as a delicious dessert or snack at any time!

What to Serve with Chocolate Pumpkin Butter Cups
Imagine a cozy fall evening filled with sweetness and warmth, perfectly complemented by delightful pairings that elevate your taste experience.
-
Creamy Mashed Potatoes: These fluffy potatoes bring a comforting texture, making them an inviting contrast to the rich chocolate cups. They lighten the sweetness and create a balanced plate.
-
Warm Apple Crisp: The spiced apples and crunchy topping harmonize beautifully with the pumpkin notes, enhancing the fall essence with every bite. Serve it warm for a delightful dessert pairing!
-
Spiced Chai Latte: This aromatic beverage, with its creamy texture and warming spices, mirrors the flavors of the pumpkin butter cups, creating a comforting match on chilly evenings.
-
Pecan Pie Bites: Miniature pecan pies offer a nutty crunch that complements the smoothness of the chocolate. They’re just the right size for a sweet addition to your fall dessert table.
-
Roasted Brussels Sprouts: For a savory sidekick, these caramelized veggies provide a satisfying crunch and earthy flavor that balances the sweetness of the treats. A surprising but delightful pairing!
-
Fresh Pear Slices: The juicy, crisp pears add a refreshing note that cleanses the palate between bites. Their light sweetness enhances the overall experience, making every mouthful feel special.
-
Coconut Whipped Cream: This luscious topping elevates each chocolate pumpkin butter cup with a creamy finish, adding tropical flair and a lightness that dances on your tongue.
-
Mulled Wine: Warm, spiced red wine creates a cozy ambiance and enhances the flavors of the chocolate pumpkin butter cups, making it the perfect drink for festive gatherings.
How to Store and Freeze Chocolate Pumpkin Butter Cups
-
Room Temperature: These Chocolate Pumpkin Butter Cups are best stored in the freezer as they may become soft and lose their shape at room temperature.
-
Fridge: If needed, you can keep them in the fridge for up to 3 days, but be aware that their texture will change and become softer.
-
Freezer: Store leftover Chocolate Pumpkin Butter Cups in an airtight container in the freezer for up to 3 months. This way, you can enjoy a guilt-free treat whenever the craving strikes!
-
Reheating: When ready to enjoy, simply remove from the freezer and let sit at room temperature for a few minutes before eating for the best texture.
Expert Tips for Chocolate Pumpkin Butter Cups
-
Use Quality Chocolate: Choose high-quality, dairy-free chocolate chips for a rich flavor. Avoid low-quality chocolate to prevent a waxy texture.
-
Silicone Molds Matter: Opt for silicone molds or cupcake liners for easy removal. Metal molds can stick, making it challenging to extract your chocolate treats.
-
Don’t Skip the Freezing: Allow adequate freezing time at each step to ensure distinct layers. Patience pays off, resulting in perfect Chocolate Pumpkin Butter Cups!
-
Temperature Control: Keep the treats stored in the freezer. If left at room temperature, they may become too soft to hold their shape.
-
Substitutions Considerations: When substituting ingredients like almond butter or honey, ensure that replacements complement the flavors and maintain the desired texture.
Chocolate Pumpkin Butter Cups Variations
Feel free to let your creativity shine and customize these delightful treats to suit your taste!
-
Sweet Potato Swap: Substitute pumpkin puree with sweet potato puree for a sweet and earthy twist. You’ll enjoy a different flavor profile that still sings of fall!
-
Nut-Free Variation: Use Sunbutter instead of almond butter for a nut-free option. This way, you can share with friends who have nut allergies without sacrificing creaminess.
-
Maple Magic: Replace honey with maple syrup for a sugar-free option that adds a delightful depth of flavor. The rich notes of maple perfectly complement the pumpkin spice!
-
Spicy Kick: Add a pinch of cayenne or chili powder to the pumpkin filling for a surprising burst of heat. This twist not only ignites your taste buds but also elevates the richness of the chocolate.
-
Sea Salt Finish: For a touch of indulgence, sprinkle sea salt on top of the final chocolate layer before freezing. This savory contrast enhances the sweetness and makes each bite crave-worthy.
-
Crunchy Texture: Fold in some crushed gluten-free graham crackers into the filling for a delightful crunch. This textural twist adds an enjoyable surprise and a hint of nostalgia!
-
Chocoholic Delight: Use milk chocolate chips instead of dark chocolate for a sweeter, creamier experience. This variation is perfect for those who prefer a more indulgent taste.
-
Seasonal Spice Boost: Increase the amount of pumpkin spice or add a dash of cinnamon to intensify the autumnal flavors. The warmth of the spices will envelop you in cozy comfort that is simply irresistible.
For even more seasonal treats, why not accompany these Chocolate Pumpkin Butter Cups with some Pumpkin Scones Sweet or indulge in a Raspberry Chocolate Mousse for a delightful dessert spread? Each variation opens a world of new flavors, ensuring there’s something for everyone to enjoy!
Make Ahead Options
These Chocolate Pumpkin Butter Cups are perfect for meal prep enthusiasts! You can prepare the pumpkin filling up to 3 days in advance by mixing your pumpkin puree, almond butter, honey, and pumpkin spice, then storing it in the refrigerator in an airtight container to keep it fresh and flavorful. The initial chocolate layer can also be made in advance and frozen; simply pour it into molds, freeze for about 10 minutes, and then cover with the filling when you’re ready to complete the recipe. When you’re set to serve, just melt the final layer of chocolate and finish assembling your chocolate cups. With these steps, you’ll have delicious treats ready with minimal effort on busy weeknights!

Chocolate Pumpkin Butter Cups Recipe FAQs
What type of pumpkin puree should I use?
You can use either canned pumpkin puree or homemade. If you’re opting for homemade, simply roast pumpkin until soft, scoop out the flesh, and blend until smooth! Canned pumpkin is super convenient and just as delicious, but make sure it’s pure pumpkin, not pumpkin pie filling.
How should I store the Chocolate Pumpkin Butter Cups?
For optimal freshness, keep your Chocolate Pumpkin Butter Cups in an airtight container in the freezer. They will last up to 3 months. If you prefer, you can also store them in the fridge for up to 3 days, but be mindful they will become softer in texture.
Can I freeze these treats? How?
Absolutely! To freeze, simply place the Chocolate Pumpkin Butter Cups in a single layer in an airtight container. You can stack them as long as you put parchment paper between layers. When you’re ready to enjoy, let them thaw for a few minutes at room temperature for the best texture.
What should I do if the chocolate layer is too thick?
If your chocolate layer ends up thick and hard to work with, there’s a simple fix! You can warm the chocolate gently in the microwave in 10-second intervals until it reaches a smooth consistency again. Be careful not to overheat it! For future batches, ensure to mix in the coconut oil thoroughly to maintain an ideal melting point.
Are there any allergy considerations for this recipe?
Yes! For a nut-free option, substitute almond butter with Sunbutter or another seed butter. Additionally, ensure that your chocolate chips are free from any dairy and allergens, as some brands may contain traces. Always check labels if you’re cooking for someone with specific allergies.
How can I make these treats sugar-free?
You can easily make these Chocolate Pumpkin Butter Cups sugar-free by substituting honey with maple syrup or monk fruit sweetener. Just keep in mind that depending on your substitute, the texture may vary slightly. Adjust the quantities according to your taste preference.

Chocolate Pumpkin Butter Cups for Guilt-Free Fall Indulgence
Ingredients
Equipment
Method
- Microwave the almond butter for about 30 seconds until warm and easy to mix.
- In a mixing bowl, combine pumpkin puree, honey, warmed almond butter, and pumpkin spice. Stir for 1-2 minutes until smooth.
- Microwave chocolate chips and coconut oil in 20-second intervals until melted and glossy, about 1-2 minutes.
- Pour a thin layer of melted chocolate into silicone molds and freeze for about 10 minutes.
- Pipe the pumpkin filling over the hardened chocolate and freeze for an additional 5-10 minutes.
- Pour the remaining melted chocolate over the filling and smooth it out. Freeze for 1-2 hours.
- Remove from molds and store any leftovers in an airtight container in the freezer.

Leave a Reply