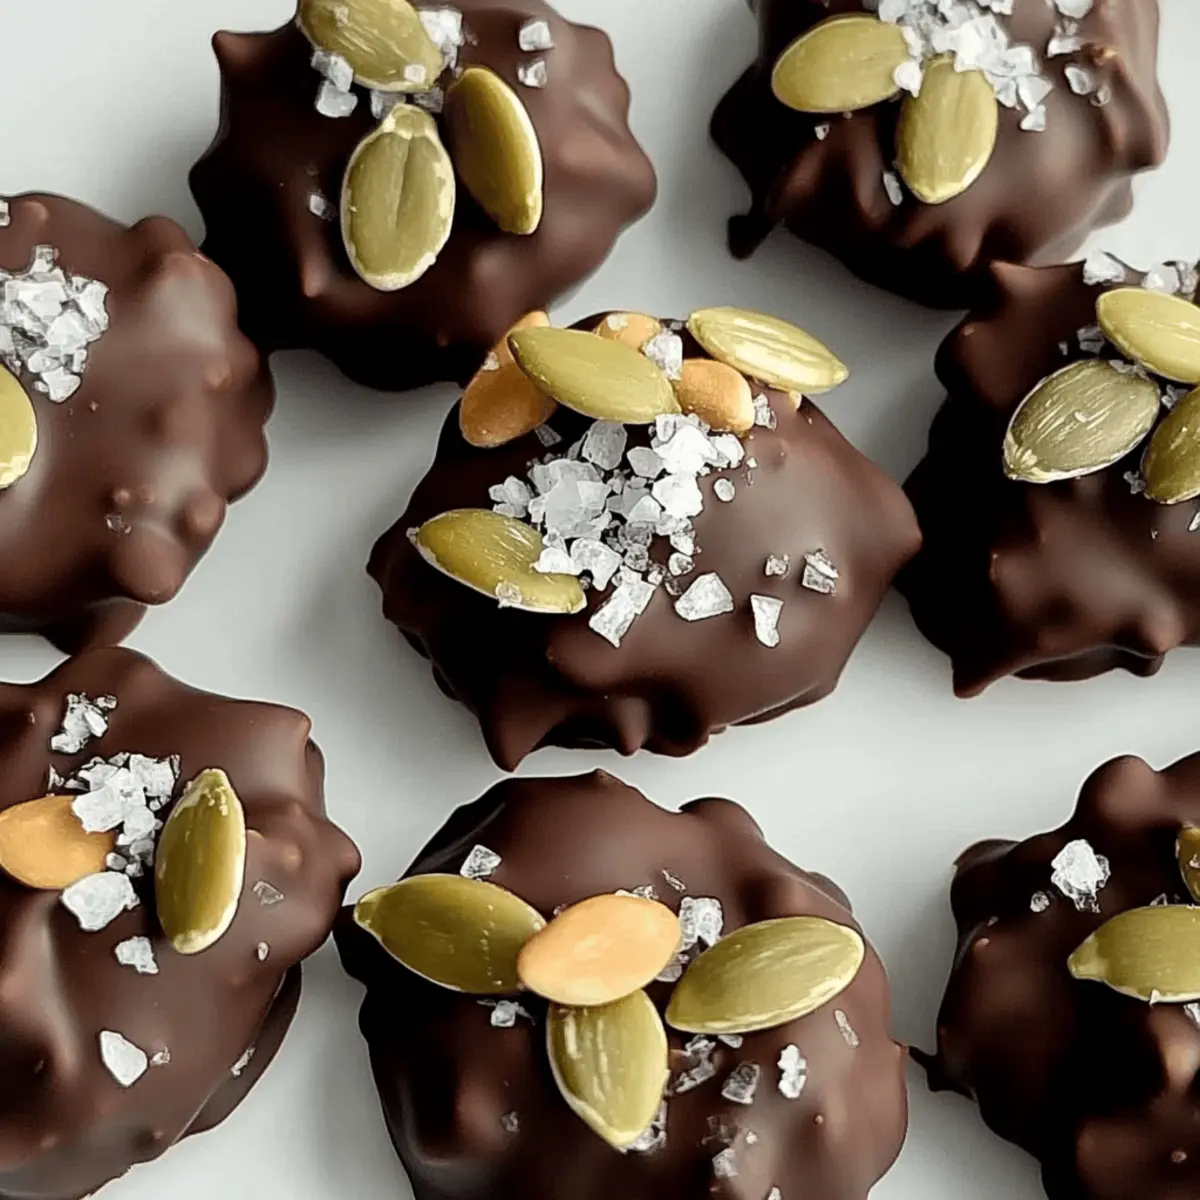
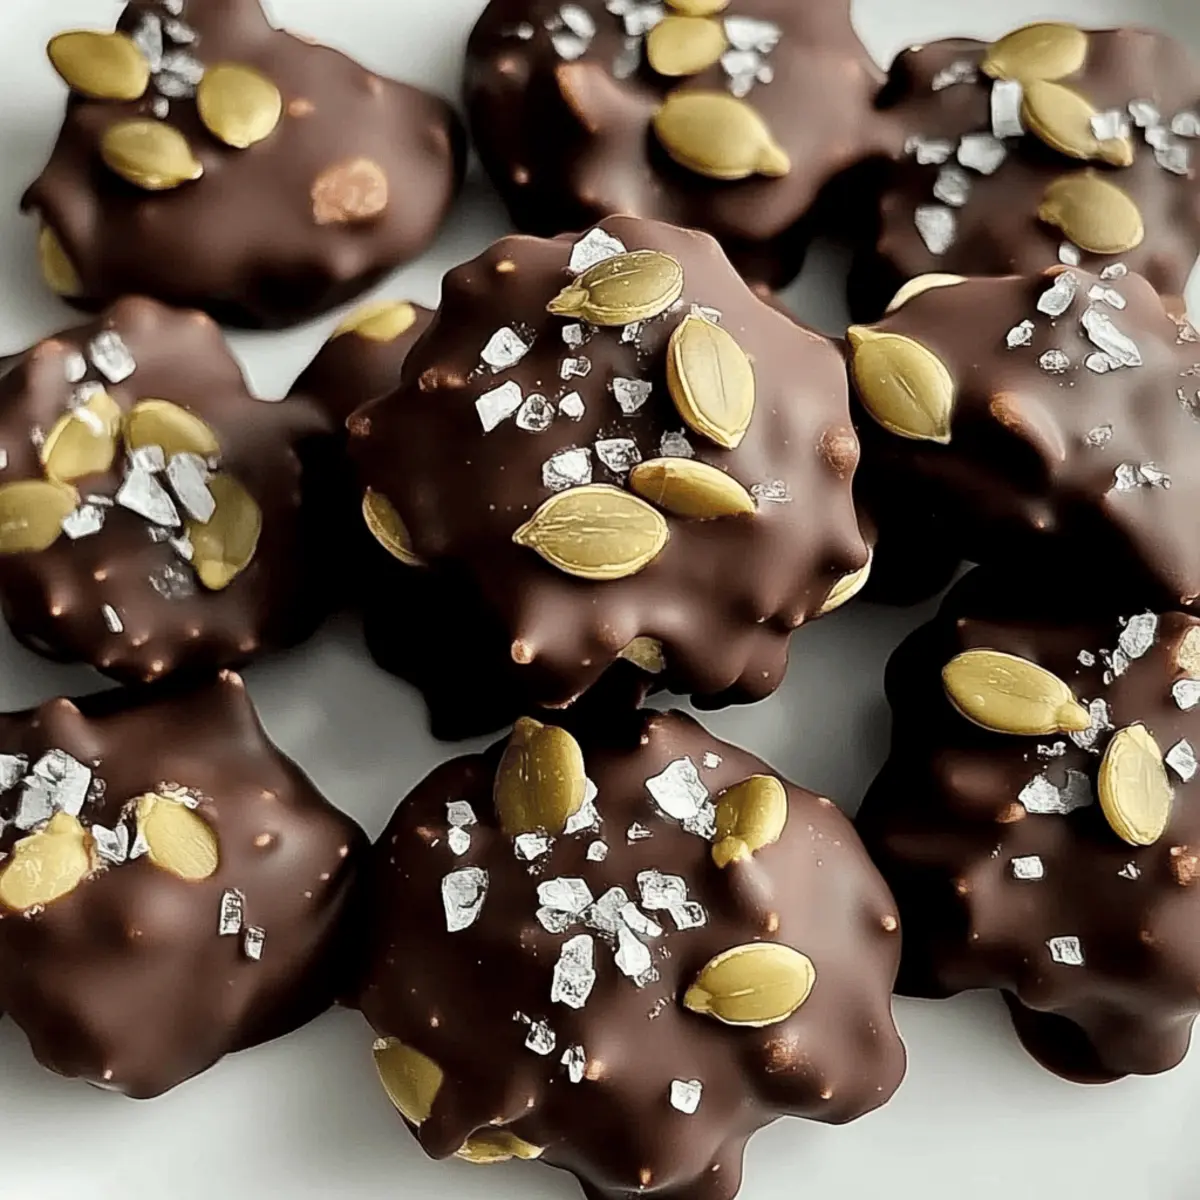
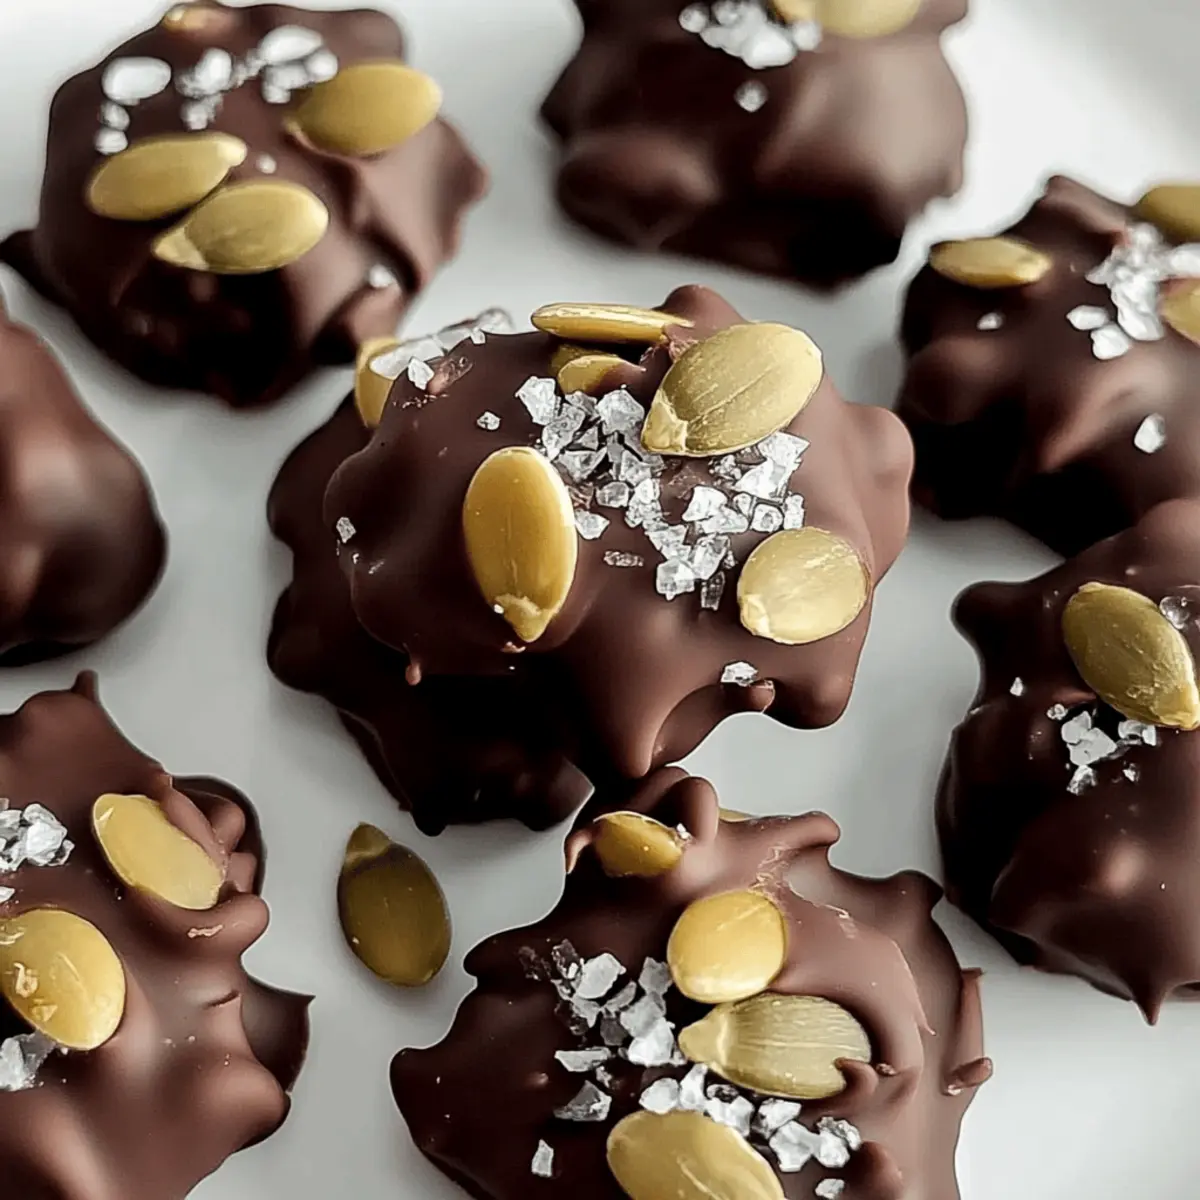
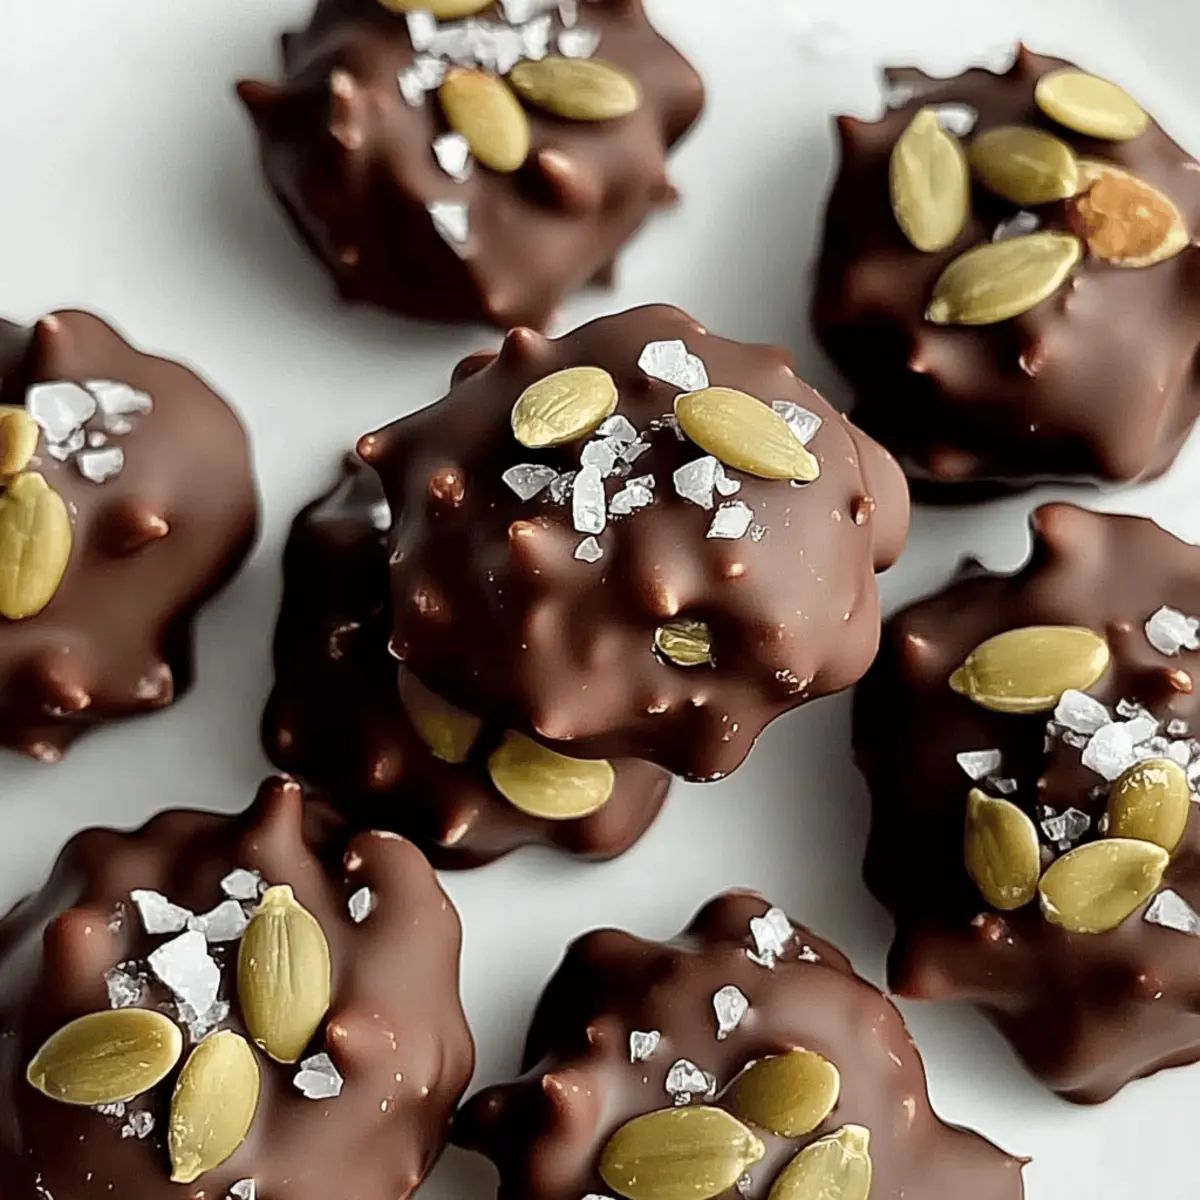
As I stood in my kitchen, the rich aroma of melting chocolate enveloped me like a cozy hug. It was the perfect day to make Chocolate Covered Pumpkin Seeds, a delightful recipe that not only satisfies a sweet tooth but also provides a healthy, nut-free alternative for all those snack lovers out there. With just 15 minutes of prep time, these crunchy clusters transform simple ingredients into charming gifts that are as festive as they are delicious. Whether you’re planning a holiday gathering or just want to indulge in a guilt-free treat, this quick and easy recipe is bound to impress friends and family alike. Curious to dive into this chocolaty adventure? Let’s get started!

Why Make Chocolate Covered Pumpkin Seeds?
Deliciously Unique: These treats offer a one-of-a-kind combination of crunchy pumpkin seeds and smooth chocolate that’s simply irresistible.
Quick & Easy: With just 15 minutes of prep, you can whip up a delightful batch—perfect for those busy days.
Nut-Free Delight: A great snack option that caters to everyone, including those with nut allergies!
Perfect for Gifting: These Chocolate Covered Pumpkin Seeds make charming DIY gifts for friends and family during the holiday season.
Versatile Treat: Feel free to customize with different spices or even swap the pumpkin seeds for sunflower seeds; the possibilities are endless!
If you’re looking for more delightful ideas, check out our Pumpkin Scones Sweet or Pumpkin Crisp Bliss for inspiration!
Chocolate Covered Pumpkin Seeds Ingredients
Get ready to create something delightful!
For the Chocolate Coating
- Chopped Dark Chocolate – This provides a rich chocolate flavor; feel free to substitute with milk chocolate or semi-sweet chocolate for a sweeter taste.
For the Crunchy Base
- Toasted Pumpkin Seeds – These add a wonderful crunch and nutty flavor; opt for unsalted to control saltiness, or use raw pumpkin seeds if you’re skipping the toasting step.
Optional Flavor Enhancer
- Sea Salt – A tiny pinch can enhance flavor and balance the sweetness; skip it if you choose salted pumpkin seeds.
Dive right in and whip up your very own Chocolate Covered Pumpkin Seeds! Your friends and family will thank you for this easy, nut-free delight.
Step‑by‑Step Instructions for Chocolate Covered Pumpkin Seeds
Step 1: Melt the Chocolate
Begin by placing your chopped dark chocolate in a medium-sized pot over low heat. Continuously stir with a spatula until the chocolate melts smoothly, which should take about 5 minutes. Be vigilant to avoid burning, and once it’s totally melted and glossy, remove the pot from the heat to prepare for mixing.
Step 2: Combine with Pumpkin Seeds
Add 3/4 cup of toasted pumpkin seeds into the melted chocolate, gently stirring until every seed is well-coated. This step should only take a minute, resulting in a thick, chocolaty mixture. Take care to coat the seeds thoroughly without mashing them, ensuring that the delightful crunch of the pumpkin seeds shines through in your Chocolate Covered Pumpkin Seeds.
Step 3: Form Clusters
Using a heaping teaspoon, scoop the chocolate-covered mixture and drop it onto a parchment-lined plate or sheet pan. Space each scoop about an inch apart, allowing room for spreading. Aim to create small clusters, each around the size of a walnut, as you form approximately 20 of these delicious Chocolate Covered Pumpkin Seeds.
Step 4: Add Toppings
Before the chocolate begins to set, sprinkle your reserved pumpkin seeds and a pinch of sea salt on top of each cluster. The seeds will stick to the melted chocolate, enhancing both the visual appeal and the delightful crunch. This step should take only a couple of minutes, adding flair to your holiday gifts.
Step 5: Chill Until Firm
Once all clusters are formed and decorated, place the tray in the refrigerator for at least one hour. This chilling time allows the chocolate to harden and the flavors to meld, resulting in perfectly firm Chocolate Covered Pumpkin Seeds. Check periodically to see when they are set and ready to indulge in or package up as tasty gifts.
Step 6: Serve or Store
After an hour, remove the clusters from the fridge and gently peel them off the parchment paper. They should pop off easily, leaving a perfect shape. If you aren’t serving them immediately, store the Chocolate Covered Pumpkin Seeds in an airtight container in the fridge for up to a week, or freeze for longer-lasting enjoyment.

What to Serve With Chocolate Covered Pumpkin Seeds
Looking to create a complete spread that makes your Chocolate Covered Pumpkin Seeds shine even brighter?
-
Creamy Vanilla Ice Cream: This cool dessert complements the richness of chocolate, making for a delightful contrast with every bite.
-
Spiced Apple Cider: Warm, aromatic, and slightly tangy, spiced cider brings a cozy feel, elevating your snacking experience on chilly days.
-
Cheese Platter: A mix of sharp cheeses adds a savory layer amidst the sweetness, providing a delightful balance of flavors.
-
Chocolate Drizzled Popcorn: The crunch and sweetness of popcorn with extra chocolate play harmoniously with your clusters, ensuring a fun snack variety.
-
Fresh Berries: Juicy strawberries or raspberries offer a fresh, tart flavor that cuts through the richness, creating a refreshing palate balance.
-
Holiday Cookies: Pairing with classic gingerbread or snickerdoodles enhances the festive spirit and sweetness of your treats, perfect for gift-giving gatherings.
-
Nutty Granola Bars: For a wholesome snack option, the crunchy texture of nut-free granola bars pairs nicely and adds extra fiber to your spread.
-
Sparkling Water with Citrus: A bright and bubbly drink, infused with slices of lemon or lime, adds a refreshing zest that perfectly complements the sweetness.
-
Hot Chocolate: Transform indulgence into a warm hug in a mug, perfect for cozy nights in or casual holiday gatherings.
Expert Tips for Chocolate Covered Pumpkin Seeds
• Use Low Heat: Melt chocolate over low heat to prevent burning; it ensures a smooth, beautiful coating for your pumpkin seeds.
• Coat Thoroughly: Make sure every pumpkin seed is evenly coated in chocolate for the best flavor and texture in your Chocolate Covered Pumpkin Seeds.
• Chill for Best Results: Refrigerate the clusters for at least an hour for optimal firmness and taste; this step cannot be skipped!
• Experiment with Flavors: Don’t hesitate to add spices like cinnamon or even a dash of vanilla extract to elevate the flavor profile of your chocolate.
• Use Parchment Paper: Line your tray with parchment paper to allow easy removal of clusters and make cleanup a breeze.
Make Ahead Options
These Chocolate Covered Pumpkin Seeds are perfect for meal prep! You can prepare the chocolate coating and mix in the pumpkin seeds up to 24 hours in advance. Simply melt the chocolate and combine it with the seeds, then scoop the mixture onto a parchment-lined tray. After shaping the clusters, it’s best to refrigerate them for an hour to harden. If you’re not ready to serve, store the clusters in an airtight container in the fridge for up to a week. Just before gifting or enjoying, sprinkle a pinch of sea salt on top to enhance the flavor, ensuring that these delightful treats are just as delicious as when freshly made!
Chocolate Covered Pumpkin Seeds Variations
Looking to add your personal touch to Chocolate Covered Pumpkin Seeds? Get inspired!
-
Seed Swap: Replace pumpkin seeds with toasted sunflower seeds for a lovely crunch that’s just as nutritious.
Feel free to mix and match your favorite seeds and elevate the flavor profile. -
Dairy-Free Delight: Use vegan chocolate chips instead of traditional chocolate for a nut-free and dairy-free treat. You’ll still enjoy that rich, chocolaty goodness without any dairy!
-
Crispy Coating: Crush some freeze-dried strawberries or raspberries and sprinkle them on top before the chocolate sets for a fruity twist. This adds vibrant color and a tangy sweetness to each bite.
-
Spice It Up: Add a pinch of cayenne pepper or chili powder to your melted chocolate for a warm kick. This delightful balance of heat and sweetness creates a surprising flavor that will leave your taste buds dancing.
-
Flavor Boost: Stir in a teaspoon of vanilla extract or a hint of almond extract into the melted chocolate. This enhances the overall flavor, making your treat even more aromatic and delicious.
-
Nutty Flavor: Drizzle some almond butter or peanut butter over the clusters after sprinkling the pumpkin seeds for an extra protein-packed treat. The nutty aroma pairs beautifully with the chocolate and pumpkin seeds.
-
Coconut Infusion: Toss in some unsweetened shredded coconut during the mixing phase for a tropical flair. The added texture and flavor will remind you of a sunny beach!
-
Chocolate Mix: Try white chocolate or milk chocolate instead of dark chocolate to vary the sweetness levels, making it perfect for anyone with a sweet tooth. Each variety brings its personality to this delightful snack!
If you’re in the mood for more delightful pumpkin-inspired recipes, check out our tasty Pumpkin Scones Sweet or try making Chocolate Chip Pumpkin for a sweet finish to your meal!
How to Store and Freeze Chocolate Covered Pumpkin Seeds
Fridge: Store your Chocolate Covered Pumpkin Seeds in an airtight container for up to a week. This keeps them fresh and ready for snacking!
Freezer: For longer storage, freeze the clusters in an airtight freezer bag for up to three months. Just make sure to separate layers with parchment paper to avoid sticking.
Defrosting: When it’s time to enjoy your frozen treats, simply transfer them to the fridge to defrost slowly. This helps maintain their delightful texture.
Gift Packaging: If you’re gifting these goodies, consider using festive tins or jars, ensuring they’re well-sealed for freshness until your recipients get a chance to indulge!

Chocolate Covered Pumpkin Seeds Recipe FAQs
What type of chocolate is best to use for chocolate-covered pumpkin seeds?
Absolutely! I recommend using chopped dark chocolate for a rich flavor, but you can also substitute with milk chocolate or semi-sweet chocolate chips if you prefer something sweeter. Just keep in mind that sweeter chocolates may alter the overall taste of the finished clusters.
How do I know if my pumpkin seeds are properly toasted?
Very! Look for a golden-brown color and a nutty aroma, which generally takes about 10-15 minutes at 350°F (175°C) in the oven. Ensure they cool completely before adding them to the chocolate, as hot seeds can cause the chocolate to melt excessively.
What is the best way to store chocolate-covered pumpkin seeds?
The more the merrier! Store your Chocolate Covered Pumpkin Seeds in an airtight container in the fridge for up to a week to keep them fresh. If you want to save them for later, you can freeze the clusters in an airtight bag—just be sure to separate the layers with parchment paper to avoid sticking together!
Can I freeze chocolate-covered pumpkin seeds, and if so, how should I do it?
Absolutely! To freeze, lay the clusters on a parchment-lined tray in a single layer to flash freeze for about 1-2 hours. Then transfer them to an airtight container or freezer bag for up to three months. When you’re ready to enjoy them, simply thaw in the fridge overnight before serving.
Are there any dietary considerations I should keep in mind?
Very! These chocolate-covered pumpkin seeds are nut-free, making them suitable for those with nut allergies. However, always check labels on the chocolate and ensure that it’s made in a nut-free facility if cross-contamination is a concern.
What can I do if my chocolate seized while melting?
If that happens, don’t worry! Simply add a small amount of vegetable oil, coconut oil, or warm milk to the seized chocolate and stir gently over low heat until it smooths out again. This can bring it back to life for a delicious coating on your pumpkin seeds!

Delicious Chocolate Covered Pumpkin Seeds for Quick Treats
Ingredients
Equipment
Method
- Begin by placing your chopped dark chocolate in a medium-sized pot over low heat. Continuously stir with a spatula until the chocolate melts smoothly, which should take about 5 minutes.
- Add 3/4 cup of toasted pumpkin seeds into the melted chocolate, gently stirring until every seed is well-coated.
- Using a heaping teaspoon, scoop the chocolate-covered mixture and drop it onto a parchment-lined plate or sheet pan.
- Before the chocolate begins to set, sprinkle your reserved pumpkin seeds and a pinch of sea salt on top of each cluster.
- Once all clusters are formed and decorated, place the tray in the refrigerator for at least one hour.
- After an hour, remove the clusters from the fridge and gently peel them off the parchment paper.

Leave a Reply