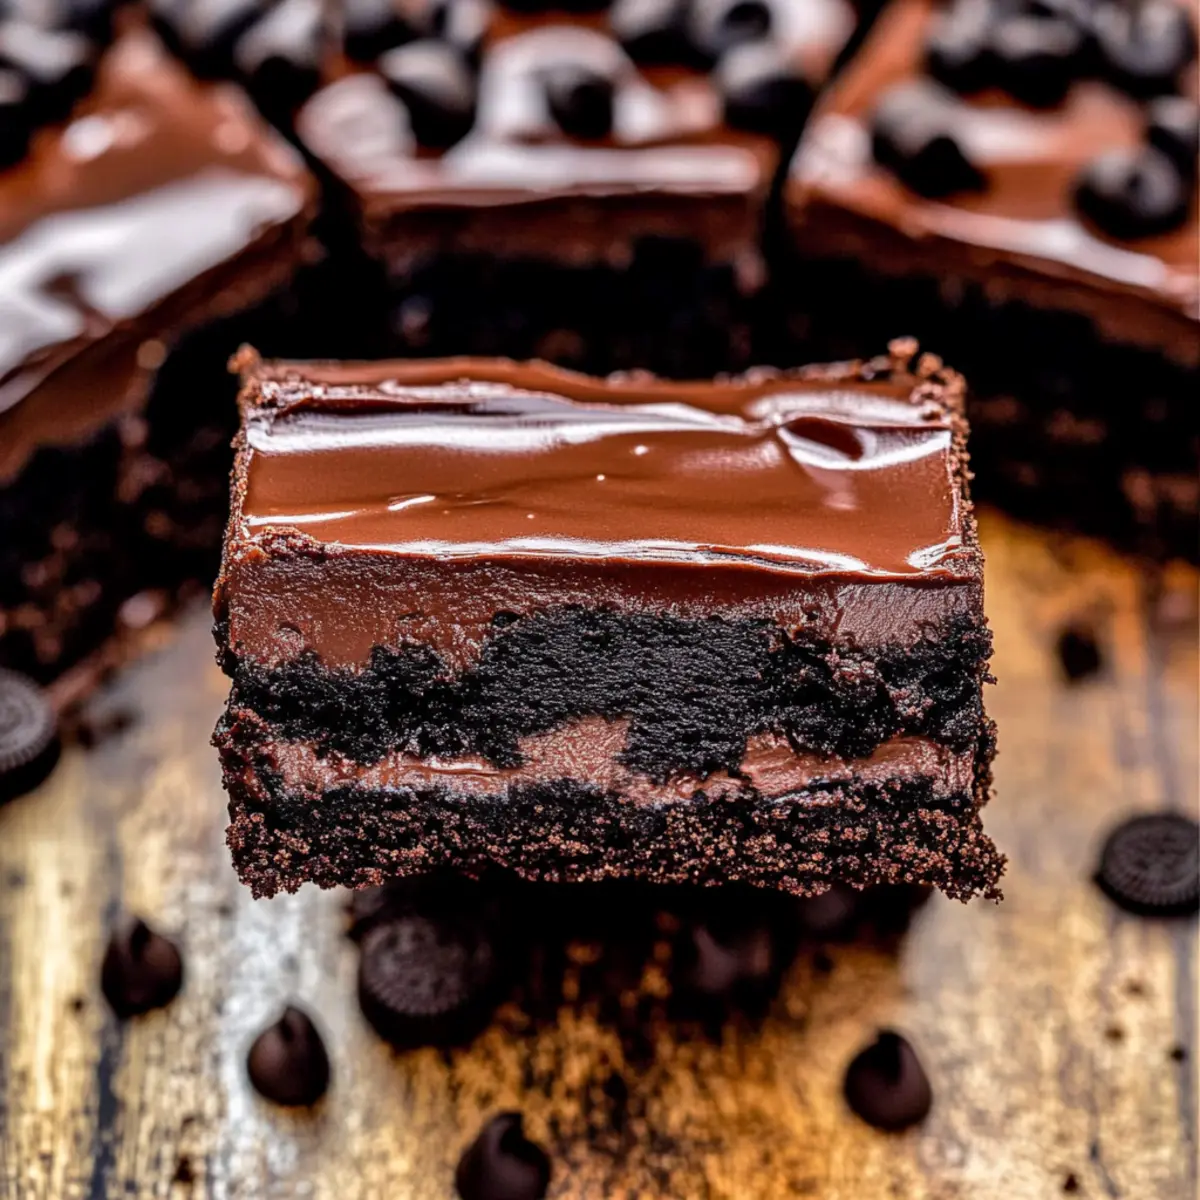
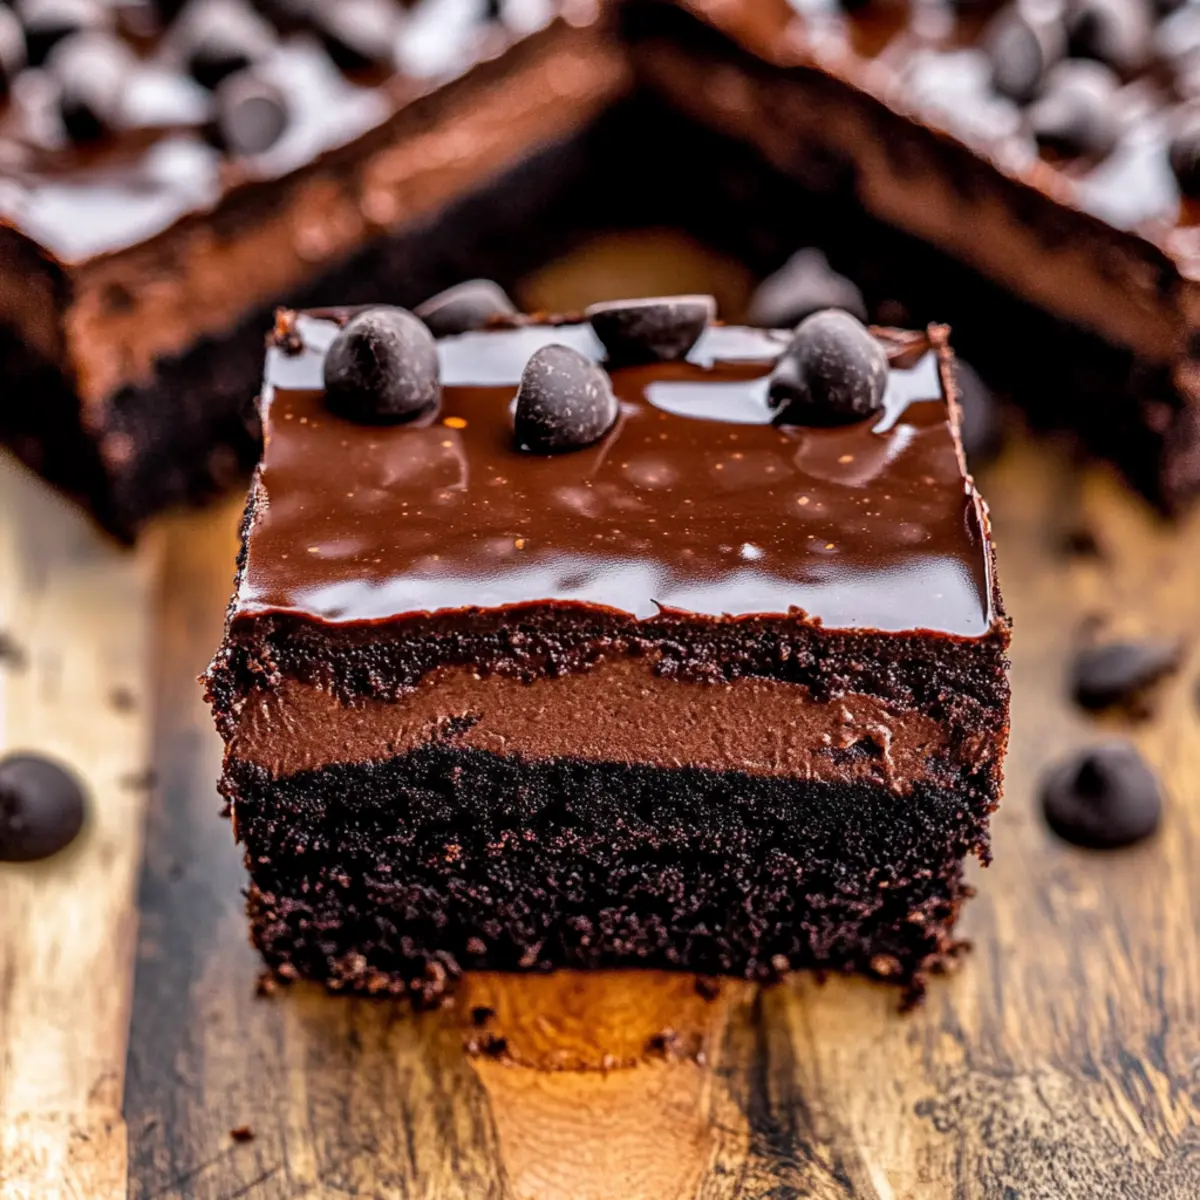
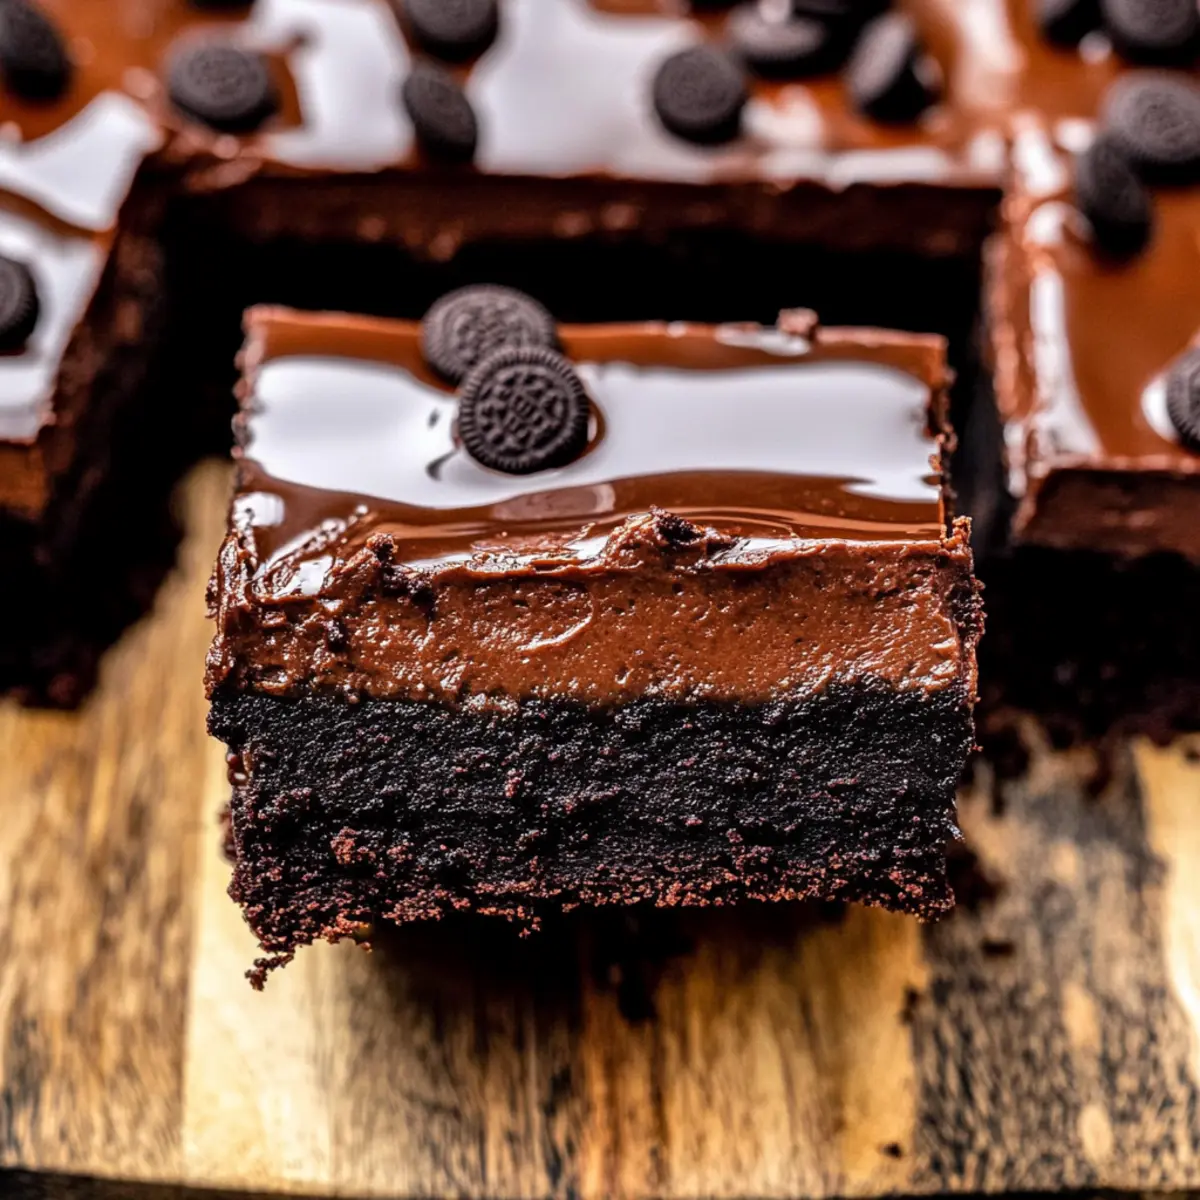
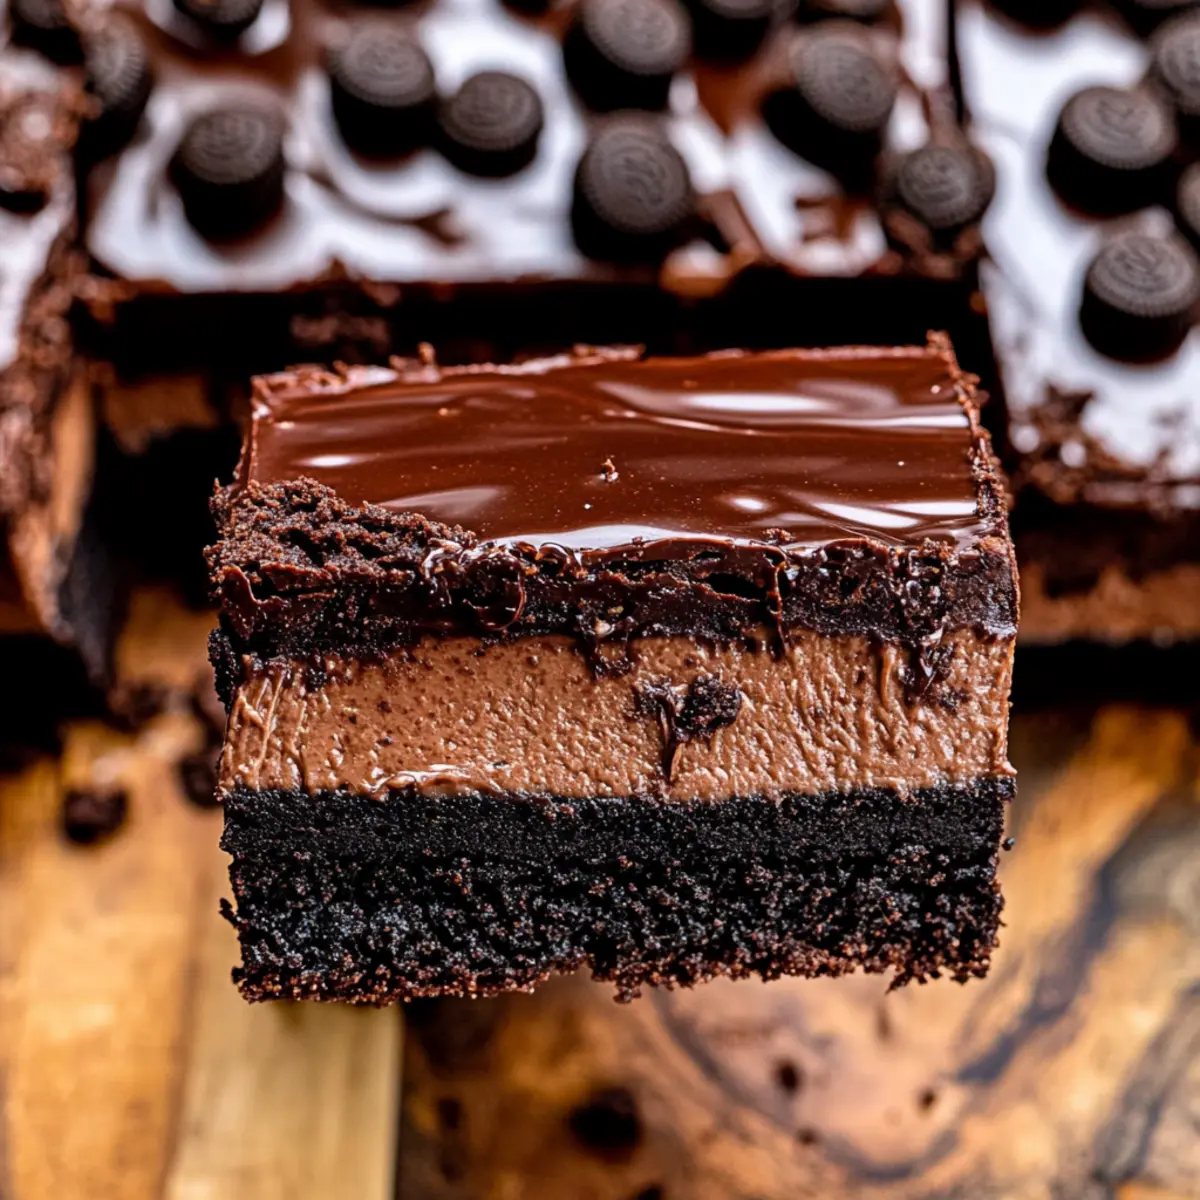
As I stood in my kitchen, the intoxicating aroma of melting chocolate and sweet cream began to fill the air, instantly lifting my spirits. Today, I’m thrilled to share my go-to recipe for Chocolate Cheesecake Bars with a delightful Oreo crust, which always brings smiles to those who taste it. These decadent dessert bars are not only a breeze to whip up but also provide the perfect solution for anyone tired of fast food—who can resist a luscious treat that’s ready to impress? The rich cheesecake, infused with delectable chocolate flavors, is beautifully complemented by the crunchy crust, making it an indulgent yet surprisingly simple delight for gatherings or cozy nights in. So, are you ready to elevate your dessert game and treat yourself to a slice of pure bliss?

Why Are These Bars a Must-Try?
Decadent Delight: Each bite is packed with rich chocolate flavor and creamy texture, making them a chocolate lover’s dream.
Effortless Preparation: With no water bath required, these bars are simple to make, perfect for both novice and experienced bakers.
Crowd-Pleasing Treat: Ideal for parties or just satisfying your sweet tooth, everyone will be reaching for a second piece!
Adaptability: Feel free to swap the Oreo crust with a graham cracker or gluten-free option for a twist. You can also check out my Raspberry Chocolate Mousse for another delightful dessert!
Gourmet Finish: The glossy chocolate ganache not only adds elegance but makes these bars look as impressive as they taste. Treat your friends and family to an indulgent homemade dessert that exceeds expectations!
Chocolate Cheesecake Bars Ingredients
• Dive into the decadent world of chocolate with these irresistible bars!
For the Oreo Crust
- Oreo cookies – Crush finely for a sweet and crunchy base; any chocolate cookie can be used as a substitute.
- Unsalted butter – Melt to bind the crumbs together perfectly.
For the Cheesecake Filling
- Cream cheese – Bring to room temperature for smooth blending and ideal creaminess.
- Granulated sugar – Adds just the right sweetness and contributes to the cheesecake’s texture.
- Unsweetened cocoa powder – Use to enhance the rich chocolate flavor; Dutch process gives a deeper taste.
- Melted chocolate (Lindt 70%) – Provides a deep chocolate flavor; substitute with any high-quality dark chocolate if desired.
- Heavy cream – Adds richness and helps create a silky ganache.
- Pure vanilla extract – Infuses the filling with aromatic depth.
- Large eggs – Room temperature eggs help bind the batter for a smooth finish; incorporate one at a time.
For the Ganache Topping
- Semi-sweet chocolate chips – Use for a glossy finish on your bars; creates that irresistible ganache layer.
- Heavy cream – Heat gently to create a smooth ganache that enhances the overall flavor.
Step‑by‑Step Instructions for Chocolate Cheesecake Bars
Step 1: Preheat and Prepare
Preheat your oven to 325°F (163°C) while you prepare for baking. Grease a 9×9-inch baking pan with nonstick spray, then line the bottom and sides with parchment paper, leaving overhang on two sides. This will make it easier to remove your Chocolate Cheesecake Bars later. Set aside.
Step 2: Make the Oreo Crust
In a mixing bowl, combine finely crushed Oreo cookies with melted unsalted butter. Stir until the crumbs are well-coated and the mixture resembles wet sand. Press the crust firmly and evenly into the bottom of the prepared pan, ensuring it’s compact. Bake the crust for 12 minutes, until just set and fragrant, then remove from the oven and let it cool slightly.
Step 3: Melt the Chocolate
While the crust is cooling, break a high-quality chocolate bar into pieces and place it in a microwave-safe bowl. Heat in the microwave in 30-second intervals, stirring in between, until completely melted and smooth. This melted chocolate will add a rich flavor to your Chocolate Cheesecake Bars, so make sure to set it aside to cool slightly.
Step 4: Prepare the Cheesecake Filling
In a large mixing bowl, beat room-temperature cream cheese and granulated sugar with an electric mixer until creamy and smooth. Gradually add unsweetened cocoa powder, cooled melted chocolate, heavy cream, and pure vanilla extract, mixing until fully incorporated and silky in texture—this forms the luscious filling you’ll pour over your crust.
Step 5: Add the Eggs
With the mixer on low speed, add the large eggs one at a time, ensuring each egg is fully blended before adding the next. Avoid overmixing to prevent excess air in your filling. Once combined, the batter should be thick and creamy, perfect for creating those beautifully rich Chocolate Cheesecake Bars.
Step 6: Bake the Cheesecake Bars
Pour the cheesecake batter over the cooled Oreo crust in the pan, spreading it evenly with a spatula. Place the pan in the preheated oven and bake for 40 to 50 minutes. The edges should be set, while the center will have a slight jiggle—this indicates it’s perfectly baked. Once done, turn off the oven and let it cool inside with the door slightly ajar for 20 minutes.
Step 7: Chill the Bars
After cooling, transfer the pan to your refrigerator and chill for at least 6 hours, or overnight if possible. This chilling time allows the flavors to meld beautifully and ensures your Chocolate Cheesecake Bars achieve that perfect texture, making them easier to cut into neat squares later.
Step 8: Prepare the Ganache
To make the ganache topping, heat heavy cream in a saucepan until it begins to simmer. Pour the hot cream over semi-sweet chocolate chips in a bowl, allowing it to sit for a few minutes. Stir the mixture gently until smooth and glossy. This decadent ganache will give your bars an irresistible finish.
Step 9: Assemble and Set
Remove the cheesecake from the refrigerator, gently peel off the parchment paper, and place it on a serving platter. Pour the smooth ganache over the top, using a spatula to spread it evenly. For a perfect set, freeze the bars for 10 minutes, allowing the ganache to firm up before cutting.
Step 10: Cut and Serve
Once set, use a sharp knife to slice your Chocolate Cheesecake Bars into squares, wiping the knife between cuts for neat edges. Serve chilled, perhaps with fresh berries or whipped cream, and watch as everyone enjoys this decadent homemade treat.

Make Ahead Options
These Chocolate Cheesecake Bars are perfect for busy home cooks looking to save time during the week! You can prepare the entire chocolate cheesecake filling up to 24 hours in advance by making it and pouring it over the crust, then refrigerating it until you’re ready to bake. To maintain the bars’ velvety texture, be sure to cover the pan tightly with plastic wrap to prevent air exposure. When you’re ready to serve, simply bake as instructed (or refrigerate for up to 3 days if baked). Finish with the ganache topping before cutting, and you’ll have a luscious dessert that’s just as delicious and ready to impress with minimal effort!
What to Serve with Decadent Chocolate Cheesecake Bars
Enjoying a slice of these rich chocolate-infused bars calls for thoughtful pairings that elevate the experience.
-
Fresh Berries: Strawberries or raspberries provide a tart contrast to the sweet, velvety cheesecake, balancing the richness beautifully.
-
Whipped Cream: A simple dollop of freshly whipped cream enhances the bars’ creaminess and adds an airy texture that lightens the indulgent treat.
-
Mint Leaves: Garnishing with fresh mint leaves not only adds a pop of color but also gives a refreshing hint that cuts through the sweetness.
-
Coffee: A rich cup of coffee complements the chocolate flavors, making it a perfect pairing for a cozy dessert experience, igniting warmth and nostalgia.
-
Chocolate Sauce Drizzle: For die-hard chocolate fans, a drizzle of extra chocolate sauce can turn these bars into an even more decadent dessert, making them irresistible.
-
Vanilla Ice Cream: A scoop of creamy vanilla ice cream adds a delightful chill and smoothness, providing a luscious contrast to the dense cheesecake bars.
-
Nutty Bark: Chocolate-covered almonds or hazelnut bark crumbles can elevate the texture and flavor profile, underscoring the chocolaty goodness of these bars with a delightful crunch.
-
Sparkling Water: For a refreshing sip, serve with bubbly sparkling water. A splash of lemon or lime zest adds a vibrant zing, making every bite feel special.
Indulge in these pairings to create a complete dessert experience that celebrates the rich essence of your Chocolate Cheesecake Bars!
How to Store and Freeze Chocolate Cheesecake Bars
Fridge: Store your Chocolate Cheesecake Bars in an airtight container in the fridge for up to 5 days, ensuring they remain fresh and delicious.
Freezer: For longer storage, wrap individual squares tightly in plastic wrap and place them in a freezer-safe container. They can be frozen for up to 30 days without losing flavor.
Thawing: To enjoy, simply remove a slice from the freezer and thaw it overnight in the fridge. This helps preserve the creamy texture of the cheesecake bars.
Reheating: If you prefer them slightly warm, you can place a slice in the microwave for 10-15 seconds. Enjoy the rich flavor that lingers both fresh and frozen!
Expert Tips for Chocolate Cheesecake Bars
• Room Temperature Dairy: Make sure all dairy ingredients are at room temperature. This will help achieve a creamy, smooth mixture without lumps.
• Avoid Overmixing: When adding eggs, mix on low speed and just until combined. Overmixing can introduce excess air, affecting the texture of your Chocolate Cheesecake Bars.
• Use Parchment Paper: Line your pan with parchment paper, leaving overhang. This makes it so much easier to lift out and cut your cheesecake bars.
• Chill for Perfection: After baking, let your bars cool in the oven with the door ajar for 20 minutes, then chill in the fridge for at least 6 hours. This enhances the flavor and texture.
• Smooth Ganache: For a silky ganache, stir well after pouring hot cream over chocolate chips. If you encounter lumps, microwave gently a few seconds, stirring in between until smooth.
Chocolate Cheesecake Bars Variations & Substitutions
Feel free to get creative and make these delectable Chocolate Cheesecake Bars your own! The possibilities are endless.
- Gluten-Free Crust: Use gluten-free chocolate cookies instead of Oreos for a safe and equally delicious crust. Everyone deserves a sweet treat!
- Nutty Crunch: Add ½ cup of finely chopped nuts, like pecans or walnuts, to the crust mixture for an added texture and flavor boost. This twist will elevate your bars to gourmet status.
- Mint Chocolate: Incorporate peppermint extract into the cheesecake filling for a minty fresh twist—a perfect pairing with chocolate! Serve chilled alongside a warm cup of cocoa for a cozy experience.
- Fruit-Filled Delight: Layer fresh raspberries or strawberries over the crust before pouring in the cheesecake filling for a fruity surprise. You could also explore my Strawberry Cheesecake Dump option for another fruity dessert!
- No-Bake Version: For a no-bake alternative, use cream cheese, whipped cream, and melted chocolate without baking. Chill until set for a refreshing treat that is equally scrumptious.
- Dark Chocolate Lovers: Substitute semi-sweet chocolate chips with dark chocolate chips for a richer, more intense flavor that will thrill chocolate aficionados.
- Caramel Drizzle: Drizzle salted caramel sauce over the ganache topping for a sweet and salty combo that takes your bars to the next level of indulgence.
- Flavor Infusion: Enhance the cheesecake filling with your favorite liqueur, like Bailey’s or Kahlua, for an after-dinner treat that’s heavenly. Enjoy each bite that dances on your palate!
No matter how you choose to customize, these Chocolate Cheesecake Bars are sure to delight the taste buds and bring everyone together. Happy baking!

Chocolate Cheesecake Bars Recipe FAQs
How do I know if my cream cheese is at the right temperature?
Your cream cheese should be soft and pliable, allowing for easy mixing. If it’s too cold, it may be lumpy and difficult to incorporate smoothly into your cheesecake mixture. Allow it to sit out at room temperature for about 30 minutes before starting to ensure the best texture.
What’s the best way to store leftover Chocolate Cheesecake Bars?
Store your Chocolate Cheesecake Bars in an airtight container in the refrigerator for up to 5 days. If you need to keep them longer, wrap individual pieces in plastic wrap and place them in a freezer-safe container, allowing them to last for up to 30 days without sacrificing flavor.
Can I freeze Chocolate Cheesecake Bars?
Absolutely! To freeze, wrap each bar tightly in plastic wrap followed by aluminum foil or place them in a freezer-safe bag. This double-layering helps prevent freezer burn. When you’re ready to enjoy, just thaw them overnight in the fridge for a perfectly creamy texture.
What should I do if my ganache is lumpy?
If your ganache turns out lumpy, don’t worry! Simply return it to the microwave for 10-15 seconds at a time, stirring in between until smooth. Make sure to let the cream sit on the chocolate chips for a few minutes before stirring; this helps to melt the chips evenly for a silky finish.
Are there any allergy considerations for this recipe?
Yes, this recipe contains dairy, eggs, and gluten (from the Oreo cookies). If you’re making this for someone with allergies, I recommend using gluten-free chocolate cookies for the crust and ensuring that the chocolate and cream cheese are suitable for their dietary needs.
What if my cheesecake bars are overbaked?
If your bars are overbaked, they might be dry. To prevent this, bake until the edges are set with just a slight jiggle in the center. If you do end up overbaking them, serve them chilled with a dollop of whipped cream to help add moisture and flavor.

Irresistibly Rich Chocolate Cheesecake Bars with Oreo Crust
Ingredients
Equipment
Method
- Preheat your oven to 325°F (163°C) and prepare a 9x9-inch baking pan.
- Combine finely crushed Oreo cookies with melted butter. Press into the bottom of the pan and bake for 12 minutes. Let cool.
- Melt high-quality chocolate in a microwave-safe bowl using 30-second intervals. Set aside to cool.
- Beat cream cheese and sugar until creamy. Gradually add cocoa powder, melted chocolate, heavy cream, and vanilla.
- Add the eggs one at a time, mixing on low speed until just combined. The batter should be thick and creamy.
- Pour the filling over the cooled crust and bake for 40 to 50 minutes. Let cool in the oven for 20 minutes.
- Chill in the refrigerator for at least 6 hours or overnight for best results.
- Heat heavy cream and pour over chocolate chips in a bowl, stirring until smooth to make ganache.
- Pour ganache over the chilled cheesecake, spread evenly, and freeze for 10 minutes before cutting.
- Cut into squares and serve chilled, optionally with fresh berries or whipped cream.

Leave a Reply