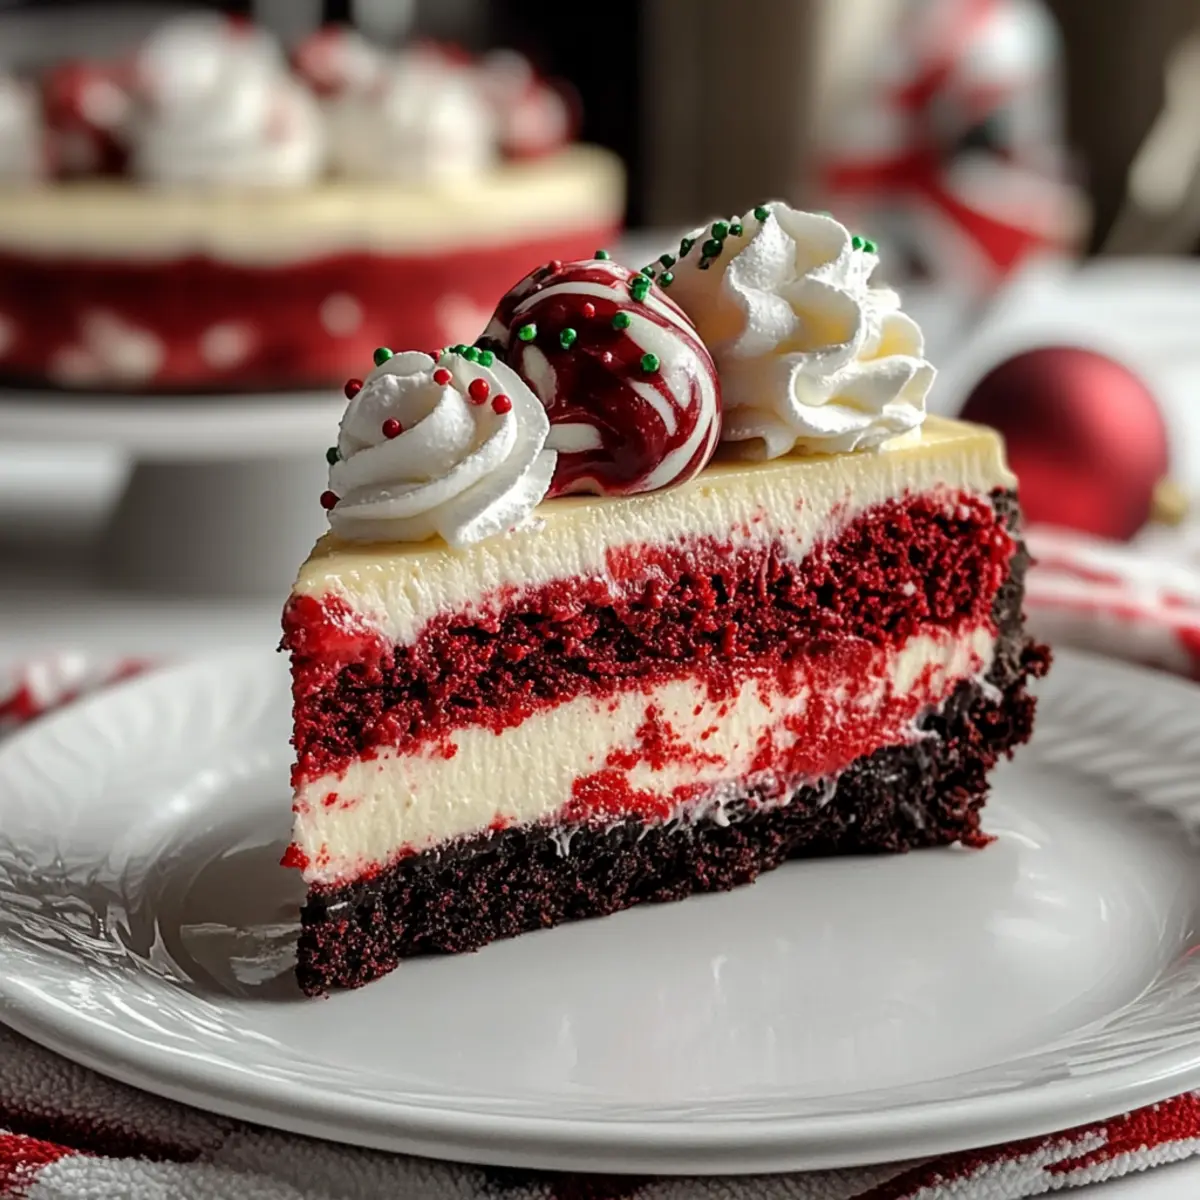
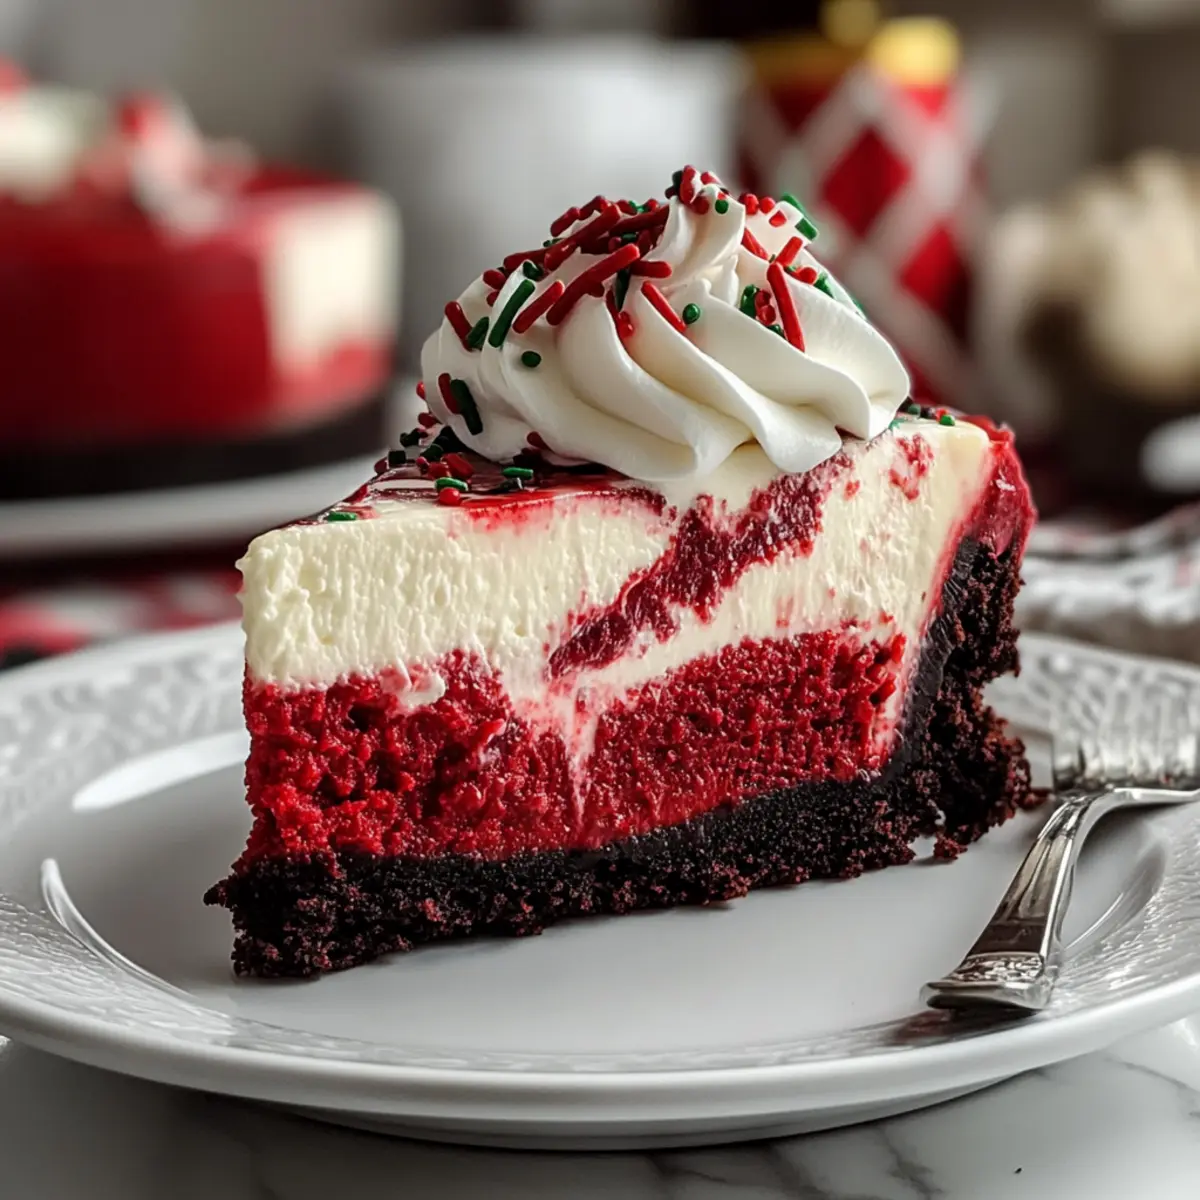
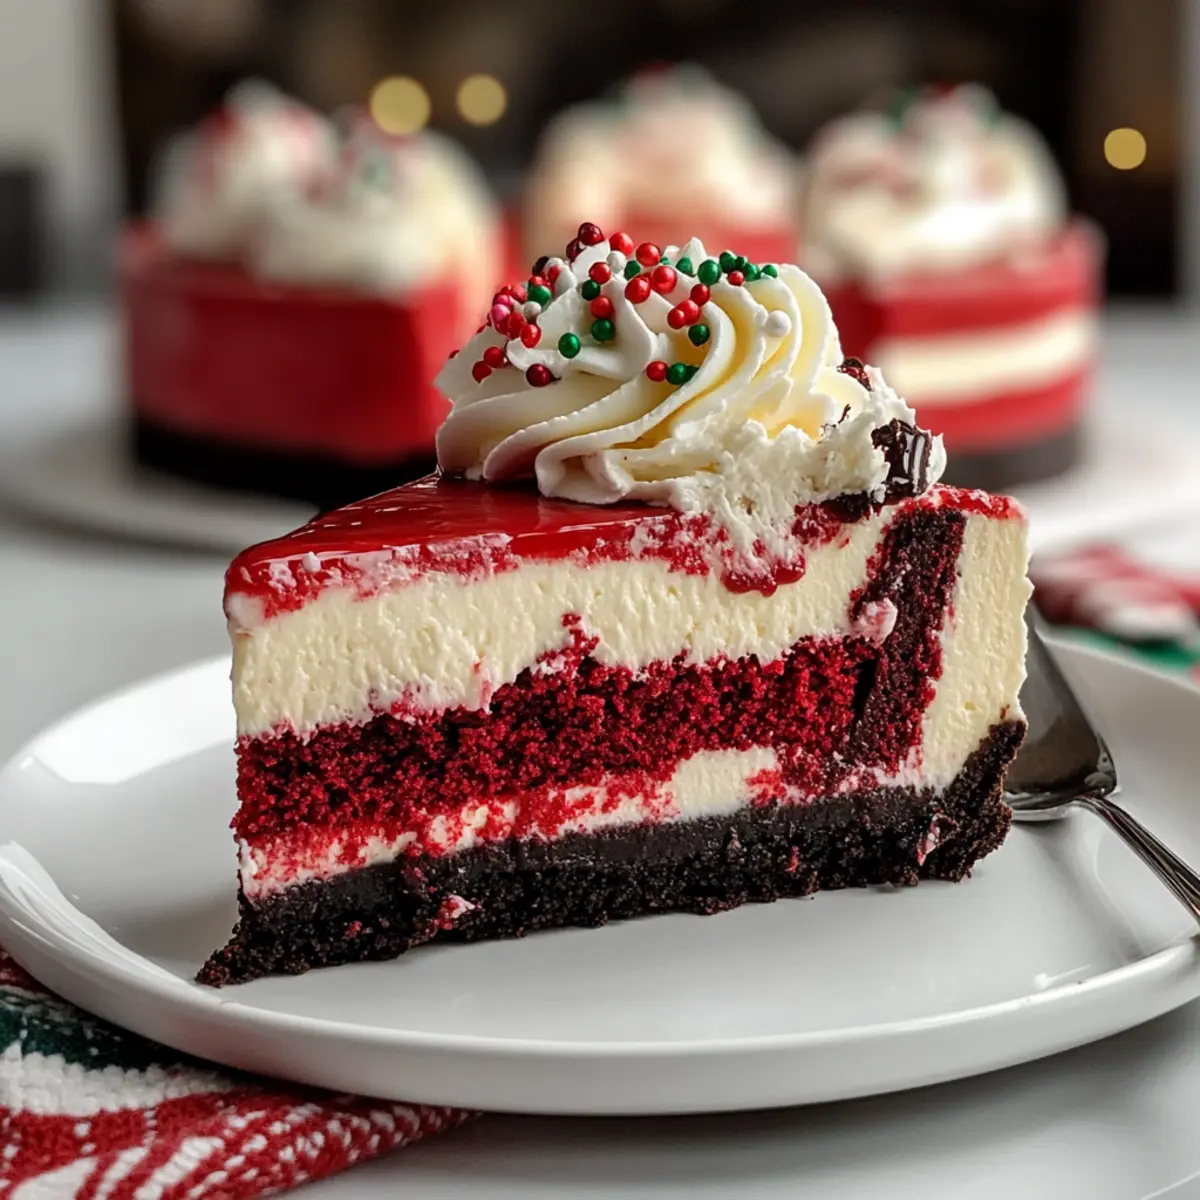
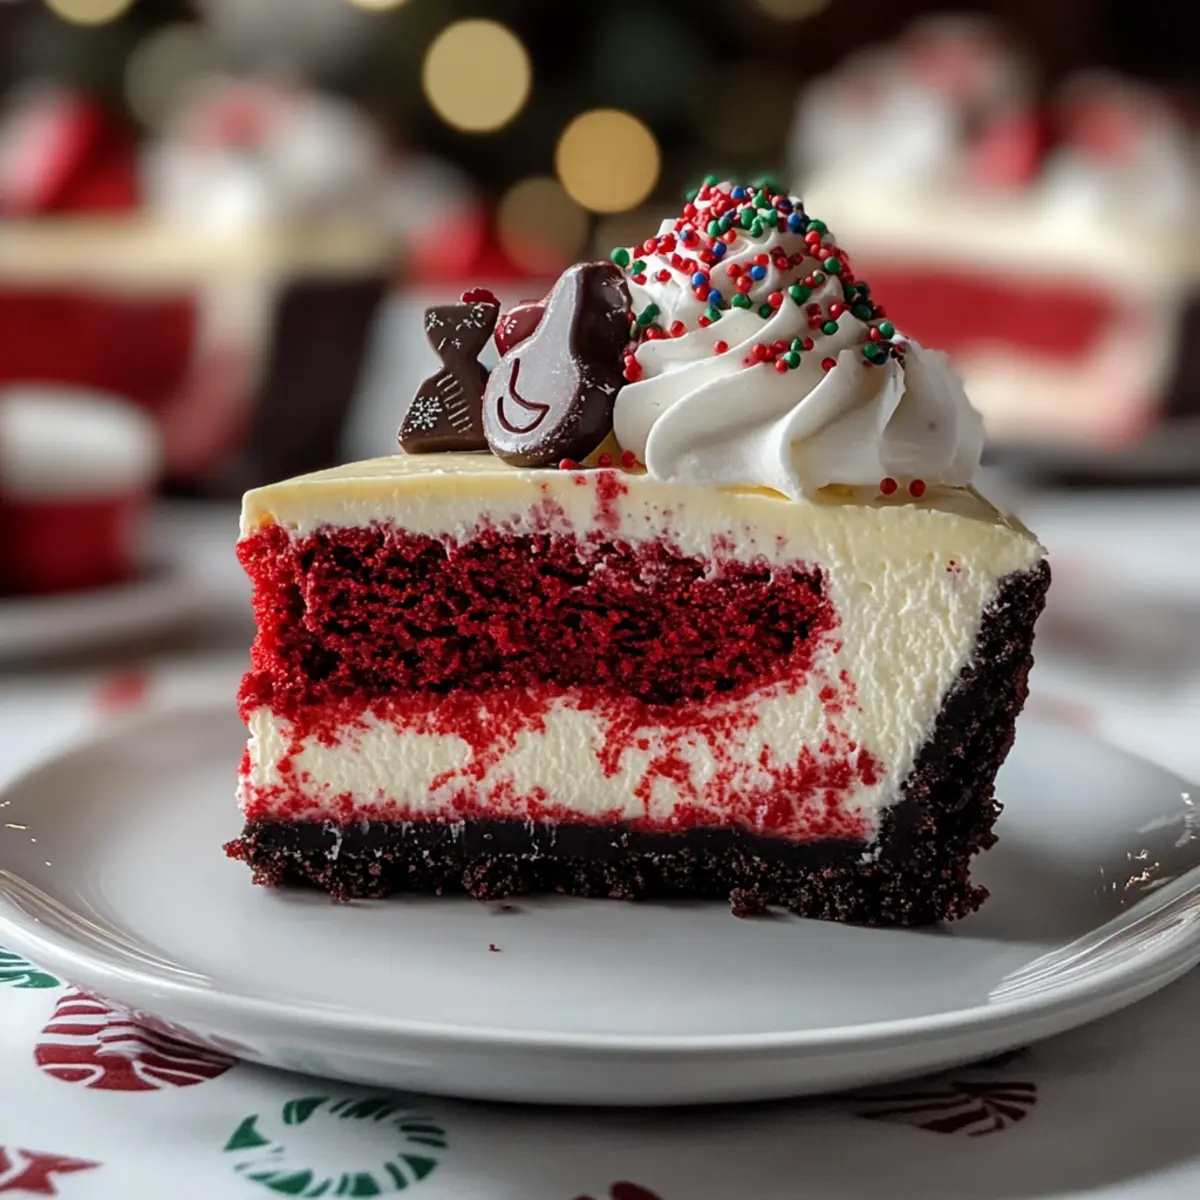
As I unwrapped the twinkling lights and pulled out the festive decorations, the kitchen filled with the warmth of holiday cheer and the sweet aroma of home-baked treats. This year, I’m excited to share my latest creation: a Christmas Red Velvet Cheesecake that’s as much a feast for the eyes as it is for the taste buds. This enchanting dessert combines the rich, velvety tones of classic red velvet with a creamy, dreamy cheesecake layer, making it the perfect indulgence for your holiday gatherings. Not only is it a show-stopper, but it’s also surprisingly simple to whip up, ensuring you can spend more time celebrating with loved ones and less time slaving in the kitchen. So, are you ready to create a festive masterpiece that will leave everyone begging for seconds? Let’s dive into this delicious adventure!

Why is this cheesecake a holiday must-have?
Irresistible Flavor: This Christmas Red Velvet Cheesecake combines the classic flavors of rich red velvet with a luscious cheesecake twist, creating an indulgent treat that’s perfect for the holidays.
Festive Presentation: With its vibrant red hue and creamy white topping, this cheesecake is not just a dessert but a stunning centerpiece for your holiday table.
Easy to Make: Don’t worry if you’re not a baking expert! This recipe is user-friendly, allowing even novice cooks to impress their guests with minimal effort.
Crowd-Pleaser: Ideal for gatherings, this cheesecake will have your family and friends raving and practically begging for the recipe!
Storage Friendly: Leftovers can be easily stored in the fridge for up to 3-4 days – if there are any left, that is!
Pair it with your favorite coffee or hot chocolate for the ultimate holiday treat, just like my Blueberry Cheesecake Bars or serve alongside some Strawberry Cheesecake Dump for a delightful dessert table!
Christmas Red Velvet Cheesecake Ingredients
• Here’s everything you need to create this festive delight!
For the Crust
- Oreo Cookies – A delicious base for the crust; swap for graham crackers for a sweeter taste.
- Butter – Binds the crust together; can be replaced with margarine for a dairy-free option.
For the Cheesecake Filling
- Cream Cheese – The star ingredient providing creaminess; mascarpone can be used for a richer flavor.
- White Sugar – Sweetens the filling perfectly; consider granulated erythritol for a low-sugar twist.
- Heavy Whipping Cream – Adds lightness to the cheesecake; a non-dairy cream also works well.
- Vanilla Extract – Enhances the flavor; go for pure vanilla for the best taste.
- Cocoa Powder – Gives a rich red velvet flavor; ensure it’s unsweetened for true depth.
- Red Food Coloring – Essential for that classic red hue; natural beet juice is a healthy substitute.
For Topping and Decoration
- Christmas Sprinkles – Add festive flair; completely optional but brings a cheerful touch!
- Whipped Cream – Adds richness on top; coconut whipped cream is a great dairy-free alternative.
- Mini Oreos – Fun and festive decor; other festive cookies can be used for variety.
This Christmas Red Velvet Cheesecake is sure to become a beloved holiday tradition!
Step‑by‑Step Instructions for Christmas Red Velvet Cheesecake
Step 1: Prepare Pan & Oven
Begin by preheating your oven to 350°F (175°C). Meanwhile, wrap a 9-inch springform pan tightly with aluminum foil, ensuring the bottom and sides are covered. This will protect the crust during baking. Place the pan aside as you gather your ingredients for the crust.
Step 2: Make the Red Velvet Crust
In a food processor, crush Oreo cookies until they resemble fine crumbs, then mix them with melted butter and a hint of sugar until well combined. Press this mixture firmly into the bottom of the prepared springform pan, spreading it evenly. Bake for 8-10 minutes until slightly set, then allow it to cool completely while you prepare the cheesecake filling.
Step 3: Prepare Cheesecake Filling
In a mixing bowl, beat cream cheese and white sugar together on medium speed until smooth and creamy, about 2-3 minutes. Reduce the speed and gradually mix in vanilla extract, unsweetened cocoa powder, and red food coloring until fully blended. Gently fold in the heavy whipping cream until the mixture is light and airy, creating a luscious filling for your Christmas Red Velvet Cheesecake.
Step 4: Bake the Cheesecake
Decrease the oven temperature to 325°F (160°C). Carefully pour the cheesecake filling over the cooled crust in the springform pan. Create a water bath by placing the pan in a larger baking dish filled with hot water, which helps maintain moisture. Bake for 1 to 1.5 hours or until the edges are set but the center jiggles slightly, indicating a perfectly creamy texture.
Step 5: Cool & Chill
Once baked, turn off the oven and leave the cheesecake inside with the door slightly ajar for about 1 hour. This gradual cooling prevents cracks. Afterward, transfer the pan to a wire rack to cool completely at room temperature, then refrigerate for 6-8 hours or overnight to let it firm up, ensuring the best results for your Christmas Red Velvet Cheesecake.
Step 6: Decorate & Serve
When ready to enjoy, carefully remove the sides of the springform pan. Top your cheesecake with a generous layer of whipped cream, adding a festive touch with mini Oreos and colorful Christmas sprinkles for decoration. Slice into pieces and serve, showcasing the beautiful layers, making your holiday gathering even more memorable!

Storage Tips for Christmas Red Velvet Cheesecake
Fridge: Store leftover cheesecake in an airtight container in the refrigerator for up to 3-4 days. This keeps it fresh and ready for indulgent late-night snacks!
Freezer: If you need to prolong enjoyment, freeze slices of your Christmas Red Velvet Cheesecake for up to 2-3 months. Wrap each slice tightly in plastic wrap, then place them in a freezer bag.
Thawing: To savor later, simply transfer the cheesecake from the freezer to the fridge and allow it to thaw overnight. This keeps it creamy and delicious for your holiday cravings!
Reheating: Avoid reheating in the microwave as it can alter the texture. Instead, let it come to room temperature for about 30 minutes before enjoying.
Christmas Red Velvet Cheesecake Variations
Feel free to let your creativity shine by customizing this delightful cheesecake according to your taste preferences!
- Ginger Snap Crust: Swap the Oreo crust for a spicier ginger snap crust for a festive twist.
- Zesty Orange Addition: Incorporate a hint of orange zest into the cheesecake for a bright, citrusy note.
- Flavorful Toppings: Top with flavored whipped cream, like peppermint or a sprinkle of nutmeg, for seasonal flair.
- Chocolate Drizzle: Enhance indulgence by drizzling melted chocolate over the whipped cream topping before serving.
- Nutty Crunch: Add crushed nuts, like pecans or walnuts, to the crust for unexpected texture and flavor.
- Layered Delight: Create a layered dessert by alternating red velvet and traditional cheesecake layers for a visual treat.
- Mini Cheesecakes: Use a muffin tin to make mini versions, perfect for holiday parties and gatherings.
- Dairy-Free Option: Replace cream cheese and heavy cream with vegan alternatives, ensuring everyone can enjoy this festive delight!
Explore the delicious world of festive baking with my Chicken Alfredo Tater Tot Casserole for a hearty main course, and don’t forget to check out my Blueberry Cheesecake Bars for a fruity dessert option that pairs beautifully with your holiday favorites!
Expert Tips for Christmas Red Velvet Cheesecake
-
Use a Water Bath: This essential technique keeps your cheesecake moist during baking, preventing painful cracks.
-
Chill Time Matters: Don’t rush the cooling process! Ensure to chill your cheesecake for at least 6-8 hours for the best flavor and texture.
-
Slicing Secrets: For perfect slices, use a hot knife. Wipe it clean with a paper towel between cuts to keep your cheesecake pristine.
-
Ingredient Quality: Choose high-quality cream cheese and vanilla extract; they truly enhance the flavor of your Christmas Red Velvet Cheesecake.
-
Crust Consistency: Make sure to press your Oreos firmly into the bottom of the pan for a stable crust that holds up to the rich filling.
Make Ahead Options
Preparing your Christmas Red Velvet Cheesecake in advance is a fantastic way to save time during the busy holiday season! You can make the crust and filling up to 24 hours ahead by preparing the crust, allowing it to cool completely, and then pouring the filling on top. For optimal flavor and texture, allow the cheesecake to chill in the refrigerator for a full 6-8 hours or overnight before serving. To maintain the cheesecake’s quality, make sure to cover it tightly with plastic wrap to avoid drying out, and only add the whipped cream topping and garnishes just before serving to keep them fresh and vibrant. This way, you’ll have a stunning centerpiece ready to delight your guests without the last-minute stress!
What to Serve with Christmas Red Velvet Cheesecake
Start your holiday celebration delightful and complete by pairing this rich and creamy dessert with these wonderful accompaniments.
-
Rich Coffee: Pair with a strong cup of coffee to balance the cheesecake’s sweetness, creating a comforting end to your meal. The bitterness of the coffee enhances the flavors of the red velvet.
-
Hot Chocolate: A warm cup of hot chocolate adds extra indulgence, especially topped with whipped cream or marshmallows for a cozy treat! It’s like a warm hug on a chilly night.
-
Fruity Tartness: Serve with a side of mixed berries or raspberry coulis for a burst of tart flavor that complements the richness of the cheesecake beautifully. The fresh berries add a pop of color and freshness.
-
Spiced Chai Latte: A creamy spiced chai latte offers a delightful warmth and depth that pairs perfectly with the cheesecake’s festive notes, enhancing the whole experience with warming spices.
-
Peppermint Bark: For a playful twist, enjoy a piece of peppermint bark as a crunchy, refreshing counterpoint to the velvety texture of the cheesecake. The minty freshness elevates the holiday spirit.
-
Vanilla Ice Cream: A scoop of vanilla ice cream provides a classic contrast and adds creaminess that melts delightfully against the cheesecake’s rich layers.
-
Gingerbread Cookies: Serve with festive gingerbread cookies for a spice-infused crunch, beautifully harmonizing with the cheesecake flavors while adding a holiday touch to your dessert plate.
-
Eggnog: Don’t forget a glass of chilled eggnog! Its rich, creamy consistency and festive spices make it a wonderful pairing with the cheesecake, amplifying the holiday cheer.

Christmas Red Velvet Cheesecake Recipe FAQs
What should I look for when selecting ingredients?
Absolutely! When picking your ingredients, choose Oreo cookies that are crisp and fresh for the crust. Look for cream cheese that’s smooth and not overly soft, as that can affect your filling. For the red food coloring, go for a good quality gel or liquid to ensure a vibrant hue, but if you prefer, natural beet juice is a fantastic alternative that adds both color and nutrition.
How should I store leftover cheesecake?
Leftover cheesecake can be stored in the refrigerator for up to 3-4 days. Place it in an airtight container or cover it tightly with plastic wrap to maintain its freshness. Make sure it’s not near anything too aromatic, as cheesecake can pick up unwanted flavors easily!
Can I freeze my Christmas Red Velvet Cheesecake?
Absolutely! To freeze, slice your cheesecake into portions and wrap each tightly in plastic wrap. Place the wrapped slices in a resealable freezer bag, removing as much air as possible before sealing. This method preserves the flavor and texture, allowing you to enjoy your delicious cheesecake for up to 2-3 months!
What if my cheesecake cracks while baking?
If you notice cracks forming, don’t worry; it happens to the best of us! To minimize cracking, always use a water bath during baking. If it happens anyway, once cooled, cover the cracks with whipped cream and sprinkles for a festive touch—it’ll taste just as great!
Is this recipe suitable for people with allergies?
Please be mindful of potential allergens! Cream cheese, butter, and cookies may contain dairy, so if you have lactose intolerance, consider substituting with dairy-free alternatives like coconut cream. Always check the labels of your ingredients for any hidden allergens, especially when serving guests.
How long does the cheesecake need to chill?
For the best flavor and texture, chill the cheesecake for at least 6-8 hours or overnight if you can! This allows it to firm up and develop its rich, velvety consistency. The longer, the better! Just resist the temptation to cut into it too soon; patience will pay off with a smoother slice!

Delight in Christmas Red Velvet Cheesecake Bliss
Ingredients
Equipment
Method
- Preheat your oven to 350°F (175°C) and wrap a 9-inch springform pan with aluminum foil.
- Crush Oreo cookies in a food processor and mix with melted butter and sugar. Press into the springform pan.
- Bake the crust for 8-10 minutes and allow it to cool.
- Beat cream cheese and sugar in a mixing bowl until smooth. Add vanilla, cocoa powder, and food coloring, then fold in whipping cream.
- Decrease the oven to 325°F (160°C) and pour the filling over the cooled crust. Bake in a water bath for 1 to 1.5 hours.
- Turn off the oven and let the cheesecake cool inside for 1 hour. Then refrigerate for 6-8 hours or overnight.
- Remove the cheesecake from the pan and top with whipped cream, mini Oreos, and sprinkles before serving.

Leave a Reply