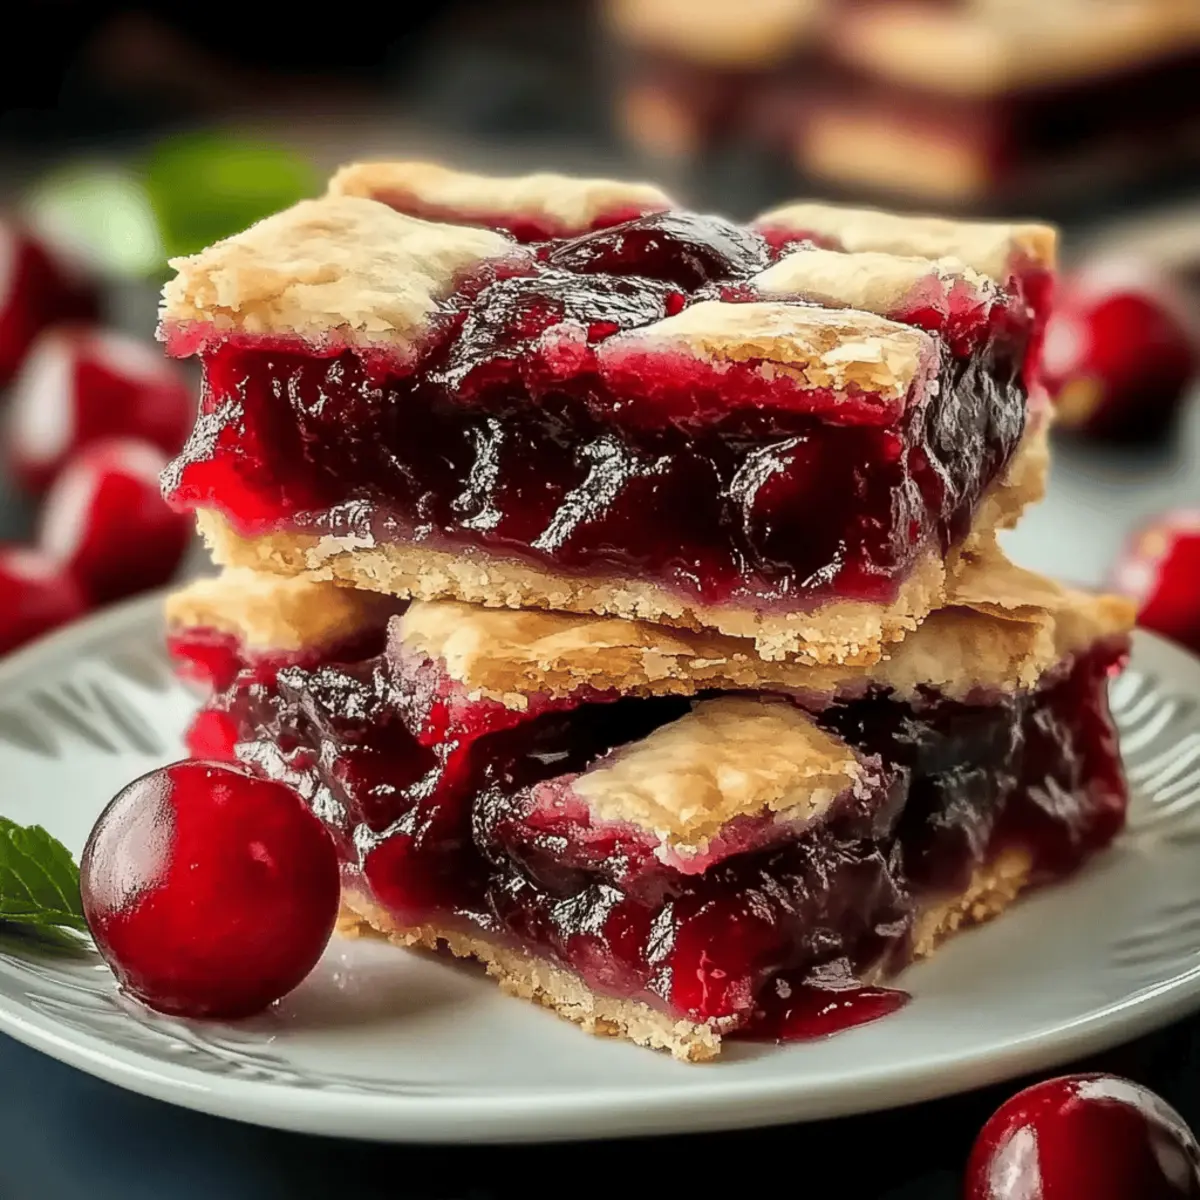
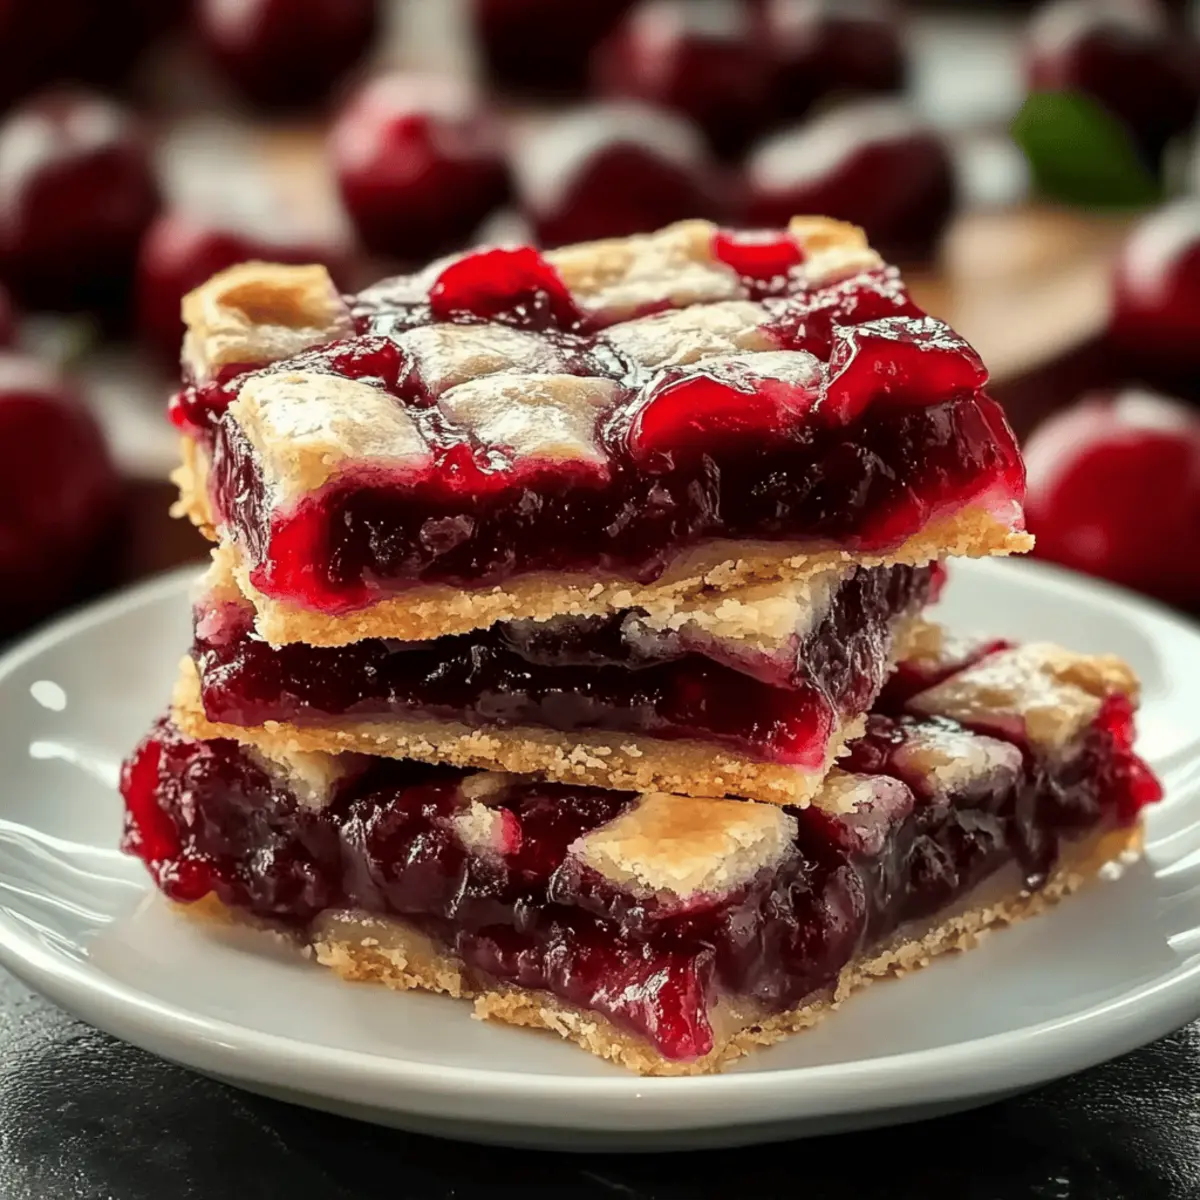
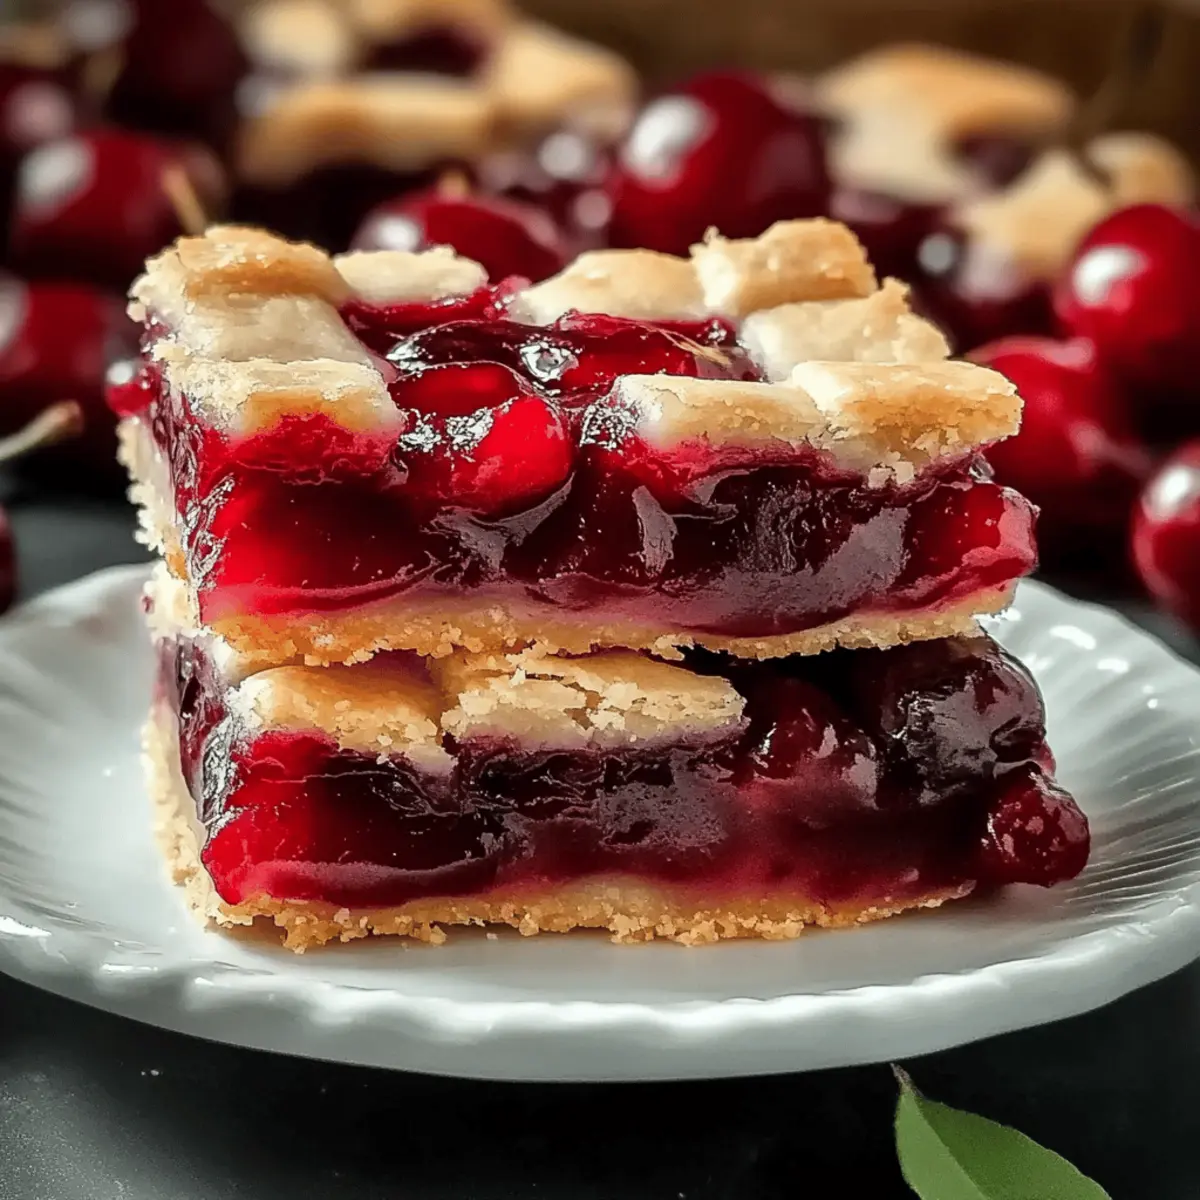
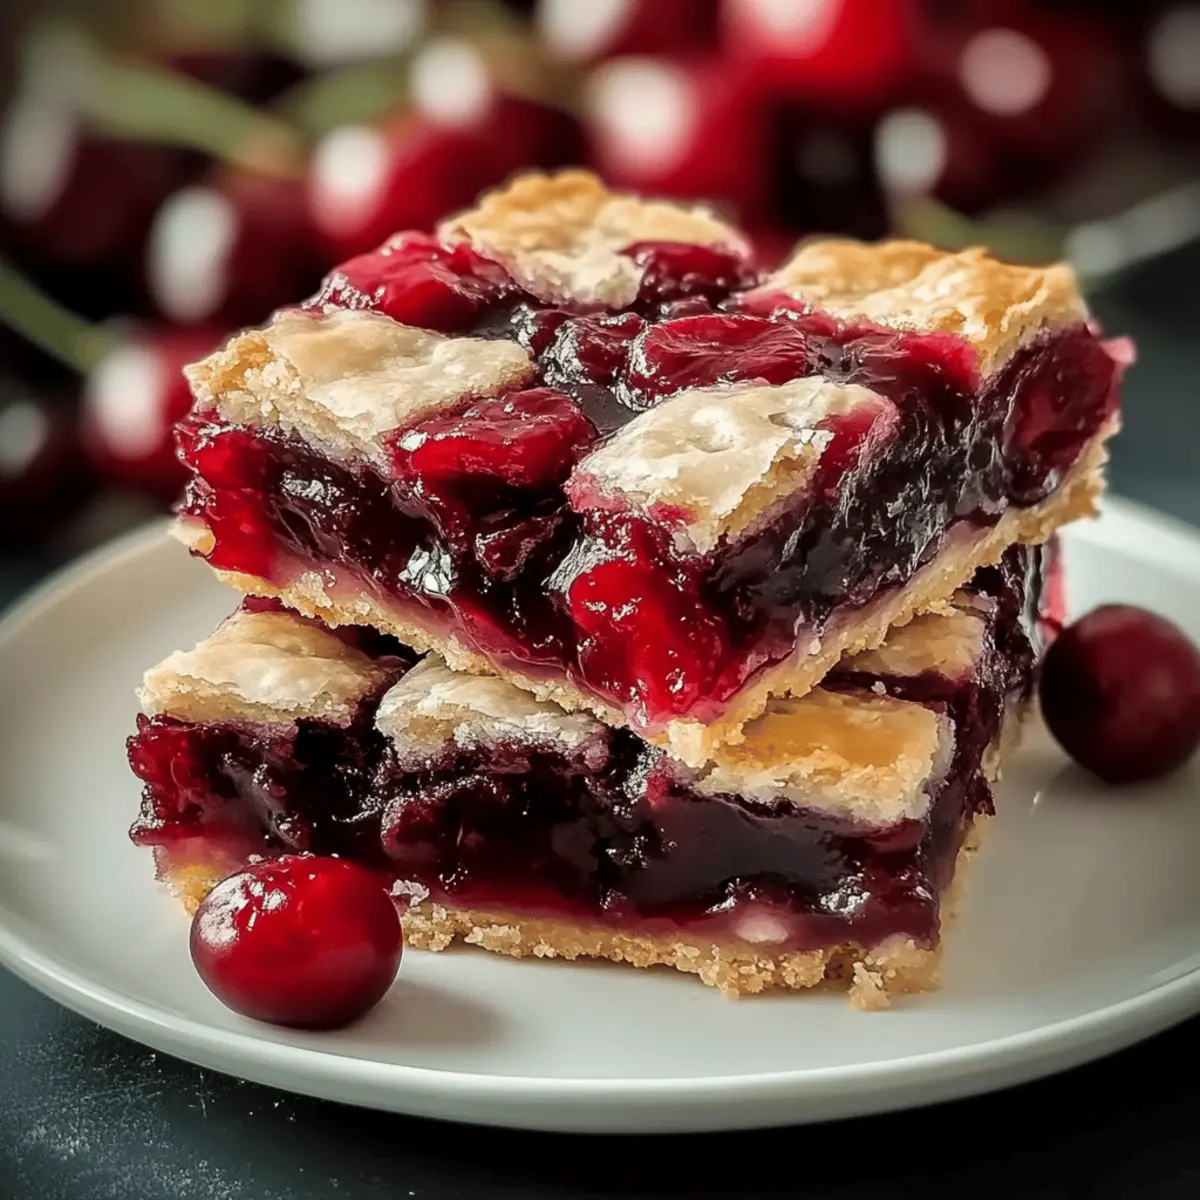
The moment I took that first bite, I knew I had created something special—these Easy Cherry Pie Bars are like a hug in dessert form! This simple cherry dessert perfectly balances sweet and tart flavors, with a delightful hint of almond extract that transforms each bite into pure bliss. For anyone who’s tired of the fast-food routine or just needs a quick baking win, this recipe is your go-to. It requires minimal effort while delivering bakery-quality results that will impress family and friends alike. Not only are these cherry pie bars incredibly easy to prepare, but they’re also a fantastic way to make use of seasonal cherries, or even canned ones for convenience. So, are you ready to elevate your dessert game with a sweet treat that’s perfect for gatherings or a cozy night in?

Why are Cherry Pie Bars a must-try?
Irresistible flavor: These Easy Cherry Pie Bars deliver a delightful combination of sweet and tart, enhanced by a hint of almond extract that really stands out.
Quick and easy: Perfect for busy weeknights, this recipe comes together in no time, making it a breeze for anyone craving a homemade treat.
Versatile goodness: Swap in fresh cherries or adjust the flavor with a splash of citrus for a personal touch.
Crowd pleaser: Whether it’s a potluck, picnic, or family gathering, these bars are sure to impress and satisfy!
Storage-friendly: Make them ahead of time and enjoy their delectable flavor, even after freezing—making them a practical choice for sweet cravings.
Enjoy these with a scoop of Fresh Cherry Sorbet for an extra special dessert experience!
Cherry Pie Bars Ingredients
For the Crust
- Real Butter – Provides a rich, flaky crust; substitute with margarine for a dairy-free option.
- Sugar – Adds sweetness and contributes to the structure of the crust.
- Eggs – Help bind the ingredients and provide richness; using one egg can reduce richness.
- All-Purpose Flour – Provides structure and texture; experiment with gluten-free blends for a different take.
For the Flavor
- Almond Extract – Adds a nutty aroma that beautifully complements the cherries; omit if allergies are a concern.
- Vanilla Extract – Enhances flavor; can be used alone if almond extract is unavailable.
For the Filling
- Cherry Pie Filling – The star of the show; try using fresh cherries for a fresher taste if desired.
For the Glaze
- Confectioners’ Sugar – Used for glazing the bars; ensures a sweet finish that elevates each bite.
- Milk – Helps achieve a smooth glaze; adjust according to desired consistency.
By using these simple yet essential ingredients, you’ll create irresistible Cherry Pie Bars that everyone will love!
Step‑by‑Step Instructions for Easy Cherry Pie Bars
Step 1: Preheat the Oven
Begin by preheating your oven to 350°F (175°C). This step is crucial as it prepares the oven for even baking. While the oven heats, you can prepare the crust, ensuring that it bakes to a golden perfection, complementing the sweet cherry filling beautifully.
Step 2: Cream the Butter and Sugar
In a large mixing bowl, cream together 1 cup of softened butter and 1 cup of sugar using an electric mixer on medium speed. Beat until the mixture is light and fluffy, about 3-4 minutes. This fluffy base will give your Easy Cherry Pie Bars a rich, tender crust that melts in your mouth.
Step 3: Add Eggs and Extracts
Crack in 2 large eggs, and add 1 teaspoon of almond extract and 1 teaspoon of vanilla extract to the fluffy mixture. Mix on low speed until everything is well combined, about 1-2 minutes. The addition of these extracts elevates the flavor profile of the bars, making them irresistibly aromatic.
Step 4: Incorporate Dry Ingredients
Slowly add 2 cups of all-purpose flour and a pinch of salt to your wet ingredients. Mix just until combined—about 30 seconds—to avoid overworking the dough. The mixture should form a soft dough that is slightly sticky, ready to be pressed into the baking pan for your cherry pie bars.
Step 5: Press Into the Pan
Grease a 15×10-inch baking pan with butter or non-stick spray. Take half of the dough and evenly press it into the bottom of the prepared pan, creating a solid and even base. Use your fingers or a spatula for a smooth finish, as this crust will hold the delicious cherry filling.
Step 6: Spread the Cherry Filling
Evenly spread a can of cherry pie filling over the crust layer in the baking pan. Ensure the filling covers the entire area for a perfect taste in every bite. The vibrant color and sweet aroma of the cherries will entice everyone as they await the final result of these Easy Cherry Pie Bars.
Step 7: Add Remaining Dough
Take the remaining dough and dollop it over the cherry filling in small portions. Use a spoon or your hands to create little clumps that will bake into a crumble-like topping. This will provide a delightful texture contrast against the luscious cherry layer below.
Step 8: Bake to Perfection
Place the pan in the preheated oven and bake for 35-40 minutes. Keep an eye on the bars, ensuring the top is a lovely golden brown and the filling bubbles up slightly along the edges. The enticing aroma will fill your kitchen, signaling that your Easy Cherry Pie Bars are almost ready.
Step 9: Cool and Glaze
Once baked, remove the pan from the oven and let it cool completely on a wire rack. After cooling, prepare a glaze by mixing confectioners’ sugar with a splash of almond extract and a little milk for smooth consistency. Drizzle this glaze over the cooled bars for an added touch of sweetness before cutting into squares.
Step 10: Slice and Serve
Once glazed, slice your Easy Cherry Pie Bars into squares and serve them at room temperature. The glaze and warm cherry filling create a perfect dessert experience that will surely impress and satisfy anyone who takes a bite!

Storage Tips for Cherry Pie Bars
-
Room Temperature: Store leftover cherry pie bars in an airtight container at room temperature for up to 3 days. They taste best when allowed to sit for a while, letting the flavors meld beautifully.
-
Fridge: If you prefer a chilled treat, keep the bars in the fridge for up to 5 days. Make sure they are well-wrapped to maintain freshness and avoid absorbing any odors from the fridge.
-
Freezer: To enjoy your cherry pie bars later, wrap them tightly in plastic wrap or aluminum foil and place them in a freezer-safe container. They can be frozen for up to 2 months.
-
Reheating: When you’re ready to indulge again, allow frozen cherry pie bars to thaw in the fridge overnight. For a warm treat, gently reheat them in the oven at 350°F (175°C) for about 10 minutes.
Make Ahead Options
These Easy Cherry Pie Bars are perfect for meal prep enthusiasts looking to save time during busy weeks! You can make the dough up to 24 hours in advance and refrigerate it tightly wrapped, which helps develop the flavors. Additionally, the bars can be baked and stored at room temperature for up to 3 days. For optimal freshness, slice the bars only when ready to serve and glaze them shortly before enjoying, as the glaze maintains its delightful texture. If you’re looking to store them longer, feel free to freeze the baked and glazed bars for up to 2 months. Just remember to let them thaw completely before serving, and they’ll be just as delicious as when they were freshly baked!
What to Serve with Easy Cherry Pie Bars
Delightful desserts deserve equally delightful companions, enhancing every bite of your cherry-infused treat.
-
Fresh Vanilla Ice Cream: This classic pairing adds creaminess that balances the tartness of the cherries, creating a luscious experience.
-
Whipped Cream: Light and airy, a dollop of fresh whipped cream brings a delightful sweetness that complements the rich flavors of the bars.
-
Almond Biscotti: The crunchiness of almond biscotti adds texture to the softer pie bars, while the nutty flavor resonates with the almond extract in the dessert.
-
Cherry Sorbet: A refreshing cherry sorbet not only enhances the cherry flavor but adds a cold, fruity contrast that makes for a refreshing treat.
-
Hot Coffee: Enjoying your bars with a warm cup of coffee contrasts the sweetness beautifully; the richness of the coffee enhances the overall experience.
-
Milkshake: A creamy vanilla milkshake provides a nostalgic twist, pairing perfectly with the tart cherry filling and enriching every bite with its sweetness.
-
Chocolate Drizzle: A light drizzle of chocolate on top intensifies the sweetness and offers a delightful richness, elevating the dessert to a whole new level.
-
Fruit Salad: A side of mixed fruit salad adds freshness and a burst of colors on your plate, balancing the richness of the cherry pie bars beautifully.
Every bite you take becomes a new adventure!
Cherry Pie Bars Variations & Substitutions
Embrace the joy of customization and make these cherry pie bars your own masterpiece!
-
Fresh Cherries: Use fresh cherries instead of canned for a vibrant, homemade flavor. Be sure to pit and chop them first!
-
Citrus Zest: Substitute almond extract with lemon or orange zest for a refreshing, fruity twist.
-
Gluten-Free: Swap all-purpose flour with a 1:1 gluten-free baking blend for a tasty gluten-free treat.
-
Cream Cheese Layer: Spread a thin layer of softened cream cheese over the crust before adding the cherry filling for a rich, creamy contrast.
-
Nutty Crunch: Sprinkle chopped nuts like almonds or pecans on top of the dough before baking to add delightful texture and flavor.
-
Add Spice: Mix in a pinch of cinnamon or nutmeg into the crust to warm up the flavor profile. It’s a delightful surprise!
-
Chocolate Drizzle: For a chocolatey twist, drizzle melted chocolate over the cooled bars for a decadent touch.
-
Serving Suggestion: Enjoy these together with a scoop of Fresh Cherry Sorbet or alongside a slice of Blueberry Cheesecake Bars for an enticing dessert spread.
Expert Tips for Easy Cherry Pie Bars
- Room Temperature Ingredients: Ensure that your butter and eggs are at room temperature before mixing. This helps achieve a smoother texture in your cherry pie bars.
- Gentle Mixing: Be careful not to overmix the dough once you add the flour. This keeps your bars tender, preventing a tough texture that can occur with too much mixing.
- Flavor Development: For enhanced flavor, let the bars sit overnight after baking. This allows the sweet and tart notes to meld beautifully, making each bite even more delicious.
- Freezing Marvels: These cherry pie bars freeze exceptionally well. Just wrap them tightly and store for up to 2 months to enjoy homemade goodness anytime!
- Glaze Consistency: Adjust your glaze with more or less milk to achieve your desired sweetness and thickness. A thicker glaze provides a delightful contrast to the soft cherry filling.

Easy Cherry Pie Bars Recipe FAQs
What kind of cherries should I use for the filling?
Absolutely! You can use either canned cherry pie filling for convenience or fresh cherries for a more authentic taste. If you choose fresh cherries, make sure to pit and chop them before using. When using fresh, it’s often helpful to add a sprinkle of sugar to enhance their sweetness, especially if they’re slightly tart.
How should I store leftover cherry pie bars?
You can store leftover cherry pie bars in an airtight container at room temperature for up to 3 days. If you prefer, they can also be refrigerated for up to 5 days—just be sure they’re well-wrapped to keep them fresh.
Can I freeze these cherry pie bars?
Yes! Freezing is a fantastic option if you want to enjoy these tasty treats later. First, wrap each bar tightly in plastic wrap or aluminum foil, and then place them in a freezer-safe container. They can be frozen for up to 2 months. When you’re ready to enjoy them, simply allow them to thaw in the fridge overnight or warm them up in the oven at 350°F (175°C) for about 10 minutes before serving.
What should I do if my dough is too sticky?
If your dough is too sticky to work with, no worries! You can add a bit more flour, one tablespoon at a time, until it reaches a workable consistency. Additionally, ensure you’ve measured flour correctly. Spoon the flour into the measuring cup and level it off for accuracy.
Can I make these cherry pie bars gluten-free?
Very! You can easily make these cherry pie bars gluten-free by substituting all-purpose flour with a gluten-free baking blend. Just be sure to check for a blend that contains xanthan gum, or add it separately, as it helps replicate the texture of traditional flour.
Are these bars suitable for everyone, including those with nut allergies?
Yes, but if you’re concerned about nut allergies, I recommend omitting the almond extract and simply using an extra teaspoon of vanilla extract instead. This way, you can still enjoy the delightful flavor without any allergy concerns!

Savor the Sweetness: Irresistible Cherry Pie Bars Delight
Ingredients
Equipment
Method
- Preheat your oven to 350°F (175°C).
- In a large mixing bowl, cream together 1 cup of softened butter and 1 cup of sugar using an electric mixer on medium speed for 3-4 minutes.
- Add 2 large eggs, 1 teaspoon of almond extract, and 1 teaspoon of vanilla extract to the mixture, and mix on low speed until well combined.
- Slowly add 2 cups of all-purpose flour and a pinch of salt, mixing just until combined.
- Grease a 15x10-inch baking pan and press half of the dough into the bottom.
- Spread the cherry pie filling over the crust layer.
- Dollop the remaining dough over the cherry filling.
- Bake for 35-40 minutes, until golden brown.
- Let cool completely on a wire rack, then prepare the glaze.
- Drizzle glaze over the cooled bars before slicing into squares.

Leave a Reply