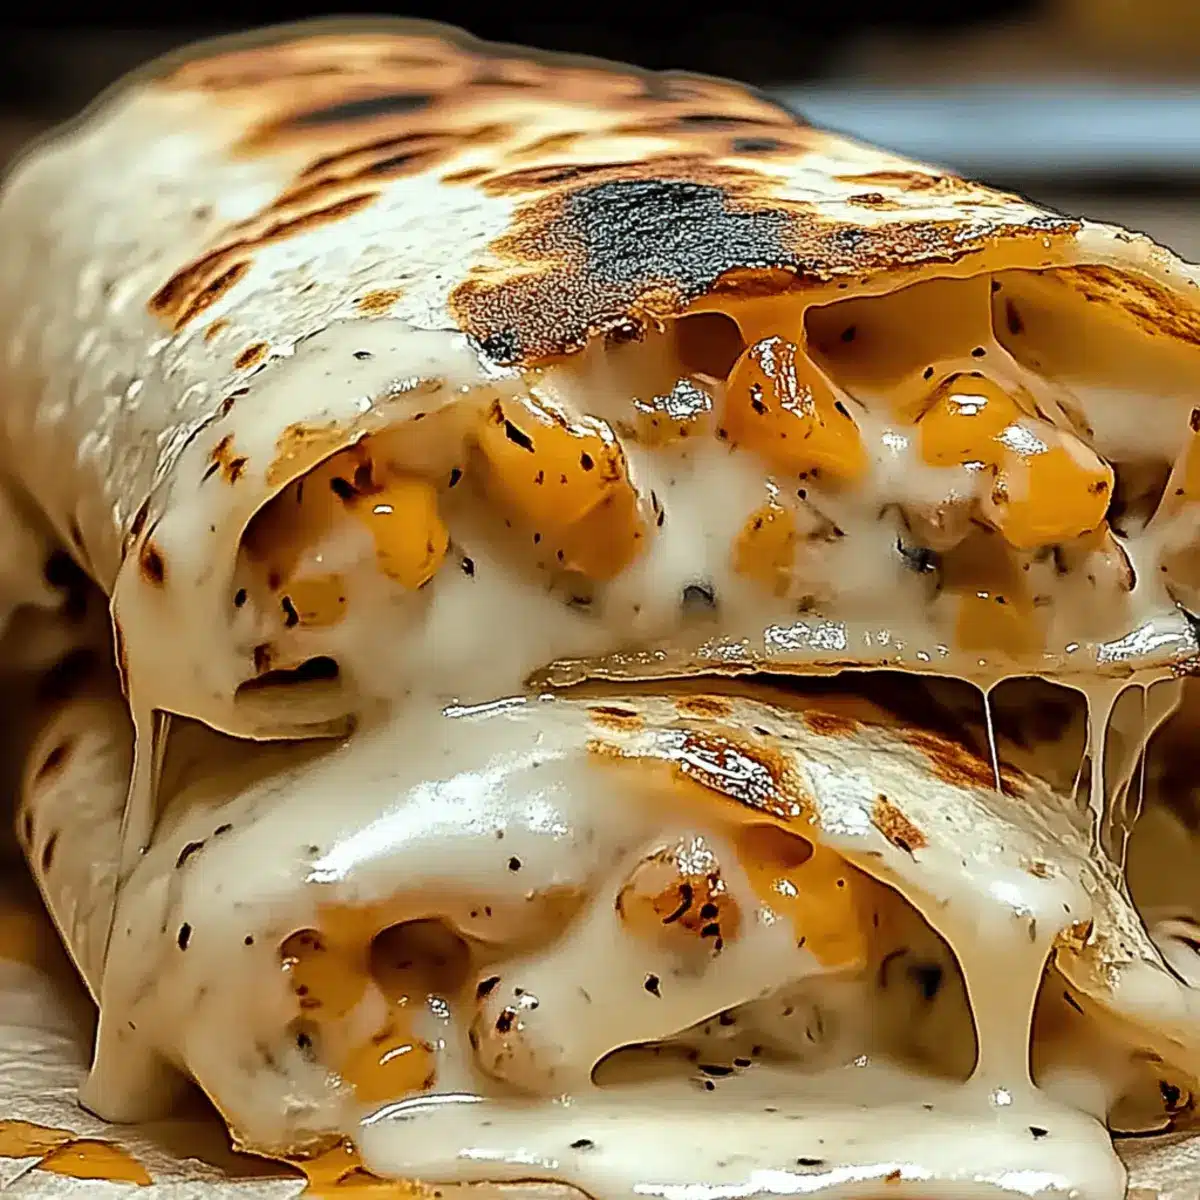
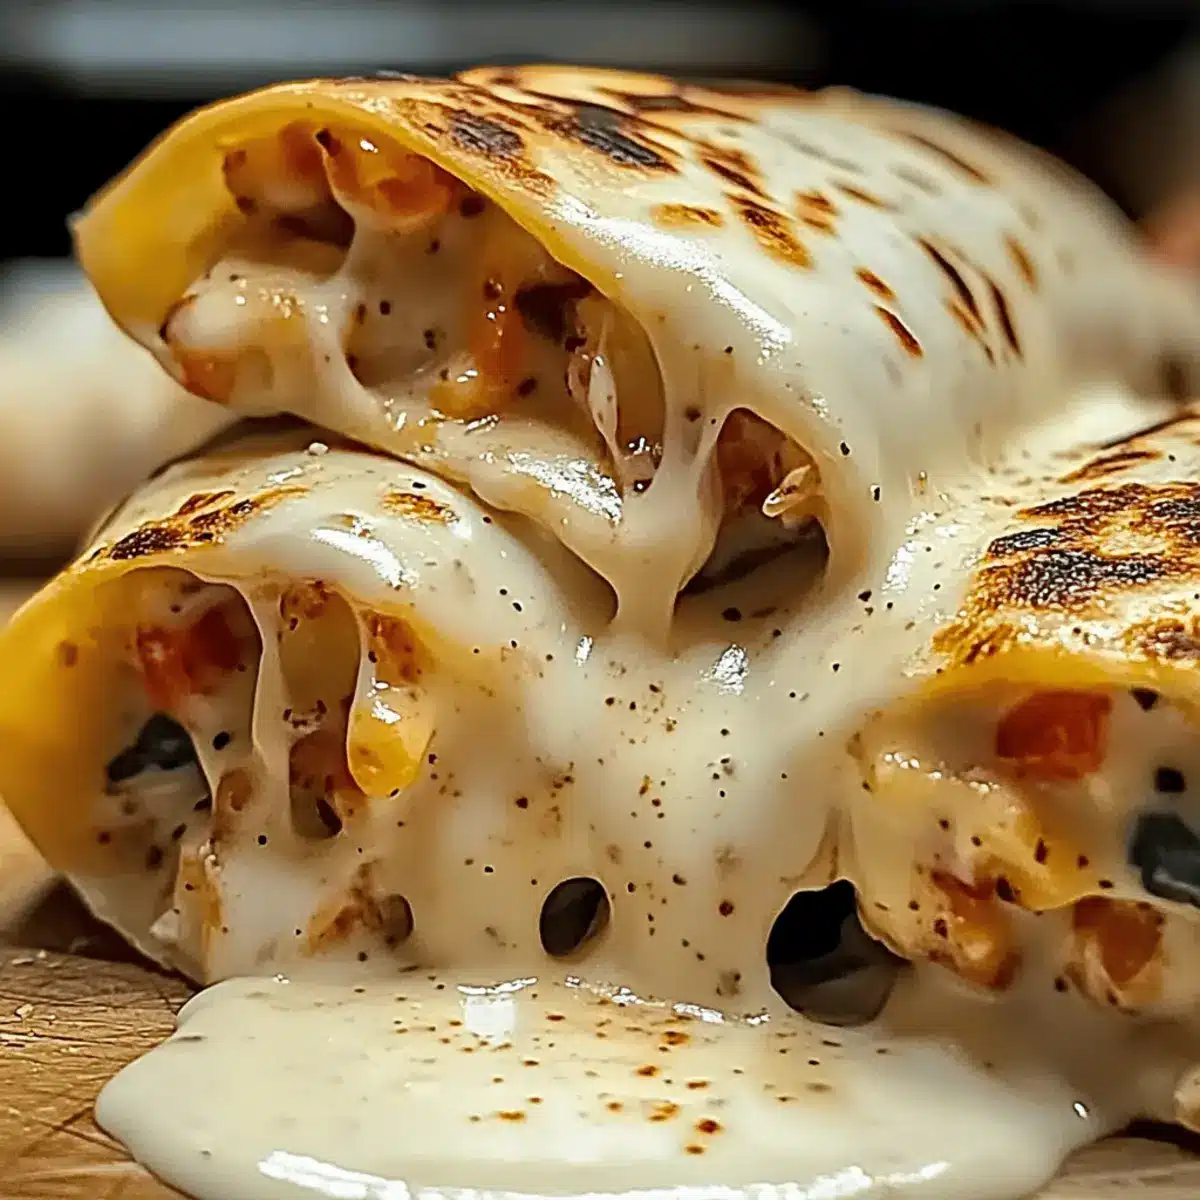
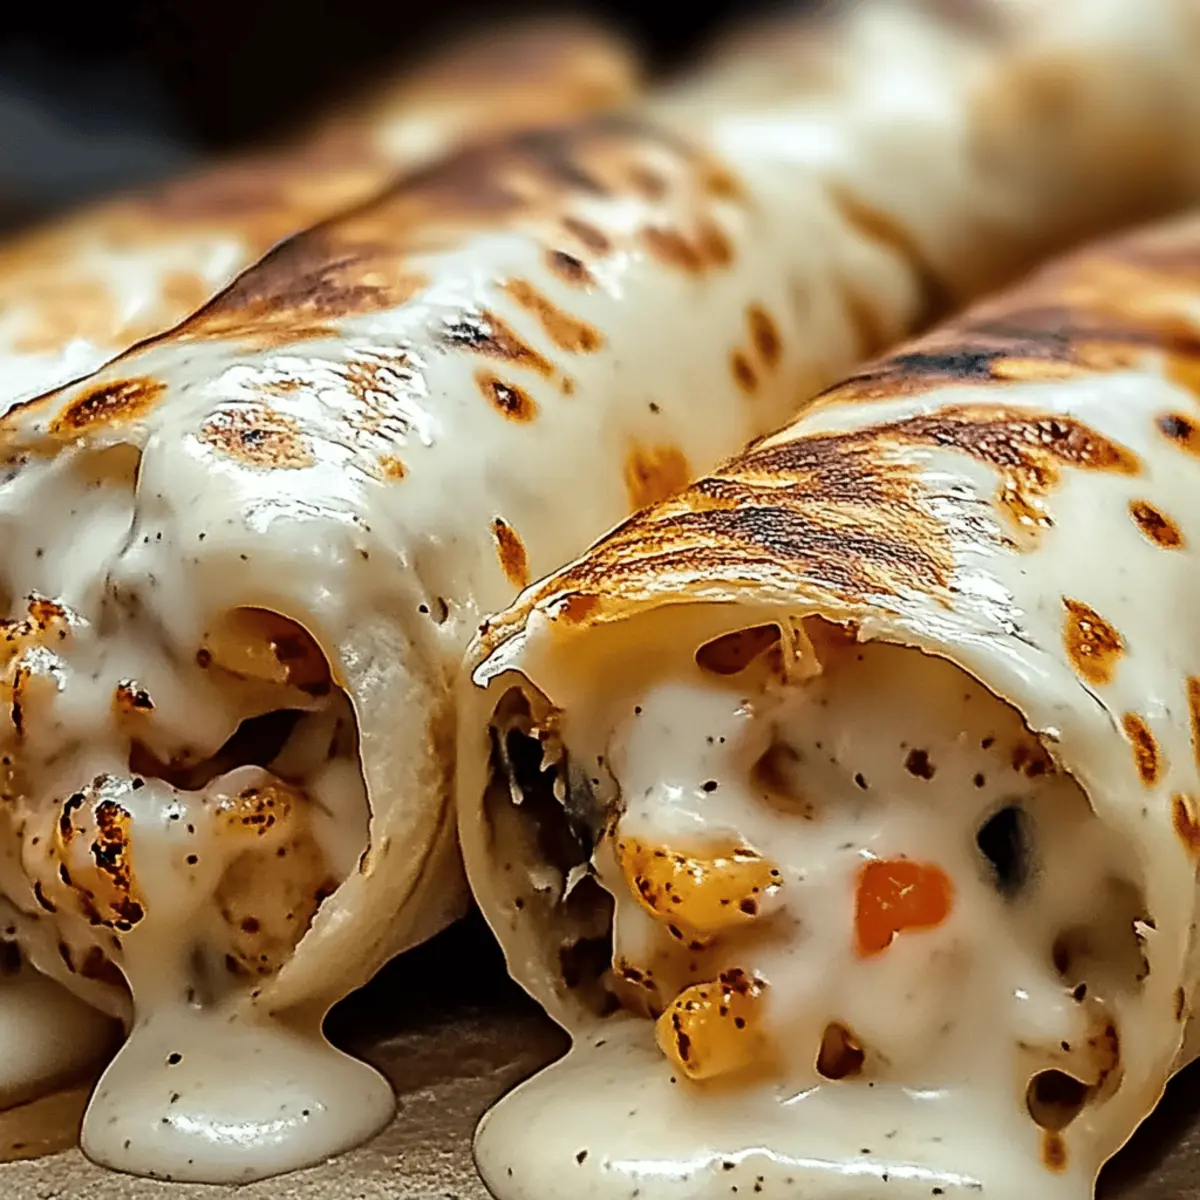
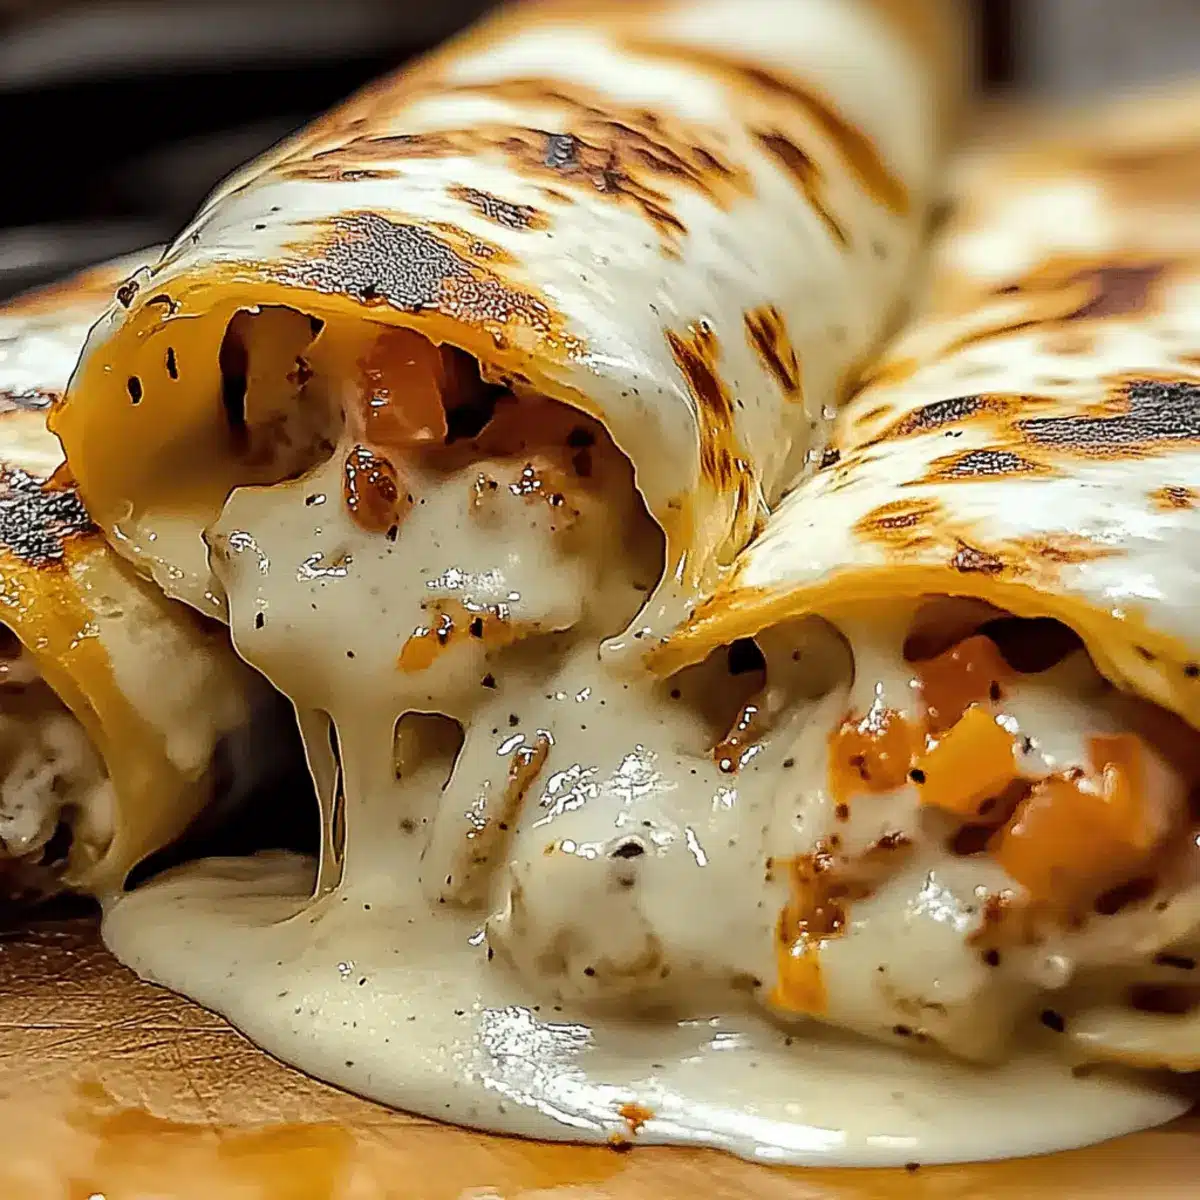
Amid a whirlwind of hectic weeknights, I found myself in a mini crisis: dinner needed to be quick, delicious, and leave everyone satisfied. That’s when these Cheesy Garlic Chicken Wraps came to the rescue! In just 21 minutes, you can whip up these delightful wraps, bursting with tender chicken coated in a rich garlic butter sauce and enveloped in gooey melted cheese. A remarkable perk? They are fully customizable! Toss in your favorite veggies or substitute proteins for an easy twist. Whether it’s a family dinner or a cozy lunch, they truly hit the spot. Curious to find out how simple it is to create this flavor-packed meal? Let’s dive in!

Why Choose Cheesy Garlic Chicken Wraps?
Quick and Easy: In just 21 minutes, you’ll have a satisfying meal ready to go, perfect for busy weeknights.
Customizable Flavors: Mix and match your favorite veggies or proteins! Swap chicken for shrimp or make it vegetarian with black beans.
Mouthwatering Creaminess: The combination of cream cheese and mozzarella ensures every bite is loaded with rich, gooey goodness.
Perfectly Portable: Ideal for lunches or family dinners, these wraps are as versatile as they are delicious. Try serving them with a side of crispy fries or a fresh salad.
Crowd-Pleaser: With their vibrant colors and rich flavors, these wraps are sure to impress everyone at the table, just like the delightful Garlic Parmesan Chicken dish you love!
Cheesy Garlic Chicken Wraps Ingredients
For the Filling
- Cooked Chicken – Provides protein and serves as the main filling; substitute with cooked shrimp or turkey for variation.
- Shredded Mozzarella Cheese – Adds creaminess and flavor; use any melty cheese of choice if unavailable.
- Cream Cheese – Helps create a rich, creamy filling; ensure it’s softened for easy mixing.
- Mayonnaise – Adds moisture and richness; can be replaced with Greek yogurt for a lighter option.
- Minced Garlic – Infuses the filling with aromatic flavor; adjust quantity to taste for a more potent garlic kick.
- Italian Seasoning – Offers a blend of herbs for flavor depth; use individual dried herbs like oregano and basil if necessary.
- Salt and Black Pepper – Essential for flavor enhancement; adjust to individual taste preferences.
For the Wrap
- Large Flour Tortillas – Acts as the wrap to hold the filling; corn tortillas can be used for a gluten-free option.
- Fresh Spinach Leaves – Provides crunch and freshness; substitute with other leafy greens like lettuce or arugula.
- Diced Tomatoes – Adds color, texture, and freshness; can replace with roasted red peppers for a different flavor.
- Sliced Green Onions – Brings a mild onion flavor and crunch; use chives for a subtler taste.
Dive right into creating these Cheesy Garlic Chicken Wraps, perfect for adding a touch of warmth to your weeknight dinners!
Step‑by‑Step Instructions for Cheesy Garlic Chicken Wraps
Step 1: Mix the Filling
In a large mixing bowl, combine the shredded chicken, shredded mozzarella cheese, softened cream cheese, mayonnaise, minced garlic, Italian seasoning, salt, and black pepper. Use a spatula to blend the ingredients together until you achieve a creamy consistency. This delicious filling will be the centerpiece of your Cheesy Garlic Chicken Wraps that everyone will love.
Step 2: Prepare the Tortillas
Lay your large flour tortillas flat on a clean surface or cutting board. Spoon a generous amount of the prepared chicken mixture into the center of each tortilla, ensuring an even distribution. This step is crucial to achieving the perfect balance of flavors, so don’t skimp on the filling—it’s what makes these wraps so tasty!
Step 3: Add Fresh Ingredients
Next, layer the fresh spinach leaves, diced tomatoes, and sliced green onions on top of the chicken filling. The freshness of these ingredients will add a delightful crunch and enhance the overall flavor of your Cheesy Garlic Chicken Wraps. Make sure to spread these toppings evenly over the filling to create every bit as enjoyable a bite!
Step 4: Roll the Wraps
Carefully fold the sides of the tortilla inward to secure the filling, then roll the tortilla tightly from the bottom to the top. This helps to keep all the delicious ingredients enclosed while cooking. As you roll, apply gentle pressure to ensure a snug wrap—this will help avoid any spills during the next baking step.
Step 5: Sear the Wraps (Optional)
Heat a skillet over medium heat, adding a touch of oil if desired to prevent sticking. Place the rolled wraps seam-side down in the skillet, cooking for 2-3 minutes or until they turn golden brown and crispy. Flip them carefully, allowing the other side to cook for the same amount of time. This step enhances the texture and adds an irresistible crunch.
Step 6: Slice and Serve
Once the wraps are golden brown and crispy, remove them from the skillet and let them sit for a minute. Carefully slice each wrap in half to reveal the gooey, cheesy filling inside. Serve the Cheesy Garlic Chicken Wraps warm, and enjoy them with your favorite dipping sauces or alongside a fresh salad for a complete meal!

What to Serve with Cheesy Garlic Chicken Wraps?
These wraps are a delightful centerpiece, but pairing them with complementary sides can truly elevate your meal experience.
- Crispy Sweet Potato Fries: The sweet, earthy flavor of these fries balances the savory garlic wrap, adding a satisfying crunch.
- Zesty Coleslaw: With a refreshing crunch and tangy dressing, coleslaw cuts through the richness of the wraps for a well-rounded bite.
- Garden Salad: A fresh salad with mixed greens, cucumbers, and cherry tomatoes offers a light contrast to the creamy filling, brightening your meal.
- Creamy Tomato Soup: The warm, rich flavors of a creamy tomato soup create a comforting duo with the cheesy wraps, perfect for dipping.
- Garlic Breadsticks: For more garlic goodness, serve warm breadsticks alongside the wraps; they add an extra layer of buttery flavor.
- Spicy Jalapeño Poppers: A crunchy and creamy treat, jalapeño poppers complement the wraps with a kick, wonderfully enhancing the overall flavor profile.
- Fruit Salad: A chilled fruit salad adds a refreshing and sweet element to your plate, balancing the savory flavors of the wraps beautifully.
- Lemonade or Iced Tea: Pair your meal with a refreshing glass of lemonade or iced tea to cleanse the palate and enhance the flavors.
These pairings are sure to create a memorable meal experience with your Cheesy Garlic Chicken Wraps!
How to Store and Freeze Cheesy Garlic Chicken Wraps
Room Temperature: Store leftover wraps at room temperature for a maximum of 2 hours to maintain their freshness and prevent unsafe food conditions.
Fridge: Keep any uneaten Cheesy Garlic Chicken Wraps in an airtight container in the fridge for up to 3 days. Reheat in a skillet or microwave for best results.
Freezer: For longer storage, wrap the assembled wraps tightly in plastic wrap, then place them in a freezer bag. They can be frozen for up to 2 months. Thaw in the fridge overnight before reheating.
Reheating: Reheat wraps in a skillet over medium heat or in the microwave until heated through, ensuring the cheese is melted and the filling is warm.
Cheesy Garlic Chicken Wraps Variations
Feel free to get creative and make these cheesy garlic chicken wraps your own with these delightful twists!
- Dairy-Free: Substitute the cream cheese and mozzarella with vegan alternatives for a creamy, dairy-free delight.
- Spicy Kick: Add diced jalapeños or a splash of hot sauce to the filling for an extra kick of heat! Bring the fire, enjoy the rush.
- Vegetarian: Replace the chicken with black beans or chickpeas for a hearty, plant-based wrap. Feel the texture and flavor unite for a wholesome meal.
- Herb Boost: Use fresh herbs like basil or cilantro instead of Italian seasoning for a vibrant flavor profile. Just imagine the fragrant aroma filling your kitchen!
- Extra Crunch: Toss in additional veggies like bell peppers or shredded carrots for extra texture and nutrition. The more, the merrier, right?
- Southwestern Flair: Incorporate corn and diced avocado to give the wraps a fun, Southwestern twist that’s both refreshing and filling. A tropical escape in every bite.
- Garlic Lover’s Dream: Increase the quantity of minced garlic for a more pronounced garlic flavor that truly shines. Nothing says flavor like a bold taste explosion.
- Gluten-Free: Opt for corn tortillas to accommodate gluten-free diets while still enjoying these amazing wraps. Flexibility never tasted so good!
As you explore the flavors, you might also want to check out other favorites like these delicious Cheesy Broccoli Chicken wraps or the vibrant Peanut Chicken Wraps for fun ideas!
Expert Tips for Cheesy Garlic Chicken Wraps
-
Tortilla Freshness: Ensure your tortillas are fresh and pliable; slightly warm them in a microwave for easier rolling if they are stiff.
-
Flavor Adjustments: Customize the filling by adding diced jalapeños for a spicy kick or switch up the herbs according to your taste preferences.
-
Avoid Overstuffing: Be mindful not to overfill the tortillas. An overflowing wrap can lead to messy cooking and won’t hold its shape.
-
Searing for Crunch: If using the optional searing step, make sure not to overcrowd the skillet to achieve that perfect golden brown crispiness on all sides.
-
Prep Ahead: Prepare the chicken mixture a day in advance, storing it in the fridge for the best flavor and freshness during assembly.
-
Serving Pairings: Consider pairing your Cheesy Garlic Chicken Wraps with a side of sweet potato fries or a zesty coleslaw for a complete meal experience.
Make Ahead Options
These Cheesy Garlic Chicken Wraps are a fantastic option for meal prep, allowing you to save valuable time during a busy week! You can prepare the creamy chicken filling up to 24 hours in advance by mixing the cooked chicken, cheeses, mayonnaise, garlic, and seasonings, then store it in an airtight container in the refrigerator. Make sure to keep your tortillas separate to prevent them from becoming soggy. When you’re ready to serve, simply assemble the wraps with fresh spinach, tomatoes, and green onions, roll them up, and optionally sear in a skillet for that delightful crispy finish. With these tips, your wraps will be just as delicious, ready to enjoy with minimal effort!

Cheesy Garlic Chicken Wraps Recipe FAQs
How do I select the best cooked chicken for my wraps?
Absolutely! For the best flavor and texture, opt for cooked chicken that’s juicy and tender. You can use rotisserie chicken for convenience, ensuring it’s shredded properly. If you’re using leftover chicken, make sure it hasn’t dried out; moist chicken makes for a satisfying wrap.
What is the best way to store leftover Cheesy Garlic Chicken Wraps?
After enjoying your wraps, place any leftovers in an airtight container and store them in the fridge. They’ll stay fresh for up to 3 days. Just remember to reheat them in a skillet or microwave for optimal results!
Can I freeze these wraps, and if so, how?
Yes, you can freeze Cheesy Garlic Chicken Wraps! First, wrap them tightly in plastic wrap, ensuring no air pockets remain, then place them in a freezer bag. They can be frozen for up to 2 months. When you’re ready to enjoy, thaw them in the fridge overnight, then reheat in a skillet or microwave.
What should I do if my wraps are too messy and fall apart while rolling?
Very! If you find your wraps are falling apart, it might be due to overstuffing. Aim for a 1/3 cup of filling per wrap to keep everything contained. If your tortillas are stiff, try warming them slightly in the microwave for 10-15 seconds to make them more pliable.
Are there any dietary considerations I should keep in mind?
Of course! These wraps contain dairy and gluten, so if you or someone you’re serving has dietary restrictions, consider using a gluten-free tortilla and substituting Greek yogurt for mayonnaise. For a vegetarian twist, swap the chicken for black beans or chickpeas. This way, everyone can enjoy this delicious meal!

Cheesy Garlic Chicken Wraps for Nightly Cravings Made Easy
Ingredients
Equipment
Method
- In a large mixing bowl, combine the shredded chicken, shredded mozzarella cheese, softened cream cheese, mayonnaise, minced garlic, Italian seasoning, salt, and black pepper. Use a spatula to blend the ingredients together until you achieve a creamy consistency.
- Lay your large flour tortillas flat on a clean surface. Spoon a generous amount of the prepared chicken mixture into the center of each tortilla.
- Layer the fresh spinach leaves, diced tomatoes, and sliced green onions on top of the chicken filling.
- Fold the sides of the tortilla inward to secure the filling, then roll the tortilla tightly from the bottom to the top.
- Heat a skillet over medium heat, adding a touch of oil if desired. Place the rolled wraps seam-side down in the skillet, cooking for 2-3 minutes or until golden brown. Flip them carefully and cook the other side for the same amount of time.
- Once the wraps are golden brown, remove them from the skillet and let them sit for a minute. Carefully slice each wrap in half and serve warm.

Leave a Reply